A local outdoor supplies store puts on the A16 3-Peak Challenge every year. I first heard about it last year, but it was too late in the year to attempt. The challenge is to climb three of the highest peaks in Southern California within a certain self-defined time, either 24 hours, 3 days, 3 weeks, or 3 months. 3 days seemed like an achievable but tough goal, so at the beginning of the year already, my wife and I decided we should attempt it.
The year got busy and we didn’t. Running out of time, we identified the Labour Day long weekend as the perfect opportunity. With only two weeks to spare, we started planning. And realized how late we’d left it. While the peaks are all within viewing range of each other, depending on traffic, it could take us 4+ hours to get to some of the trailheads. It made sense to camp somewhere central for the weekend.
 As we’ve come to realize though, Americans are far more active campers than South Africans, that or there are just more of them. Los Angelenos are anyway, as all 250ish of the campsites in the San Bernardino Forrest had already long been reserved. So we decided to chance it, and grab one of the first come, first serve campsites.
The next challenge is that San Gorgonio requires a permit to hike. The popular Vivian Creek Trail’s permits were all issued, for every day of the weekend. After a bit of digging, we found that an alternative route had recently opened, and still had permits available, turnaround time was 5 days though.
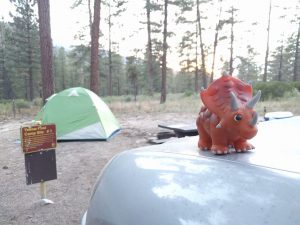
And so it was Friday afternoon that we set off to the San Bernardino Forest to camp in a site we didn’t yet have, and climb a mountain we had not yet acquired a permit for. But apparently it was meant to be. We arrived late on Friday evening, and after finding a full South Fork Campsite, we lucked out on an empty spot amongst the Yellow Post Sites.
As part of the challenge you are allowed to choose any order to do them in, and pick any route to the top. We wanted to do Baldy (San Antonio) last, as it was closest to home, and would allow us to go straight home, instead of returning back to camp, this meant it had to be done on Monday. We didn’t arrive early enough on Friday to pick up a permit from the ranger station, so that meant Gorgonio would have to be on Sunday. So our first hike was San Jacinto.

View from the top
We had previously attempted San Jacinto via Marion Mountain. It wasn’t really a planned attempt though; started far too late in the day (11am) and ended in the dark (8pm at the start of winter), without us having summited (me being ill being partially to blame).
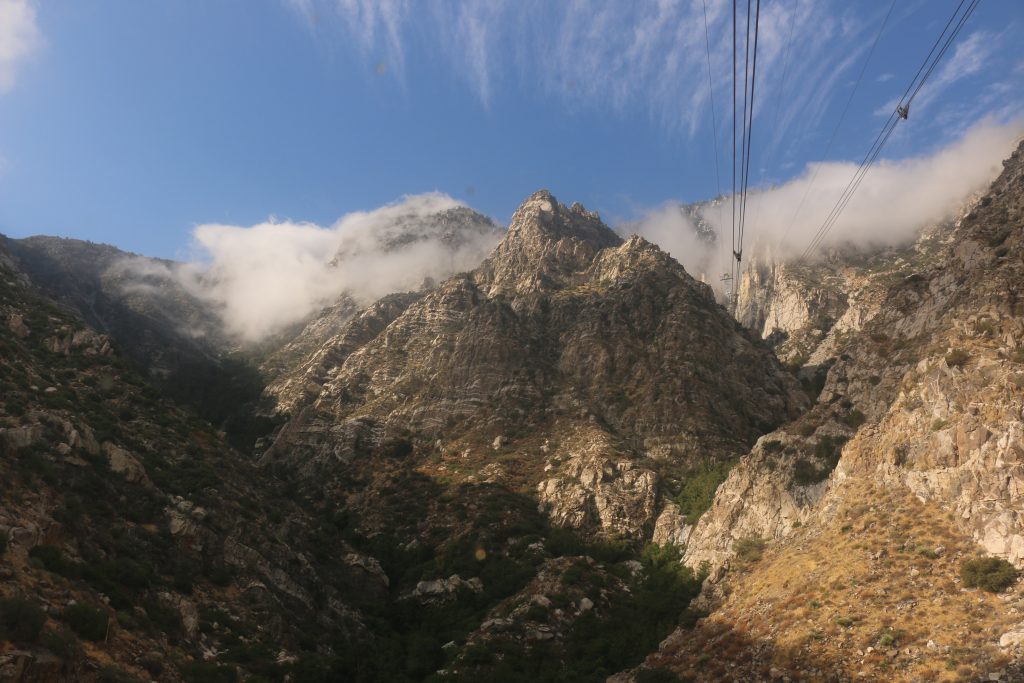
The A16 challenge however encourages you to take the Palm Springs Aerial Tramway part (most) of the way. Although making it an easier climb, it still requires some effort. The tramway is something in itself; a cable-car setup identical to Table Mountain, but climbs from 805m all the way up to 2,600m. Cost is roughly $25 per person, and there was a $5 parking fee. This leaves an additional 700m (920m of climbing) to the summit.
There is a large area you can walk around if not intending to summit, but if you intend to enter the wilderness area, a permit is required. Permits are free of charge and can be collected at the ranger’s station at the top of the cable car. It’s a beautiful hike through the pine forests at the top. While fairly short, at only 8.8km, it’s still a tough hike. We were in a bit of a hurry, as we still wanted to get back to Gorgonio to pickup a permit, so pushed through to do 2ish hours to the summit. With a 20min lunch break at the top, it actually took us a bit longer to get back down. Mainly due to waiting to allow later ascenders to pass us by (mountain rules are you yield to those ascending), many of the higher paths only have space for one person at a time.
The weather at the top was cool but sunny, with thunderstorms forecast for the afternoon. It made for easy hiking, and the forest provides a lot of shade during the hike. Just before arriving back at the tram station, you’re forced to endure a short climb up again. This promptly necessitated a stop at the restaurant/cafeteria at the top to grab an ice-cream before our descent.
18.5km, 920m elevation
Tram up departed: 08h43
Summit: 11h15
Tram down arrived: 14h15
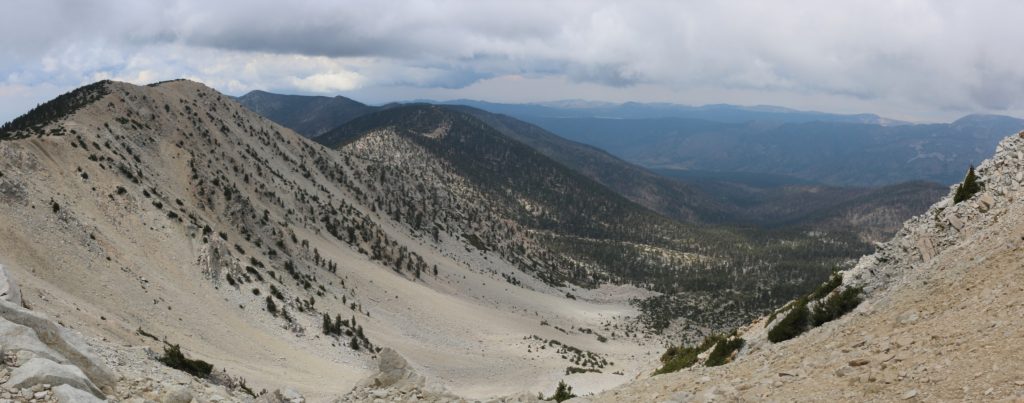
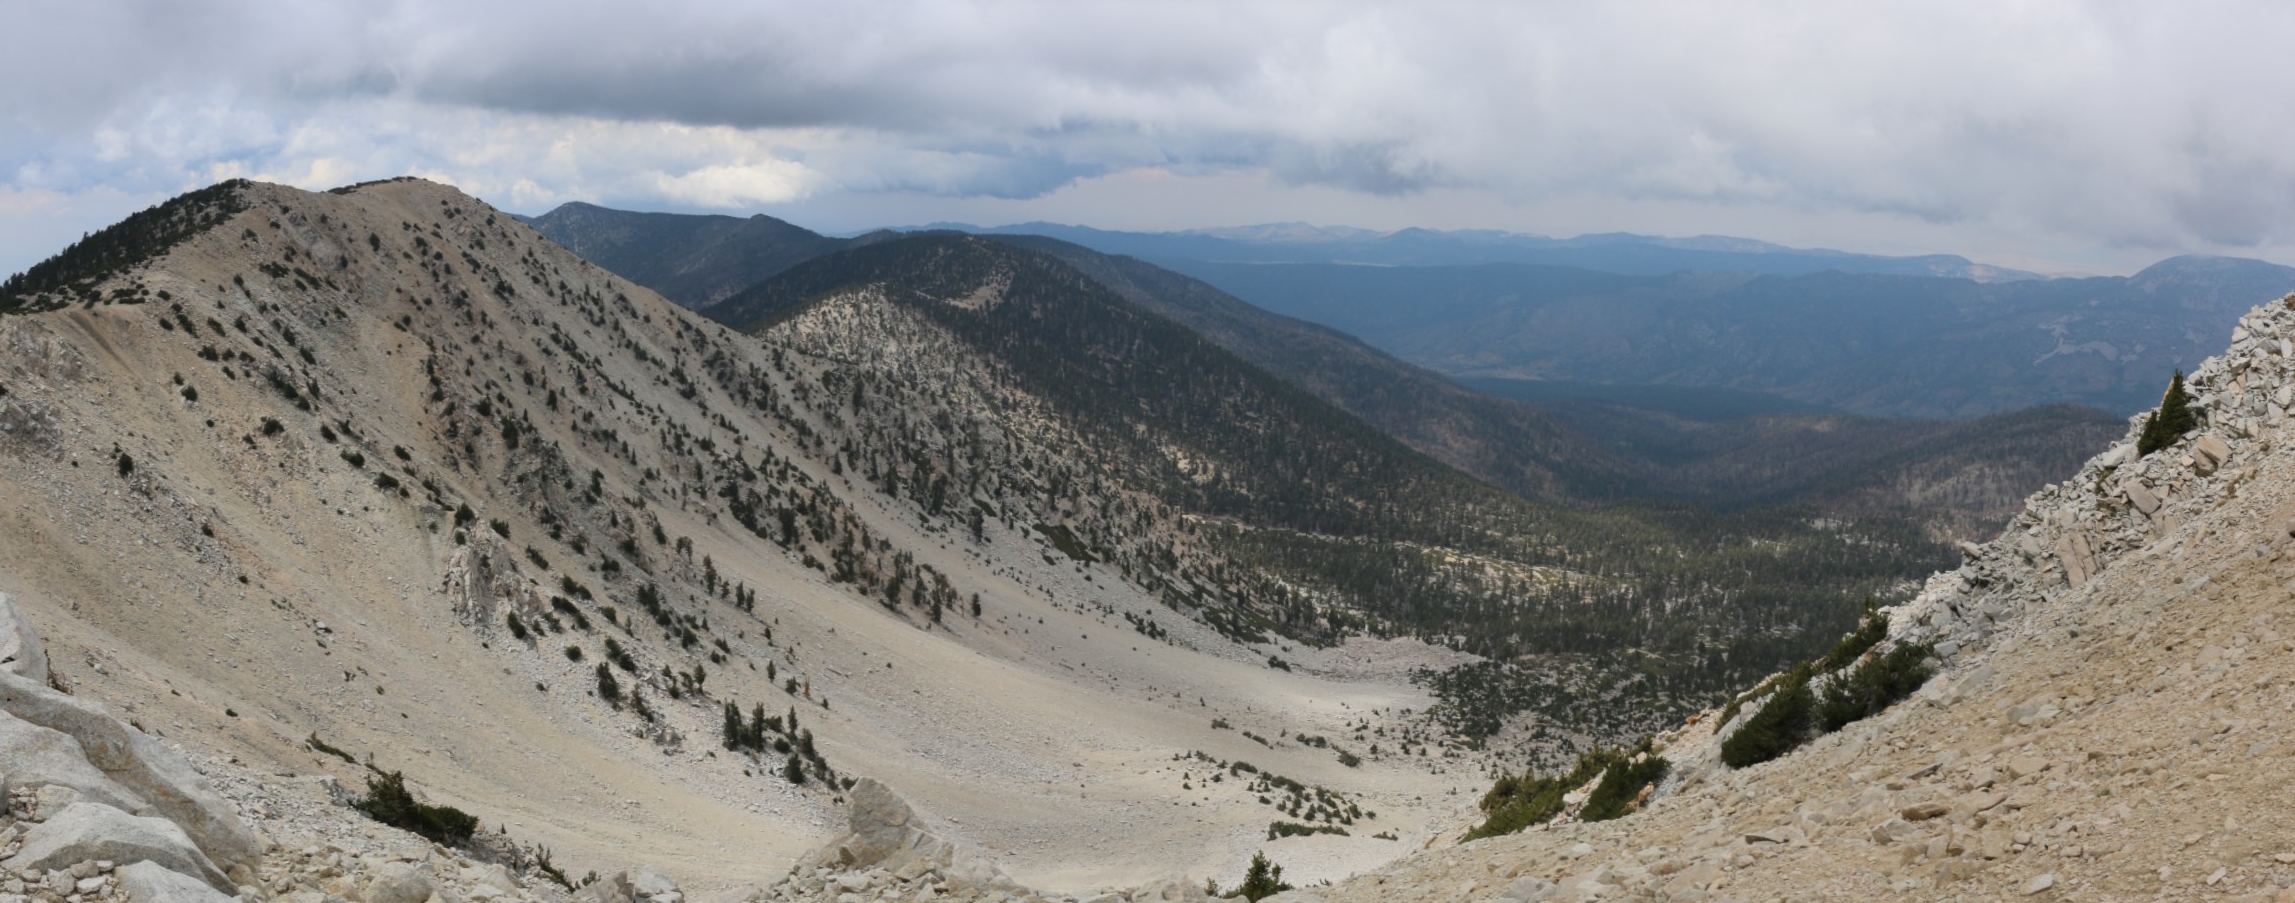
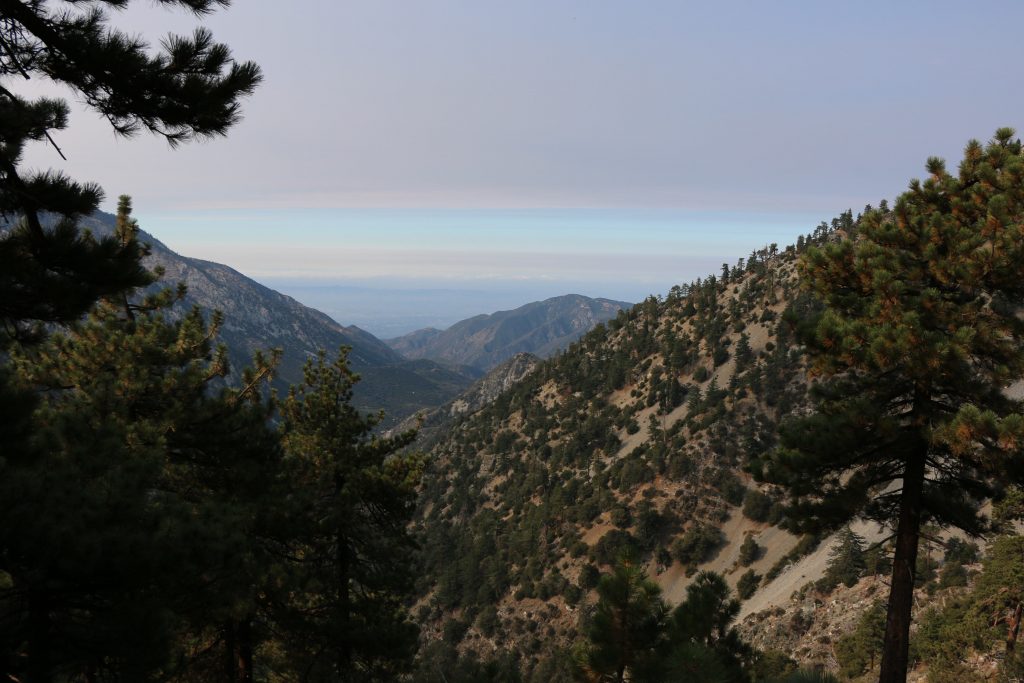
View near the top
San Gorgonio, also known as Old Greyback, is the highest mountain in Southern California, topping out just over 3,500m. There are three main routes to travel it, but up until recently only the Vivian Creek route has been open. The South Fork and FIsh Creek options having been closed due to fire damage for the past year or two.
Vivian Creek is still the most popular route and results in its permits getting issued quickly. As such we resorted to the South Fork trail. It was conveniently located only a few miles from our campsite, which made a 7am start a bit easier, and you could still receive same day permits if you desired. While Vivian Creek is the shortest route to the top, the South Fork route doesn’t have as much climbing. We hiked up via Dry Lake, and after reaching the summit circled back via the Dollar Lake route.
 The fire damage has resulted in some truly spectacular scenery on this hike. The route takes you through vastly different landscapes, all very green for this late in the summer. The route has one of the most constant gradients I’ve ever experienced. There are very few extremely steep sections, and at the same time, almost no flat areas. This makes the hike quite a slog, and the hike back down can get very long. Many people prefer to do this route as a multi-day hike.
Not an option for us. We enjoyed being surrounded by various birds all the way along. After dry lake, you reach a first section of short switchbacks, followed by a long stretch to the Fish Creek turn-off. From there you have several sweeping switchbacks which gain you some elevation and take you past the remains of the a C-47 which crashed in the mountains in the 1950s. It’s remarkable how much of it is still left 60+ years later.
After the switchbacks, it’s still a bit of walk as you swing around behind the mountain, meet up with the Vivian Creek trail and do the last stretch to the summit. From there you’ve got a long walk home. The Dollar Lake route may not have as many switch backs, but it is just as long.
We were once again blessed with ‘good’ weather. It was cool and pleasant on our hike up, but the clouds rolled in as we summited, leaving us with little view. On our way down the rain decided to pay us a visit, and while not terrible, we had to break out the rain jackets, and do some trudging. Would definitely like to give the Vivian Creek trail a try some time to see how it compares.
33.7km, 1,500m elevation
Started: 07h00
Summit: 12h33
Finished: 17h17
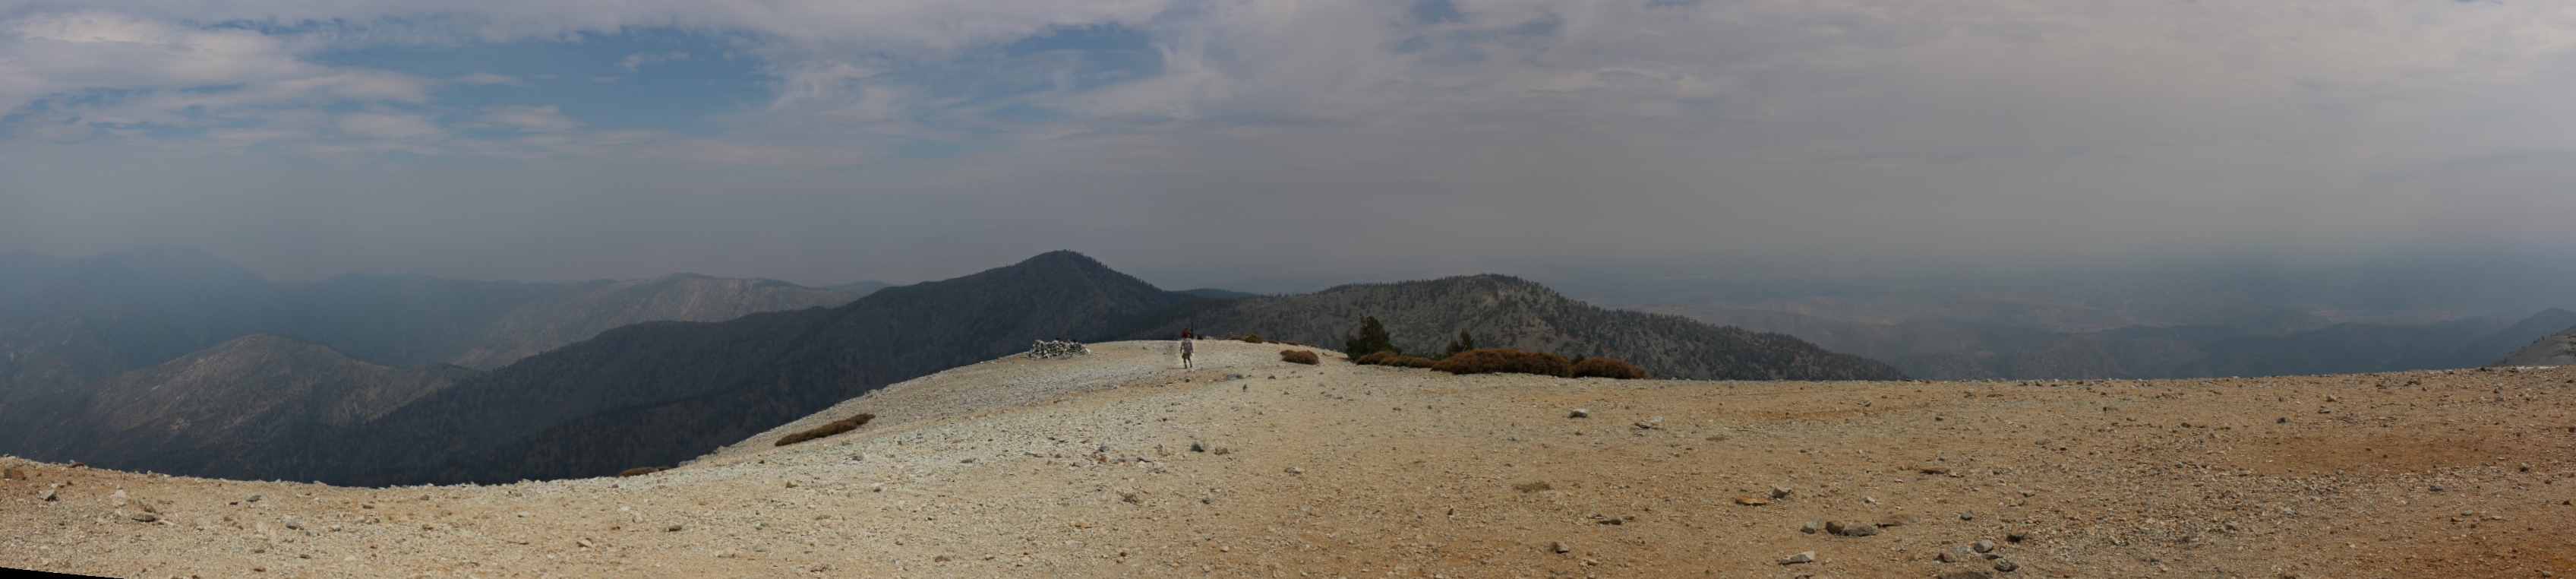
San Antonio (via Baldy Bowl) – 3,070m
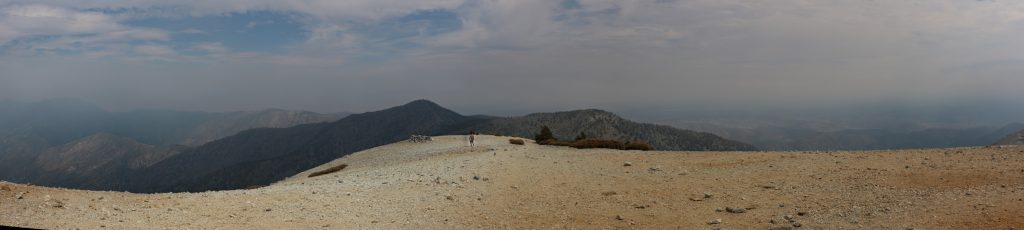
View from the top
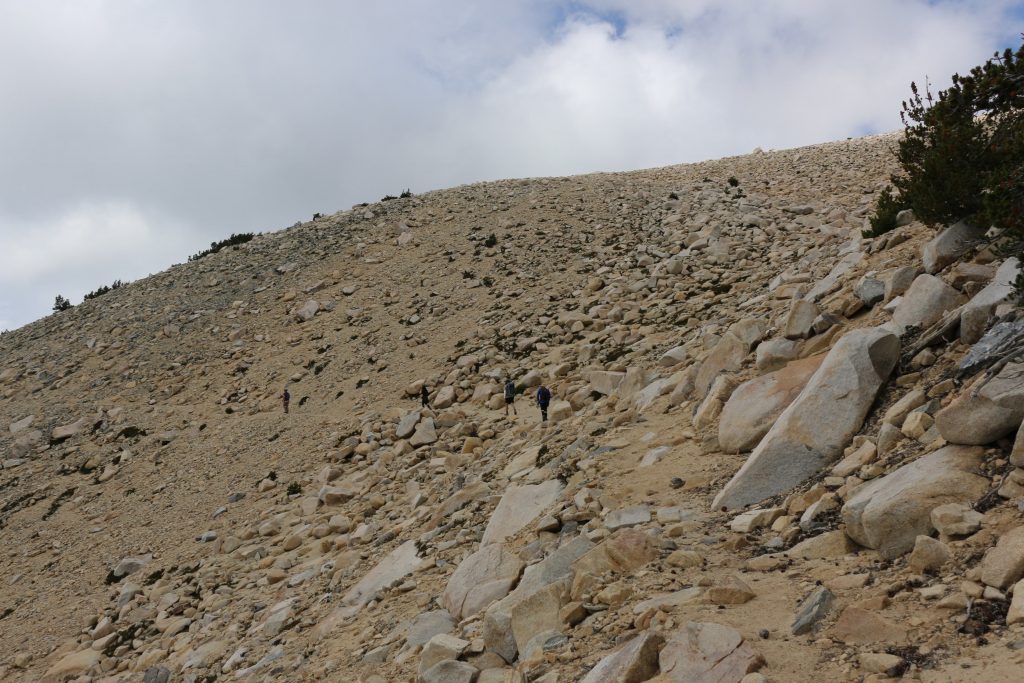
Mt Baldy should really be done as a round trip, but we’d just spent our entire long weekend hiking, and opted to cut our final day short by heading up and down the same route (something we prefer to avoid), the shorter Baldy Bowl Trail, which passes the Ski Hut.
This being our last hike, we woke up at 05h30, packed up camp and drove halfway across LA, and followed the winding roads up to the ‘base’ of Baldy. As we were driving we were a bit concerned to see a big sign advertising a trail run on Mt Baldy. Things worked out quite well though, as the starting gun went off at 08h00, as we arrived. Giving them a good head-start, as we got our packs ready. In the end they took the longer fire break trails up the mountain, so wouldn’t really have been a problem.
While we both enjoy hiking, it had been a long weekend, and we were a bit over it. The route is far steeper than our previous days’ hikes, even though it was just 3.3 miles. Regardless it was a slog. Along with some confusion as to where the top actually was, we were both slightly surprised to all of a sudden appear on top of the mountain, along with a bunch of runners who had just finished.
I’m sure the views from Baldy can be spectacular, but the normal LA haze had probably been exasperated by the recent fires, meaning our view was not particular amazing. Our hike up had been relatively cool, but as we descended the sun came out in full force, and we were very thankful to have already completed the hard section. The route down had us in much higher spirits, especially with the thoughts of a swimming pool and cold beer awaiting us at home.
10.6km, 1,190m elevation
Started: 08h21
Summit: 11h27
Finished: 13h40
Summary
It was a long 3 days, in which we did little other than hike and drive. By the end of the last day we were tired and ready to get home. That being said it was an awesome experience, and will probably be repeated some time. Each hike has its own unique draw, and (weather permitting) offers some spectacular views from the top.
Having completed it in 3 days, the next obvious step is the 24-hour challenge. While on paper our times would allow us to achieve this, a lot more training would be required to get it right without the luxury of sleep and full meals we ended each day with. Maybe not next year, but someday.

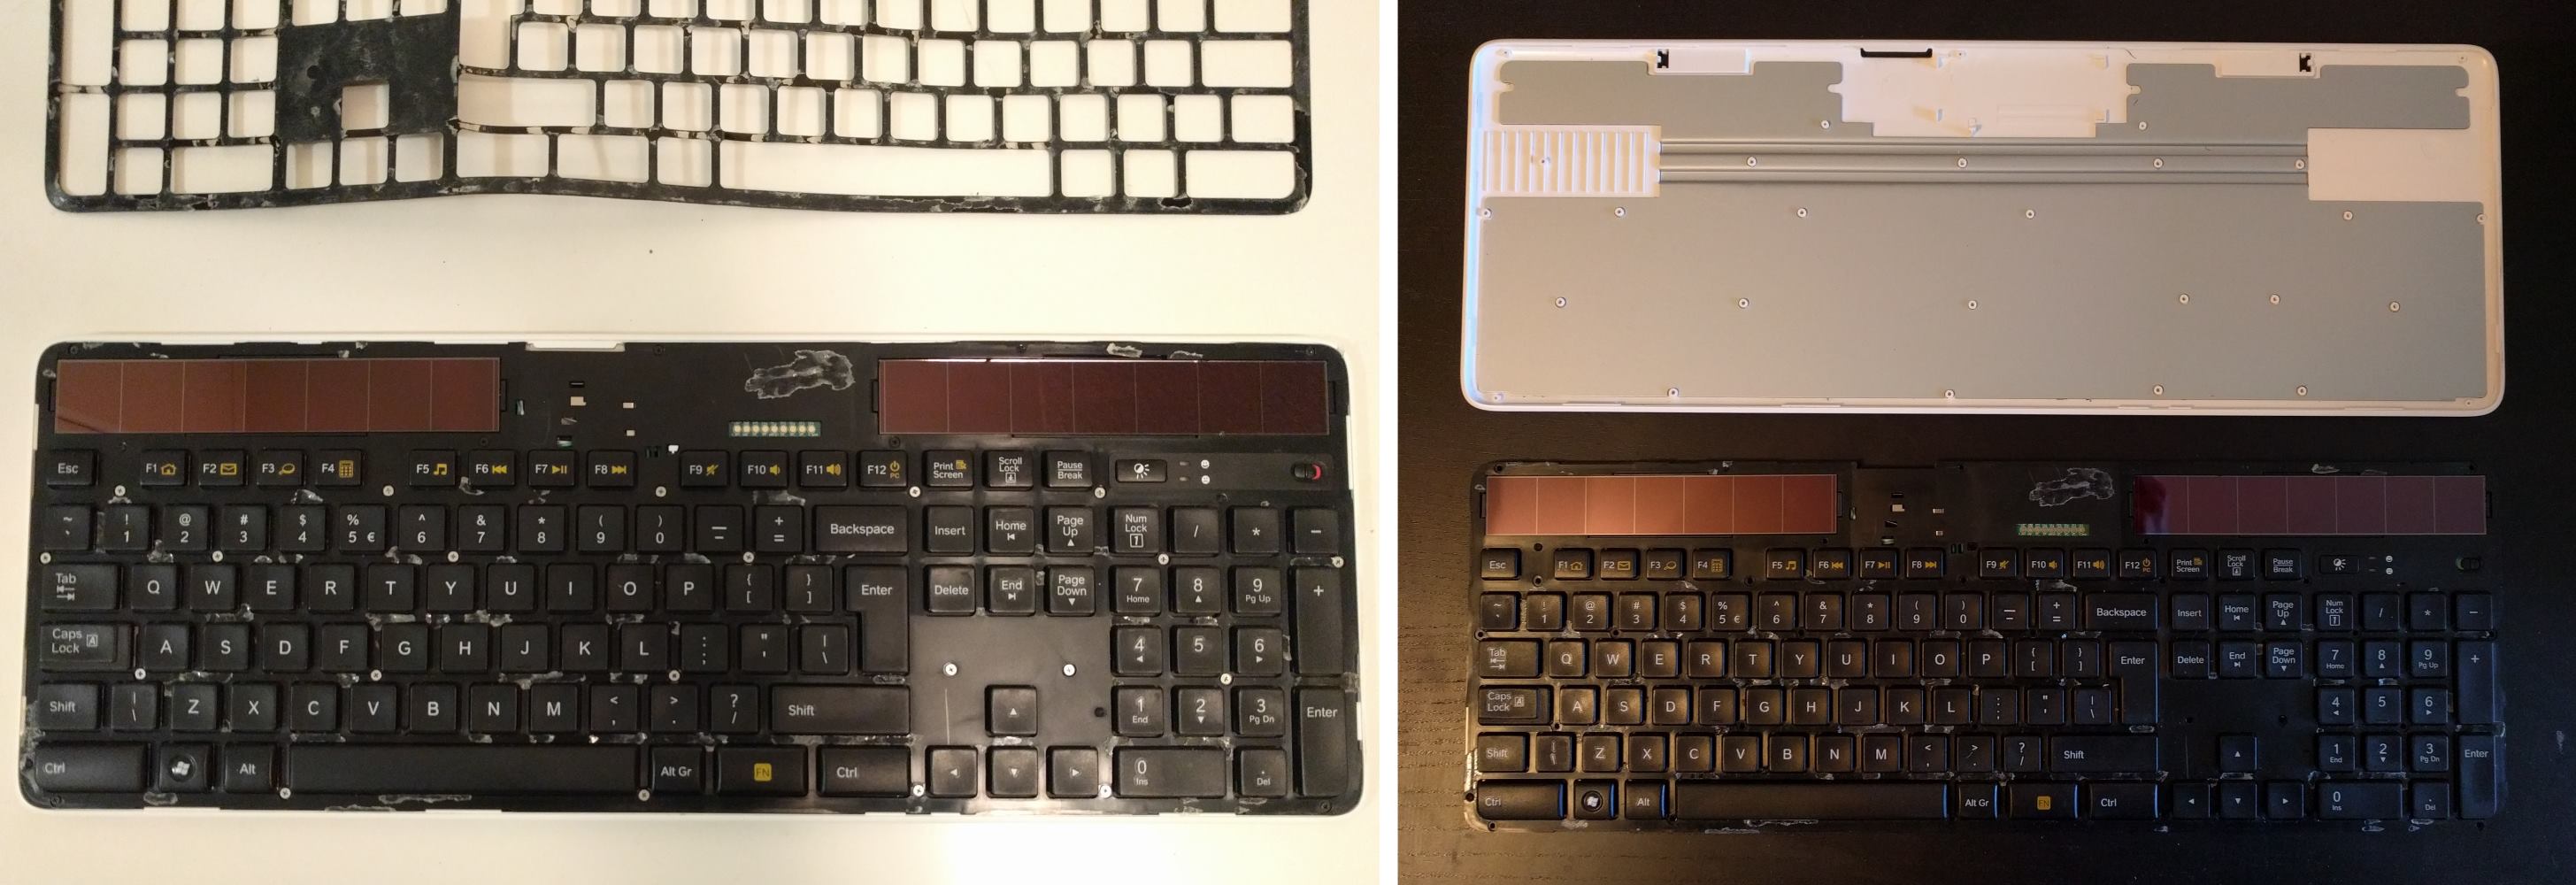
 Since the Logitech K750 was first released, I was a fan. But the $100 price tag put me off. It’s most noticeable feature is the fact that it has a bar of solar panels along the top of the board which are used to charge the built in battery. This should mean you never have to replace the battery. A dream come true to me, who in general is disposable battery averse. Besides that it’s a standard wireless keyboard that uses Logitech’s unifying receiver, I additionally like the style and design of the keyboard.
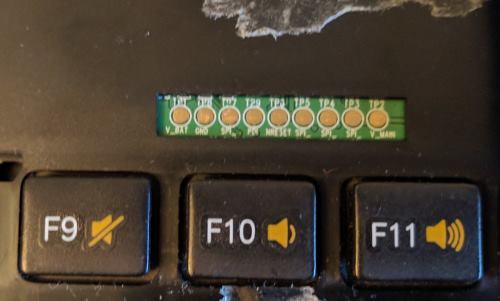
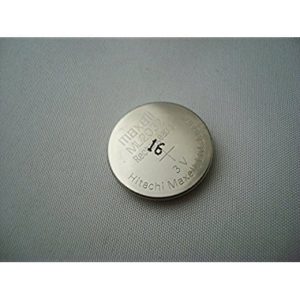 The battery used is a rechargeable coin-cell battery, similar to what is used on motherboards, an ML2032 3.0V battery. My battery measured 2.9V, so I assumed it was still fine, and something else had gone wrong. The keyboard had a 3-year warranty I was still within, so after the retailer rejected me, I contacted Logitech who were kind enough to send me a replacement that continues to work perfectly.