Earlier this year my wife and I had the opportunity to do a bit of travelling in the Simplon area of southern Switerzland under the pretence of academic research. I say under the pretence, it was pretty much all research with me just tagging along for moral support.
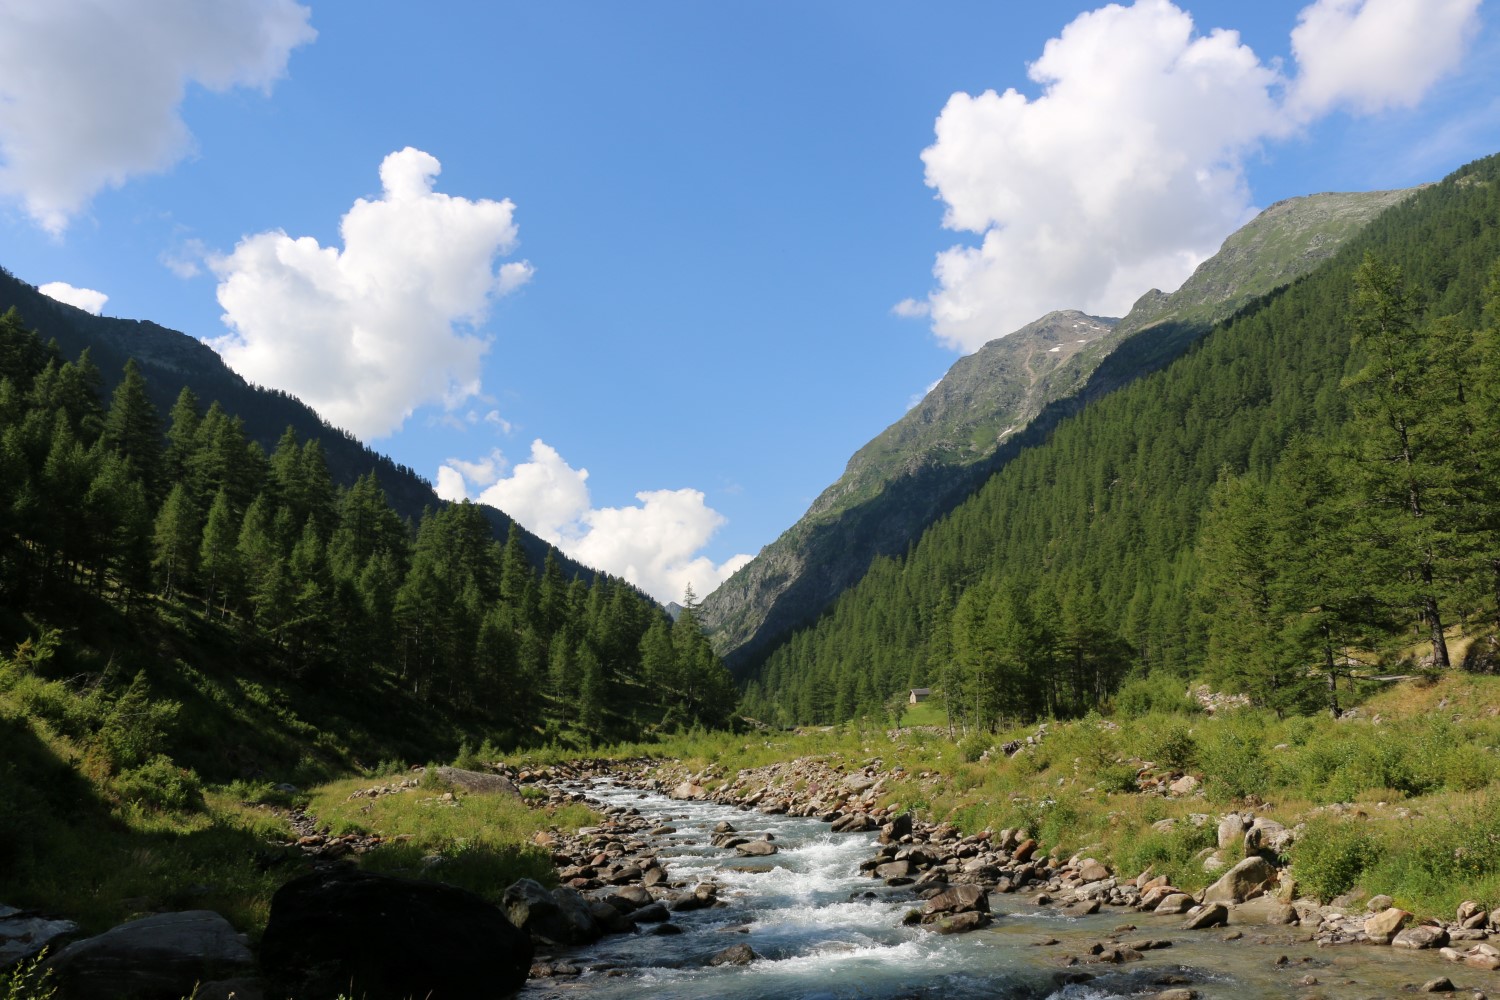
Zwischenbergtal – so freaking green
We flew into Milan, hired a car and drove up to Domodossola, just south of the Swiss/Italian border. We spent one night there before driving on to Simplon. We spent 6 nights at the Simplon Pass Hospiz before continuing on to two nights in Brig. At the end we spent our last 3 nights back in Domodossola.
Domodossola (you should hear the GPS pronounce it) is a small, sprawling city nestled in the foothills of the Italian Alps. It’s a beautiful city with a small town feeling, especially in the central areas where the architecture is all stone and has an old feeling to it.
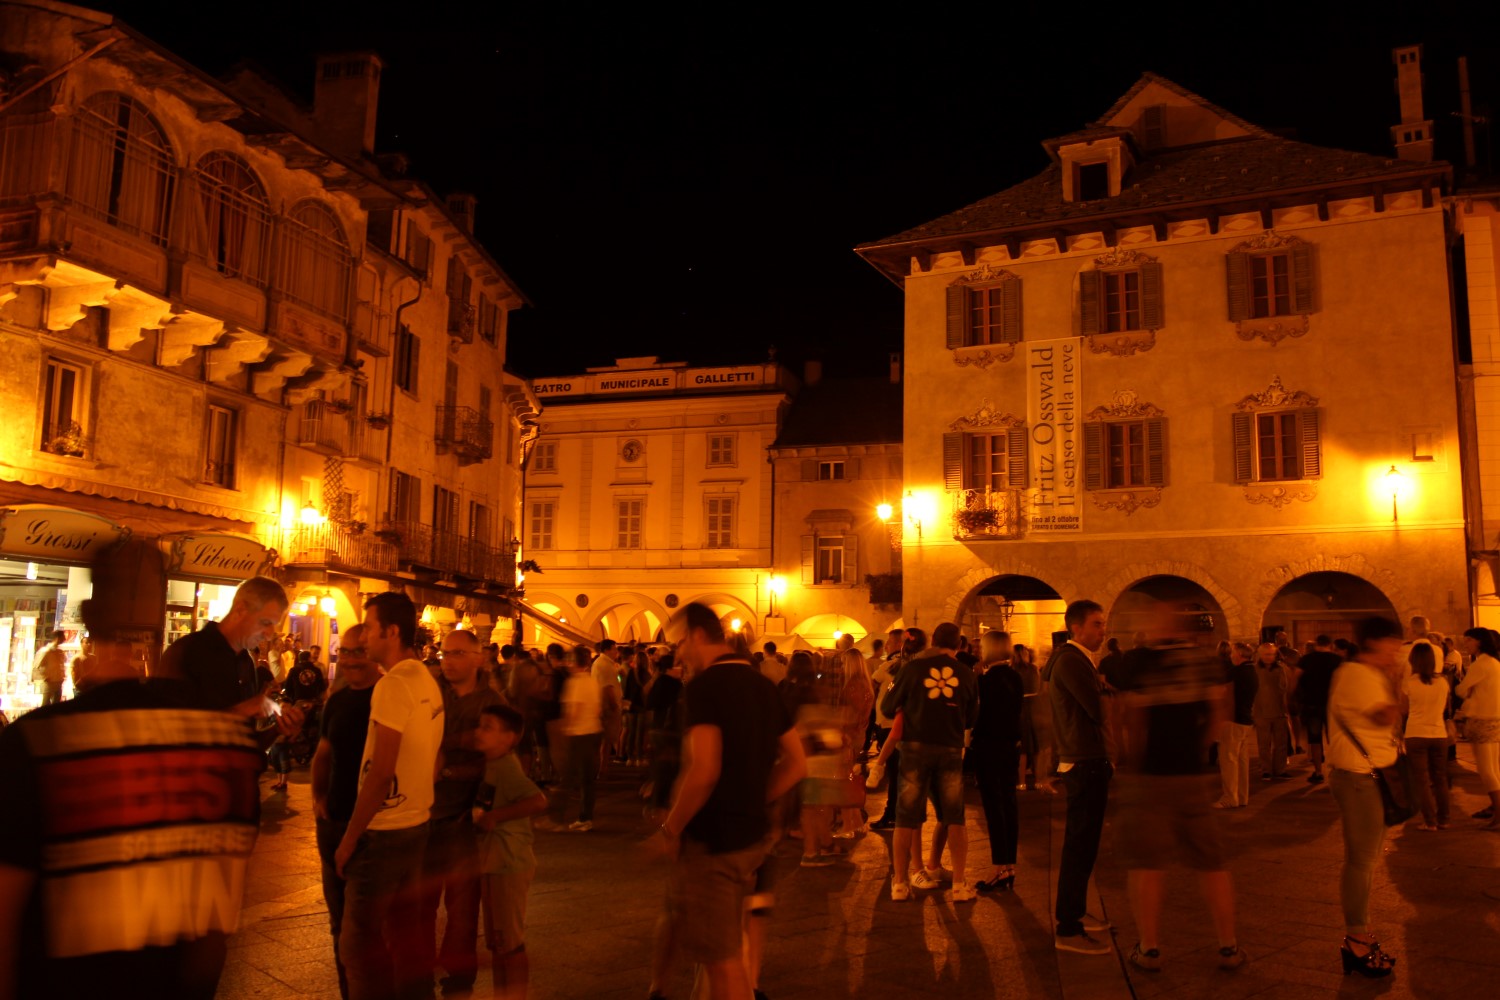
Domodossola at night
Not much English is spoken, but you don’t need to communicate a heck of a lot to get by. We stayed just off the main square, and there was a big festival on our first night there, that continued long after we went to bed. Everyone was out in the streets with kids playing everywhere, really great experience.
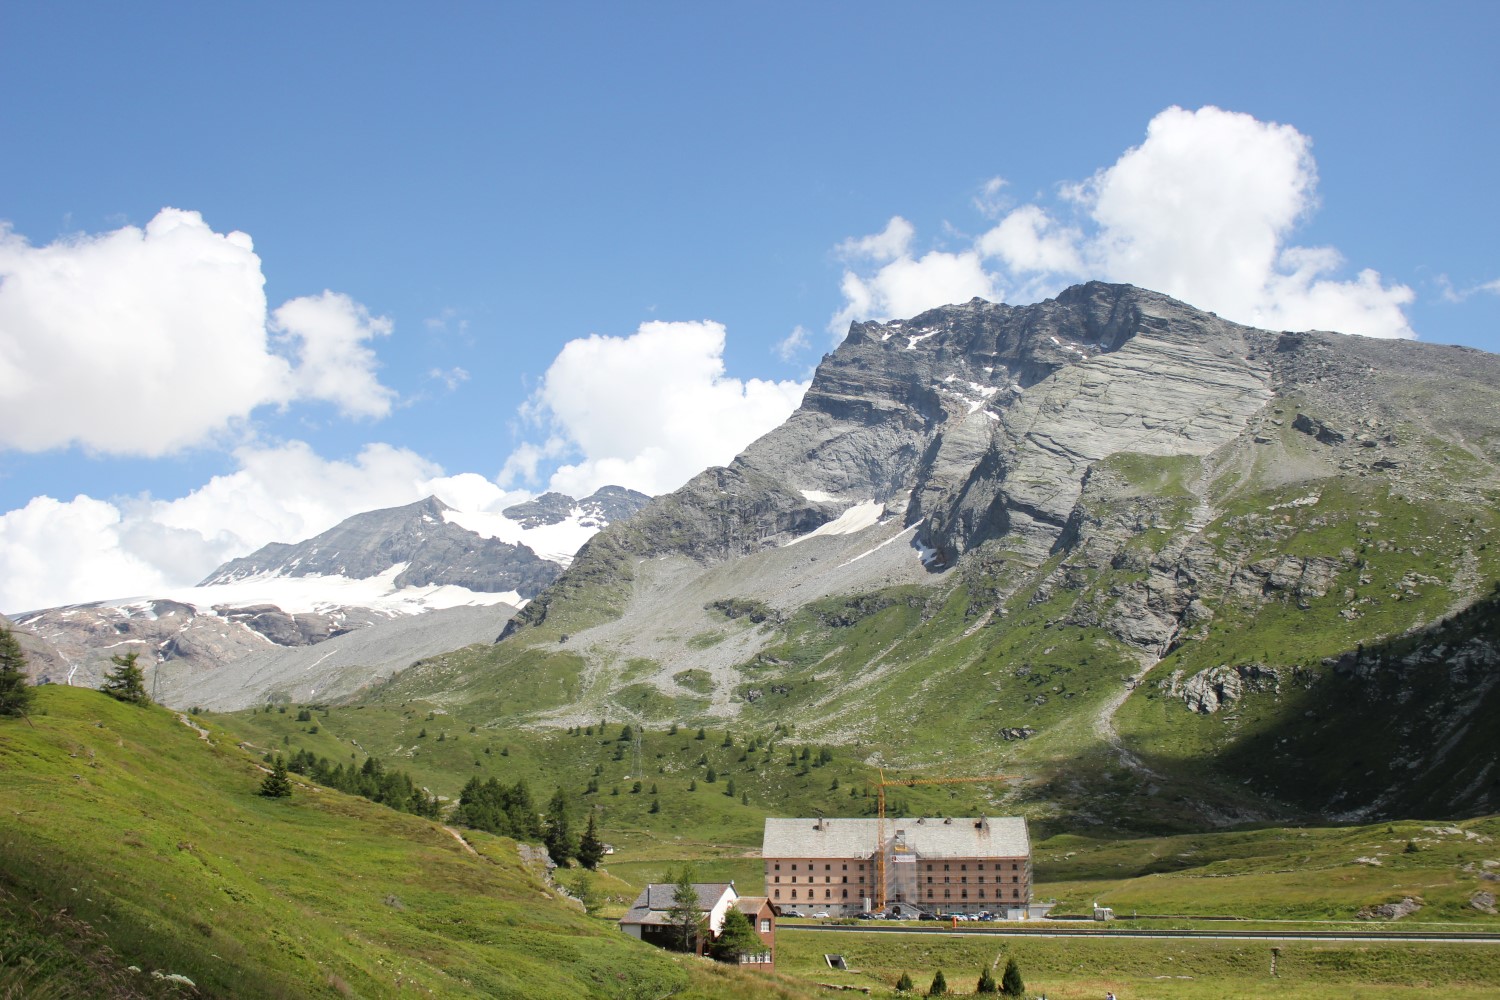
Simplon Hospiz
Way bigger in person
We travelled up to the Simplon Hospiz, located at the peak of the Simplon Pass just over 2,000m. It’s a massive stone building, with walls almost a metre thick. It’s not the prettiest building, but fits well in the surrounding splendour of the mountains. Accomodation included breakfast and dinner which we shared in a hostel like fashion at mixed tables with the other guests. Few of whom spoke English, and yet they were some of the friendliest and nicest people I’ve met. Mostly locals (within 100km), all taking a break at the Hospiz.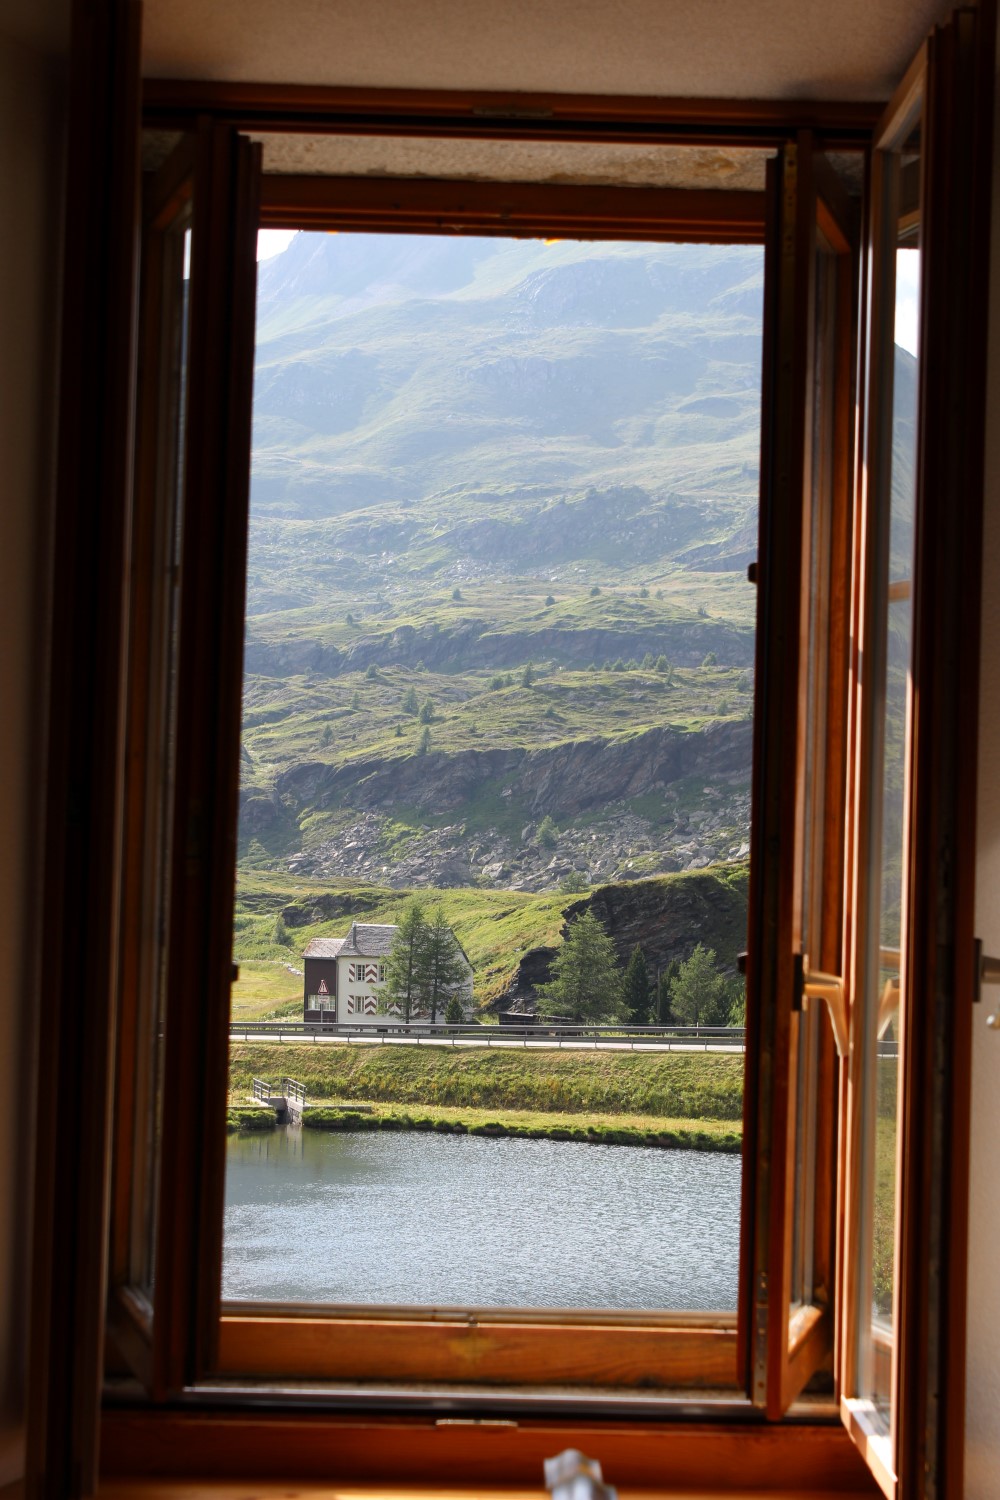
We spent six nights there, followed by two nights in Brig where we stayed at the Schloss Hotel. The Schloss Hotel employs an ATM type machine for check-in. And I love it. Put in your booking reference, swipe your credit card, and voilà you have your room key. It was everything I could hope for for the future of check-in procedures.
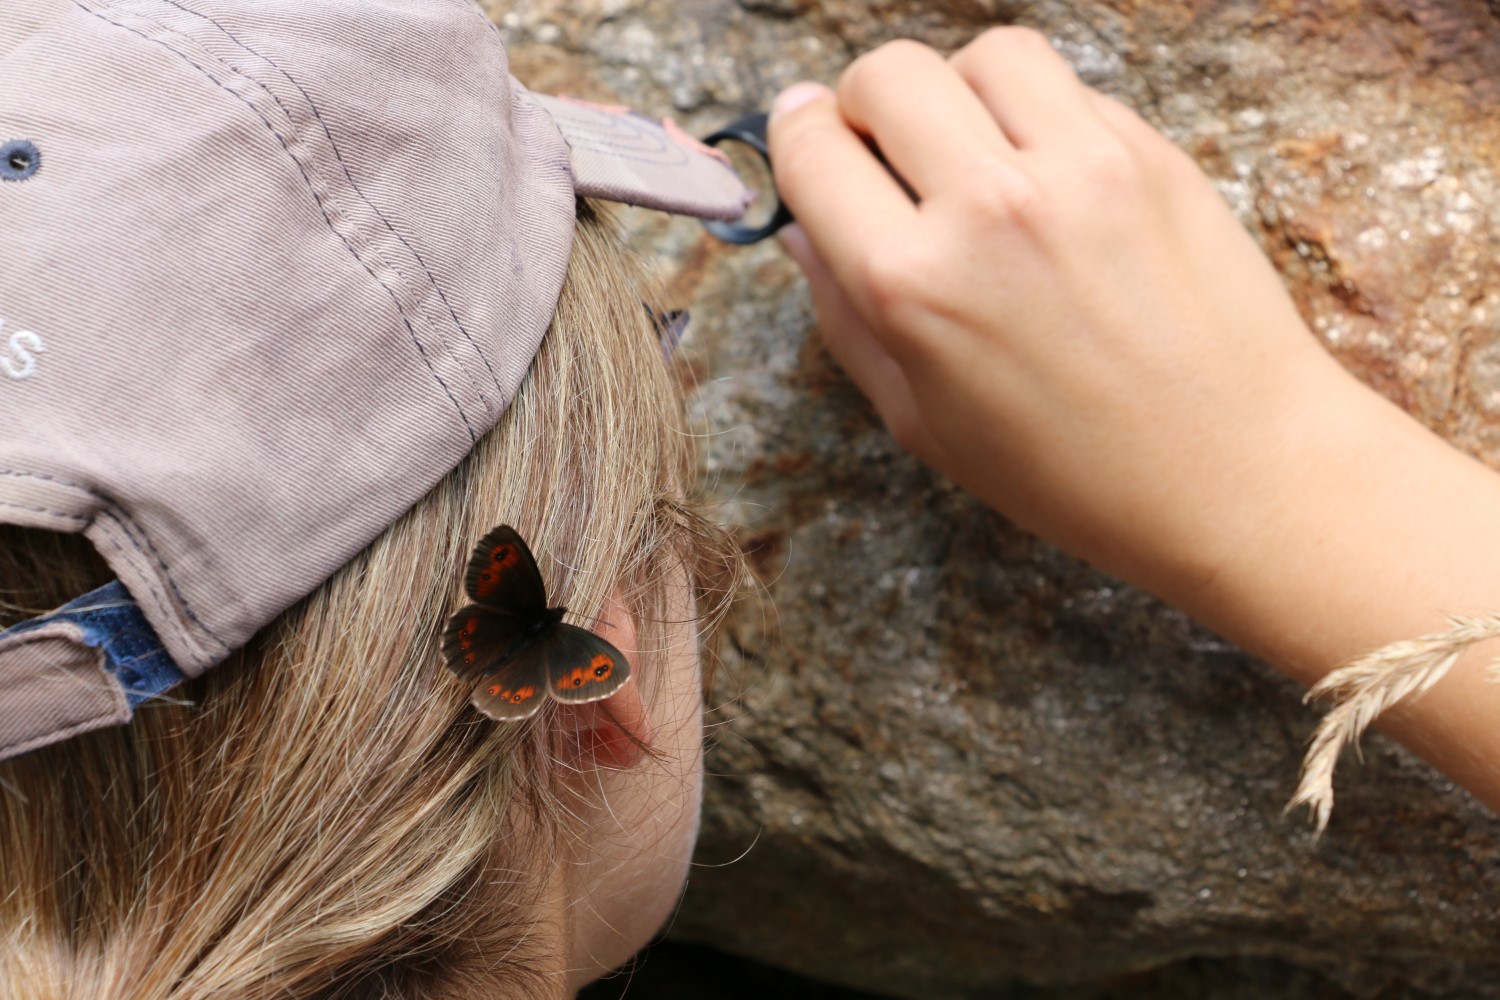
Butterflies were everywhere, and not shy
Brig was beautiful, another old European town, stretched out along the Rhine. Our last three nights were spent back in Domodossola before returning to Milan. On our very last day our co-travellers were flying out at 10h00, but we only flew at 22h00. As such we took the train into town, and spent a few hours in the central area of Milan, before heading home.
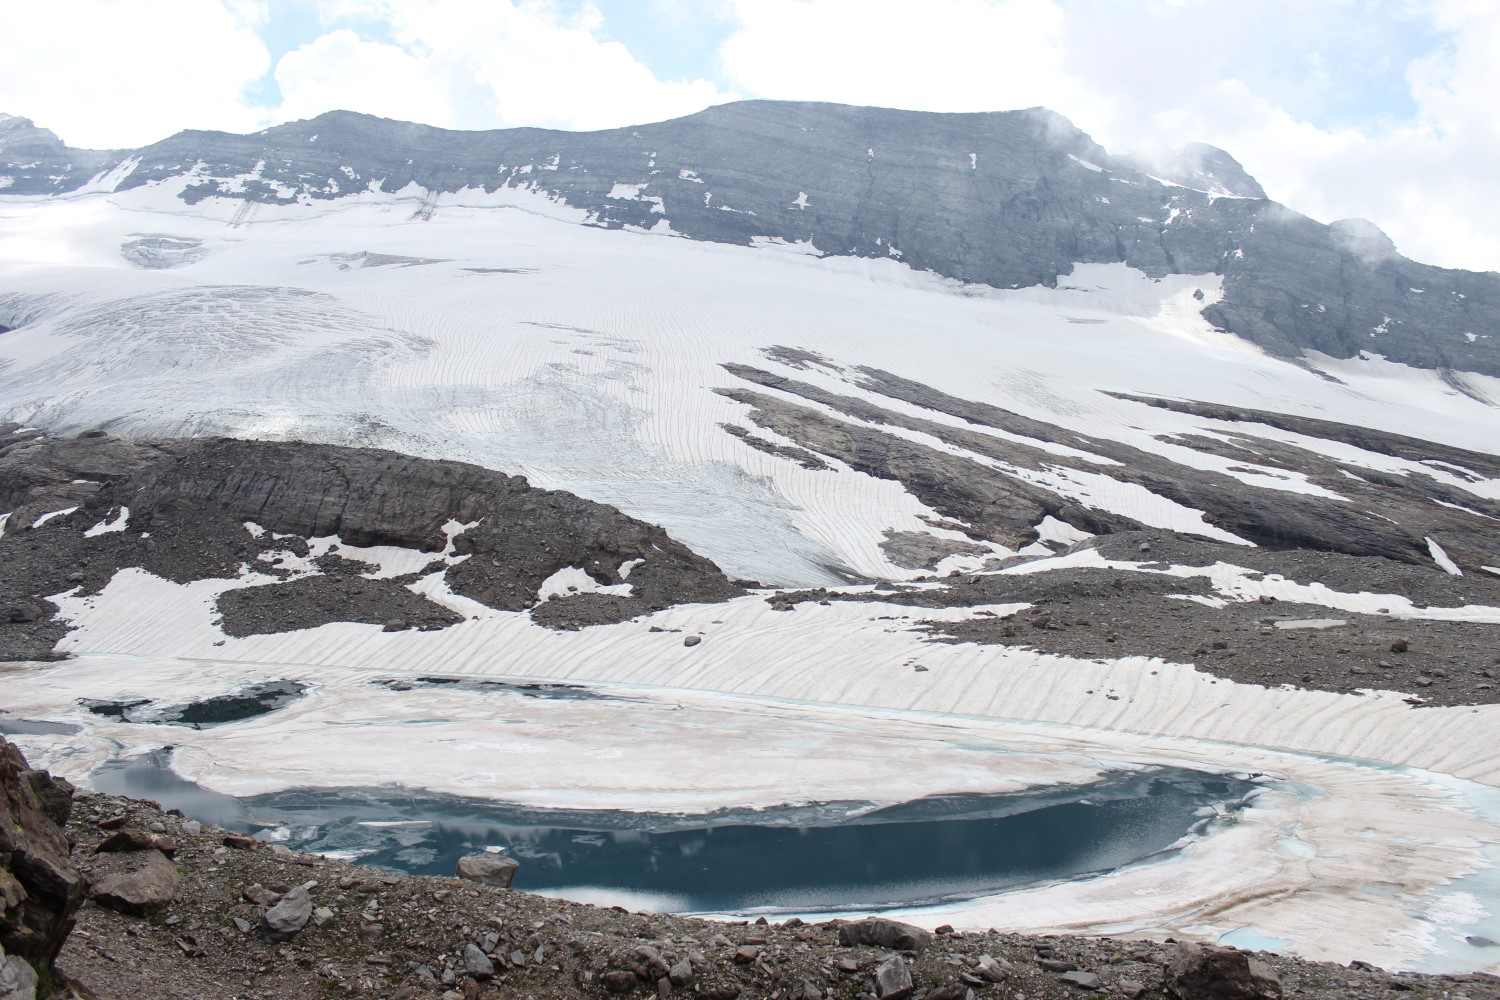
Appropriately named Chaltwassergletscher
Every day we spent driving around the countryside, up tiny little streets to the tops of mountains, or hiking up along the cattle trails. The scenery was absolutely beautiful. We were there end of July so the weather had warmed up nicely, most of the snow had melted and we were left with beautiful green sceneries.

These sheep were adorable.
We were amazed by the extent of the hiking trails through the mountains. Anywhere you want to go you can find a small marked path taking you there. Town to town, or even just up to a peak. You might even find a little hut with a fire and baked goods for sale.

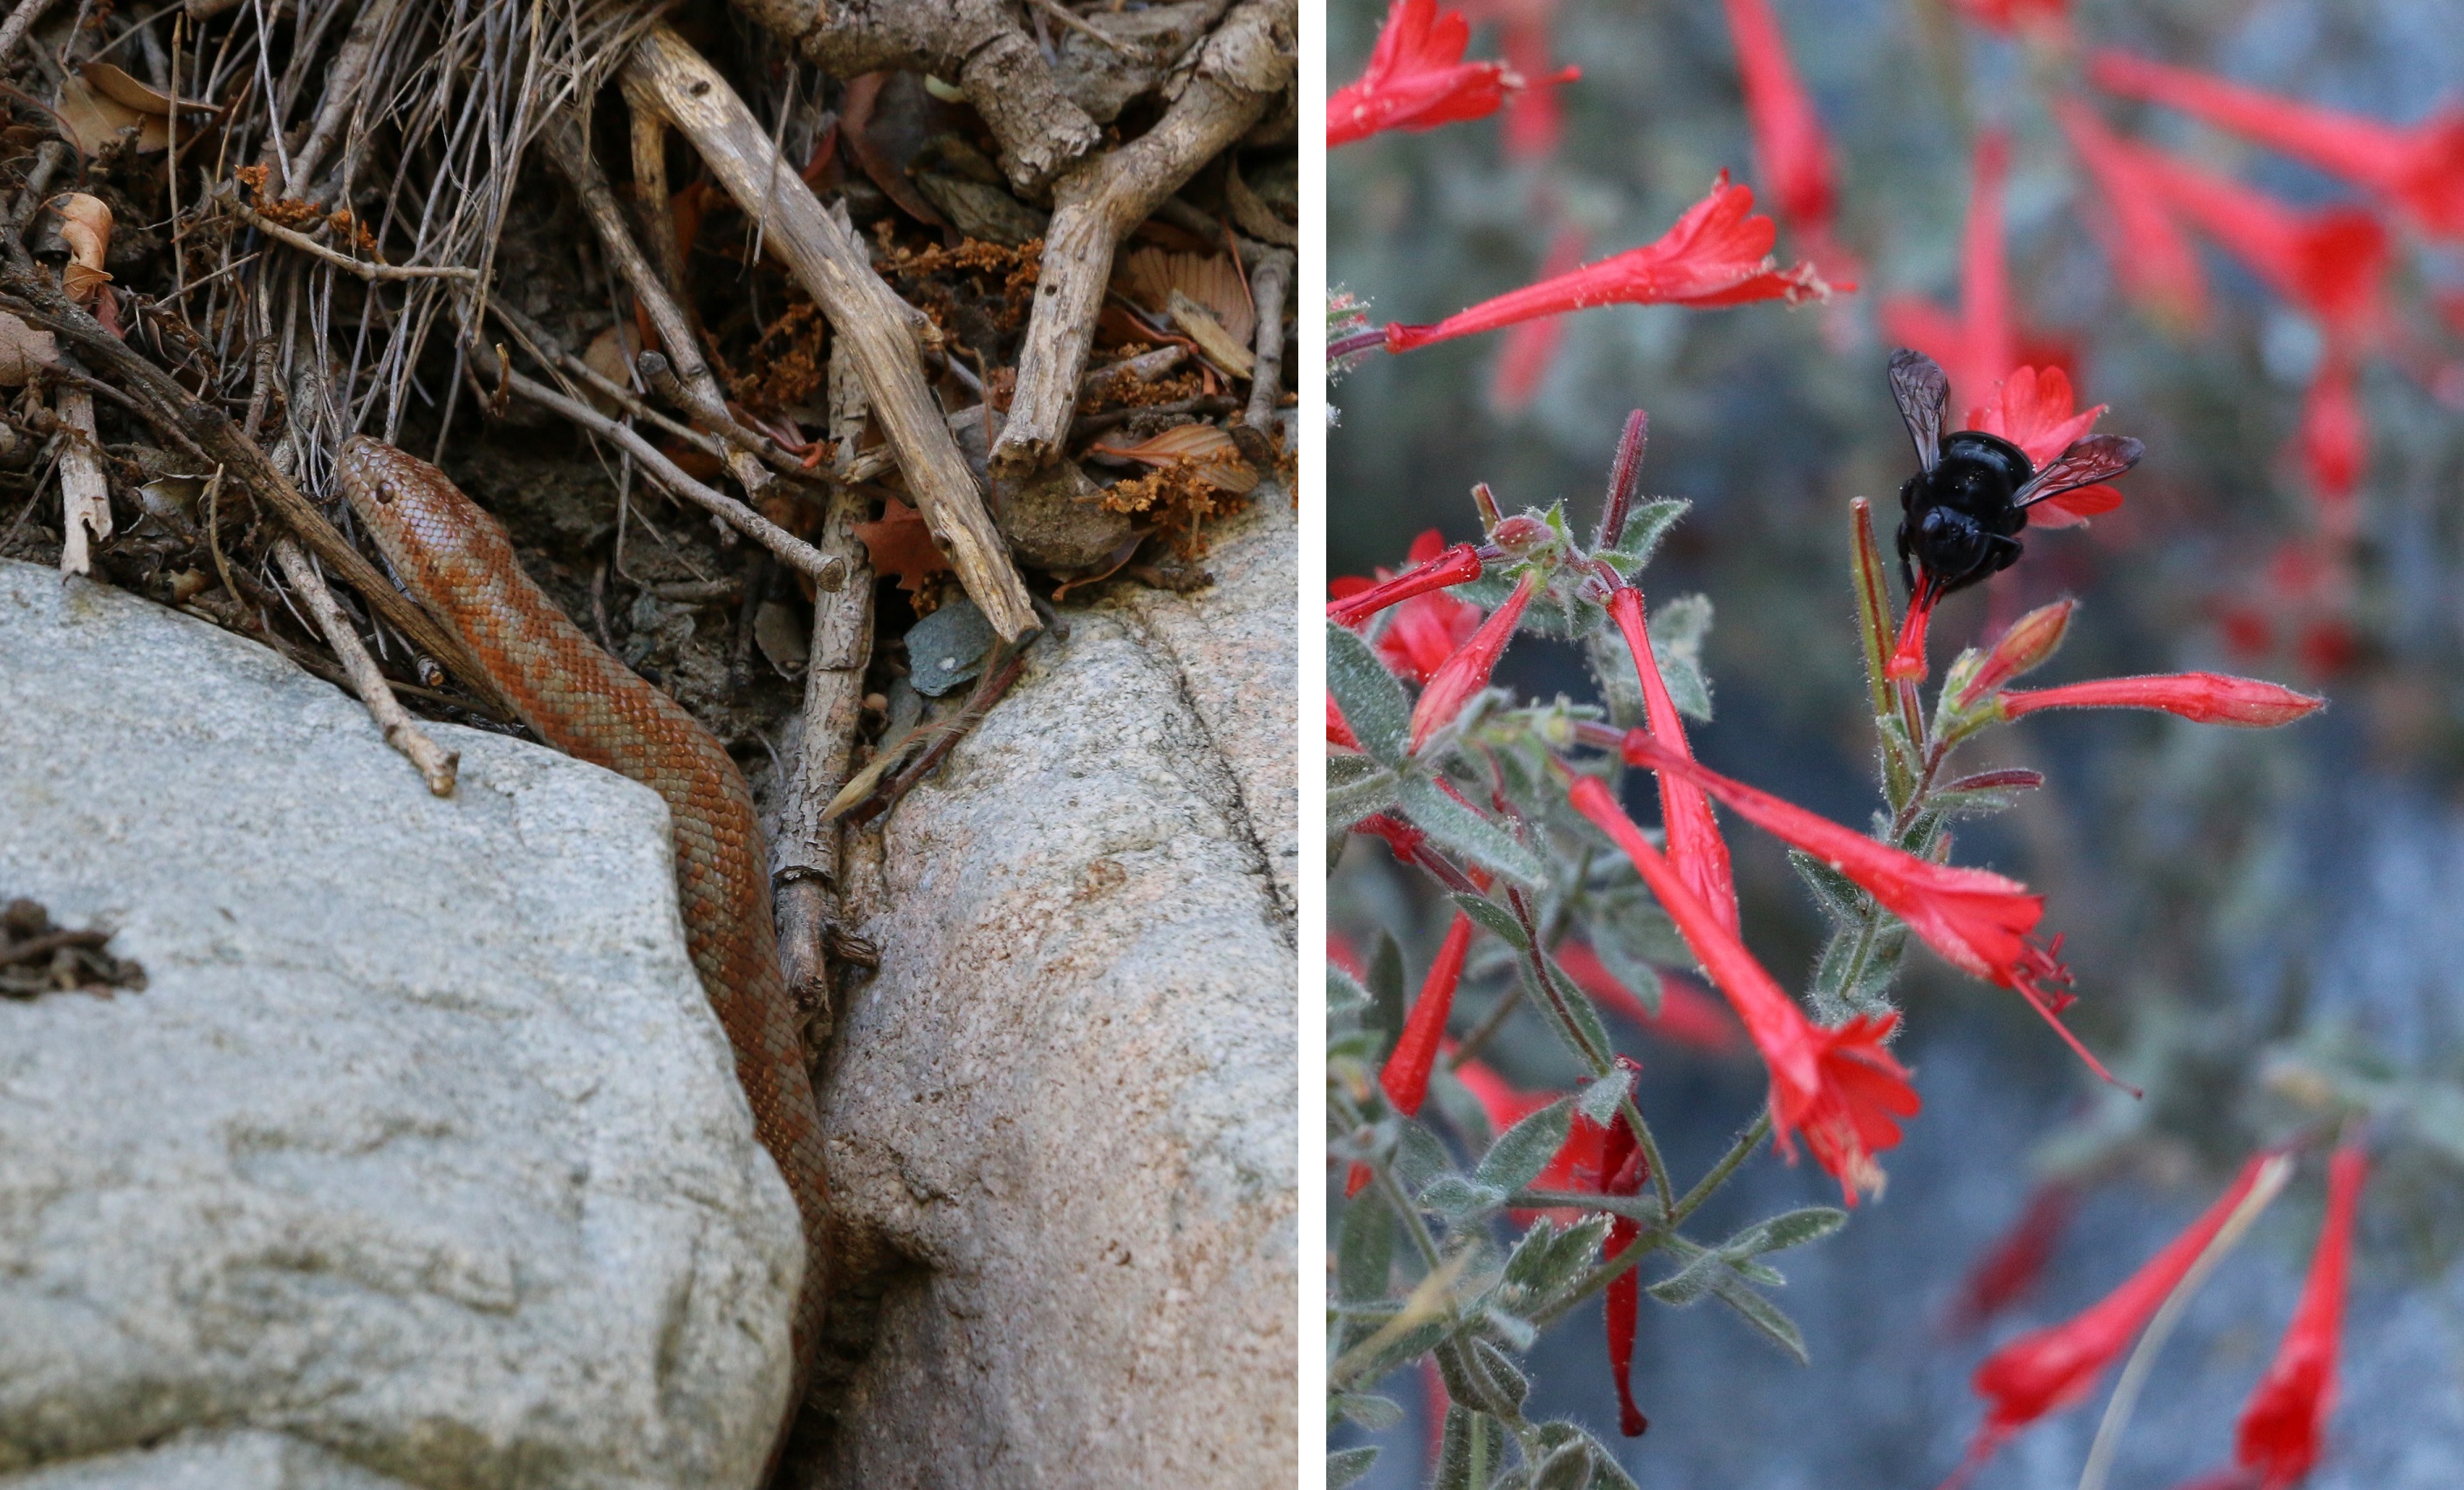
No Touchy
Switzerland was (it still surprises me) expensive, but if you’re interested in the border areas you can legitimately stay in Italy and do some day trips. It was a wonderful trip through beautiful scenery. I’ve spent time in the Alps in winter on two occasions, but seeing them in the summer was something else entirely.