I’ve been contemplating buying a tablet for a year or two now. But had mostly decided against it, mainly due to the lack of use it will get. I had previously owned an IPad 2 which I won in competition in 2012. I had sold it several months after winning it as I wasn’t giving it the use I felt it deserved, and as a student heading off overseas I felt the funds could be put to better use.
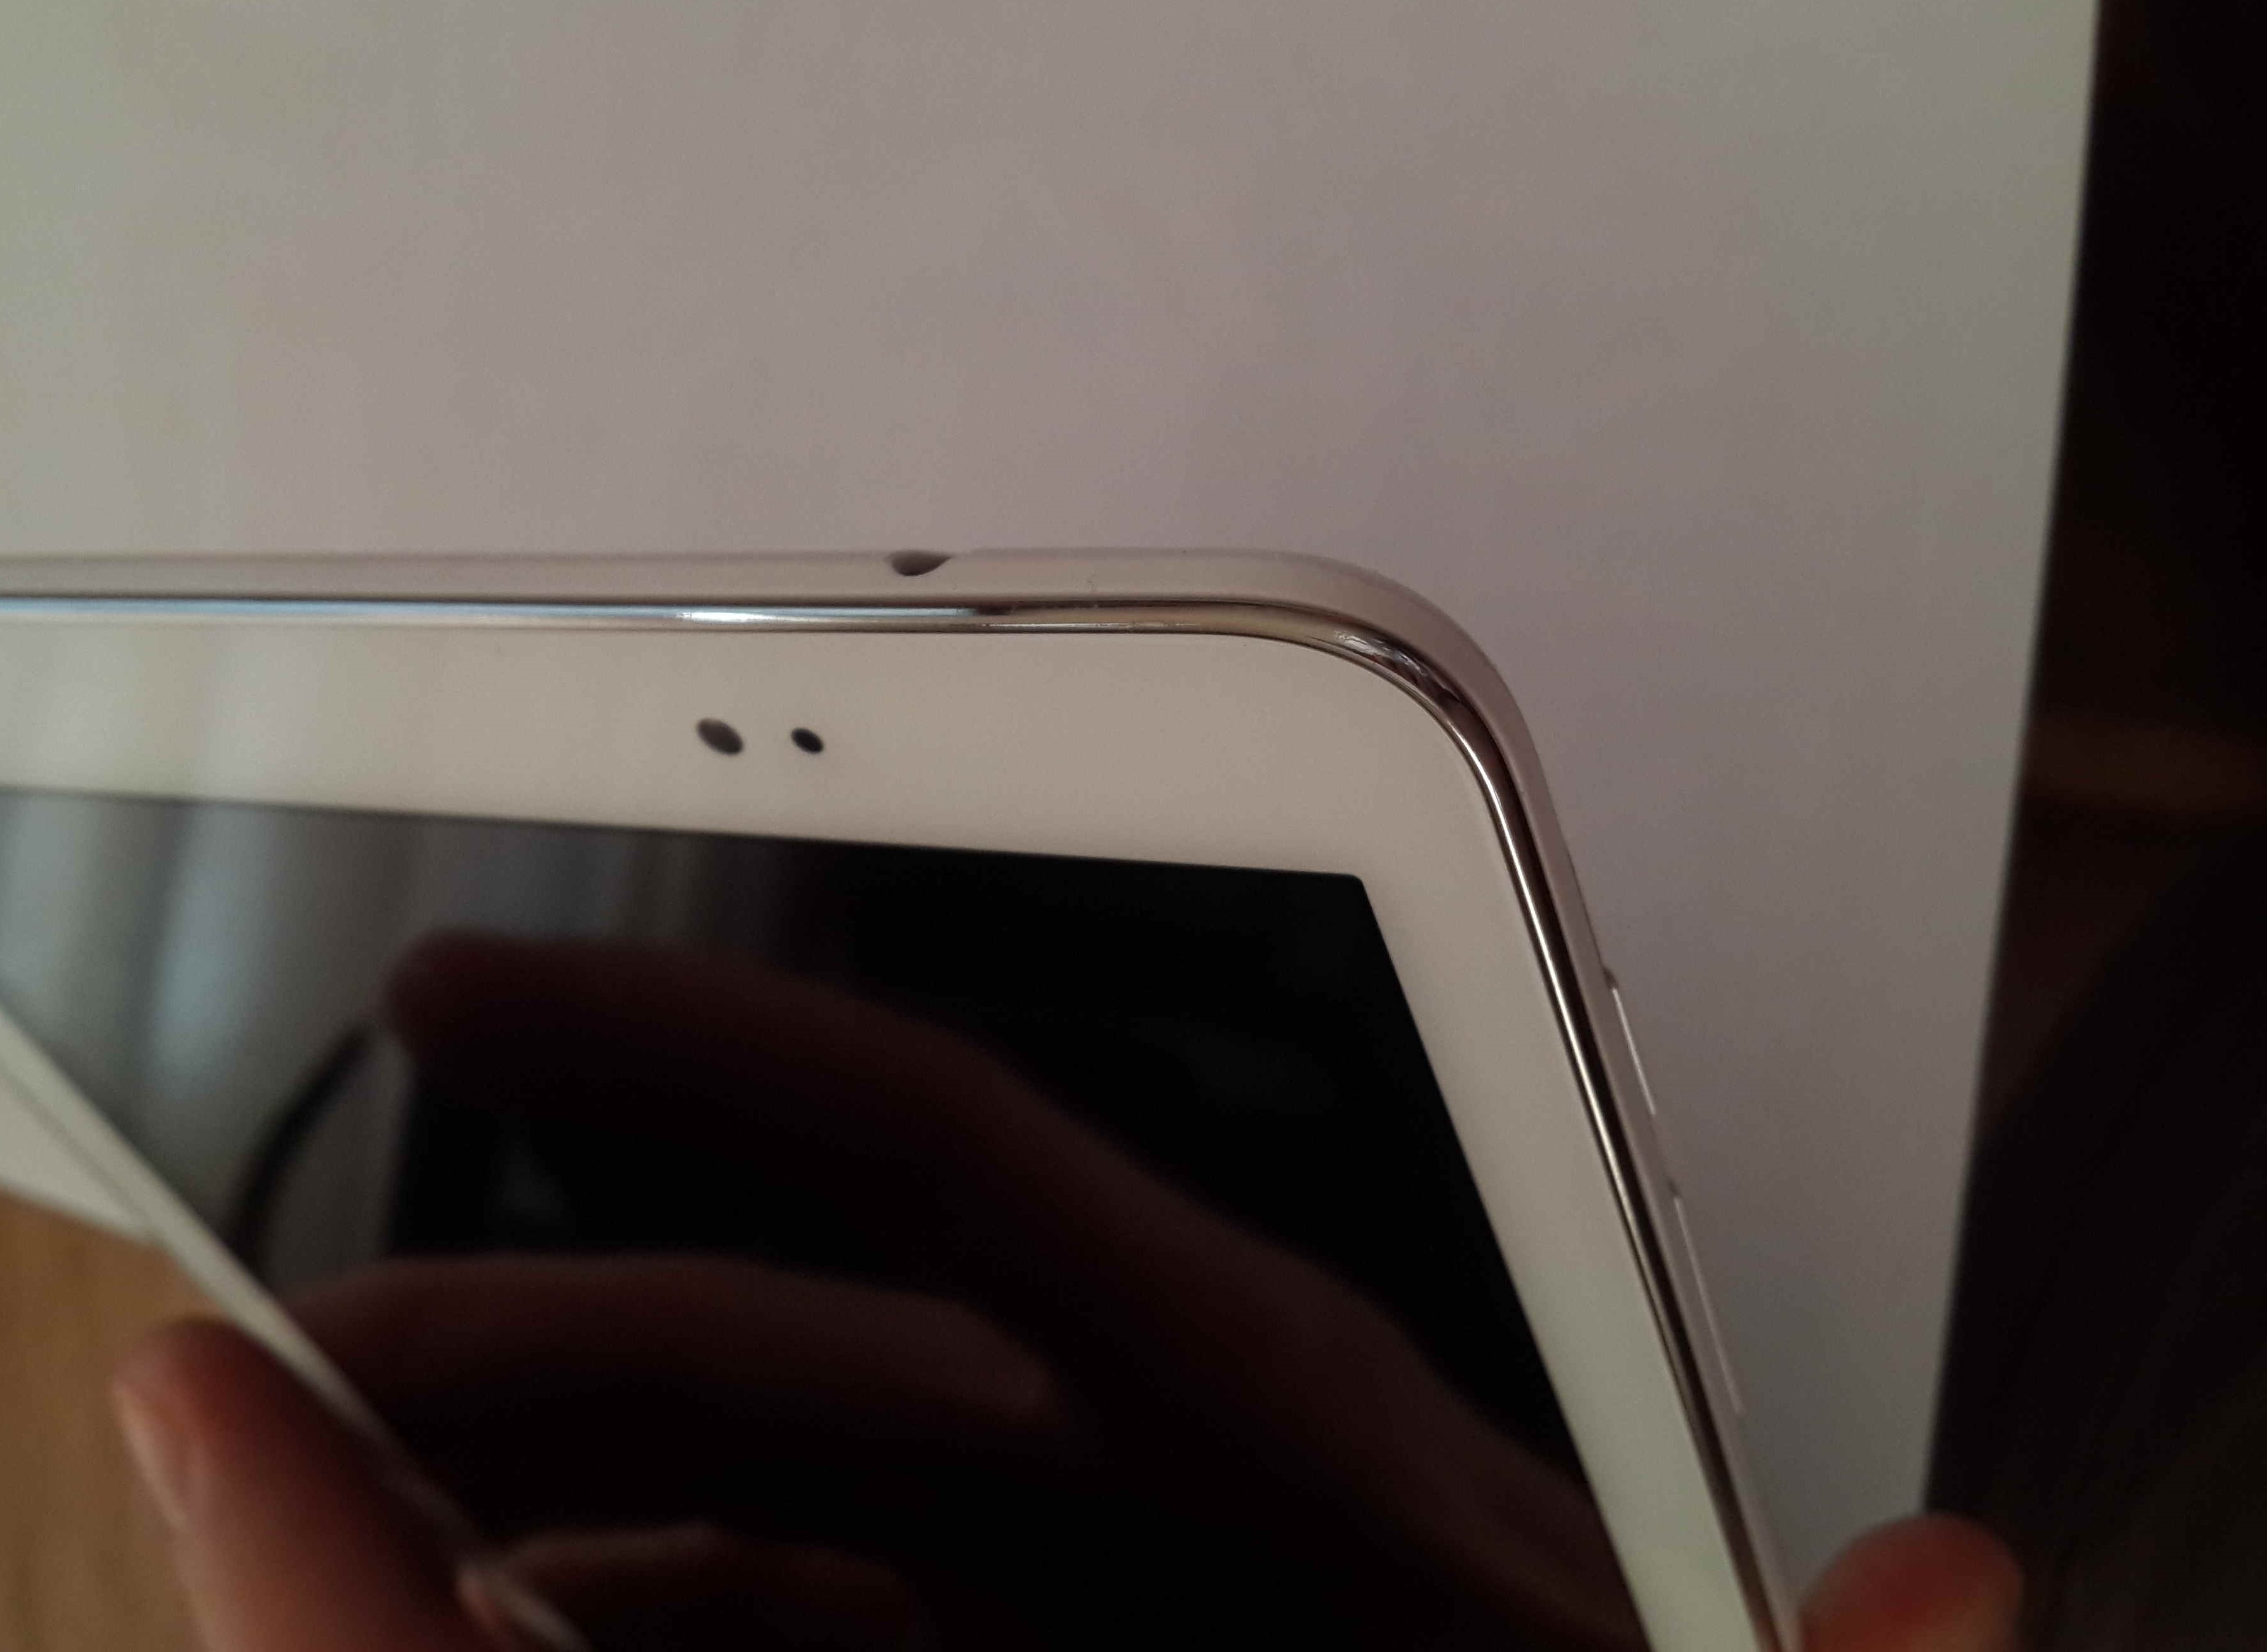
Slots for MicroSD and MicroSIM exposed in top left (tablet’s bottom right)
And I didn’t regret it. Recently however I’ve been travelling more frequently and my future plans appear to contain a lot more travelling too. Specifically flying. I have on several occasions travelled with my laptop. Which is OK. But it’s heavy, bulky and awkward to work on when on the move when you don’t have a desk or somewhere to place it. My phone on the other hand, while being very capable, is not something I’m going to get much work done on.
So for the past few months I’ve been trawling the second hand tablet market. Which in East London is slightly worse than the already poor SA 2nd hand market. Tablets seem to hold their value remarkably well. I’d hoped for an iPad, preferably with a retina display. iPad Air would have been ideal and I was specifically looking for a device with mobile data. The prices however were (for what I was wanting) exorbitant.
3.55mm audio jack, power button and volume rocker
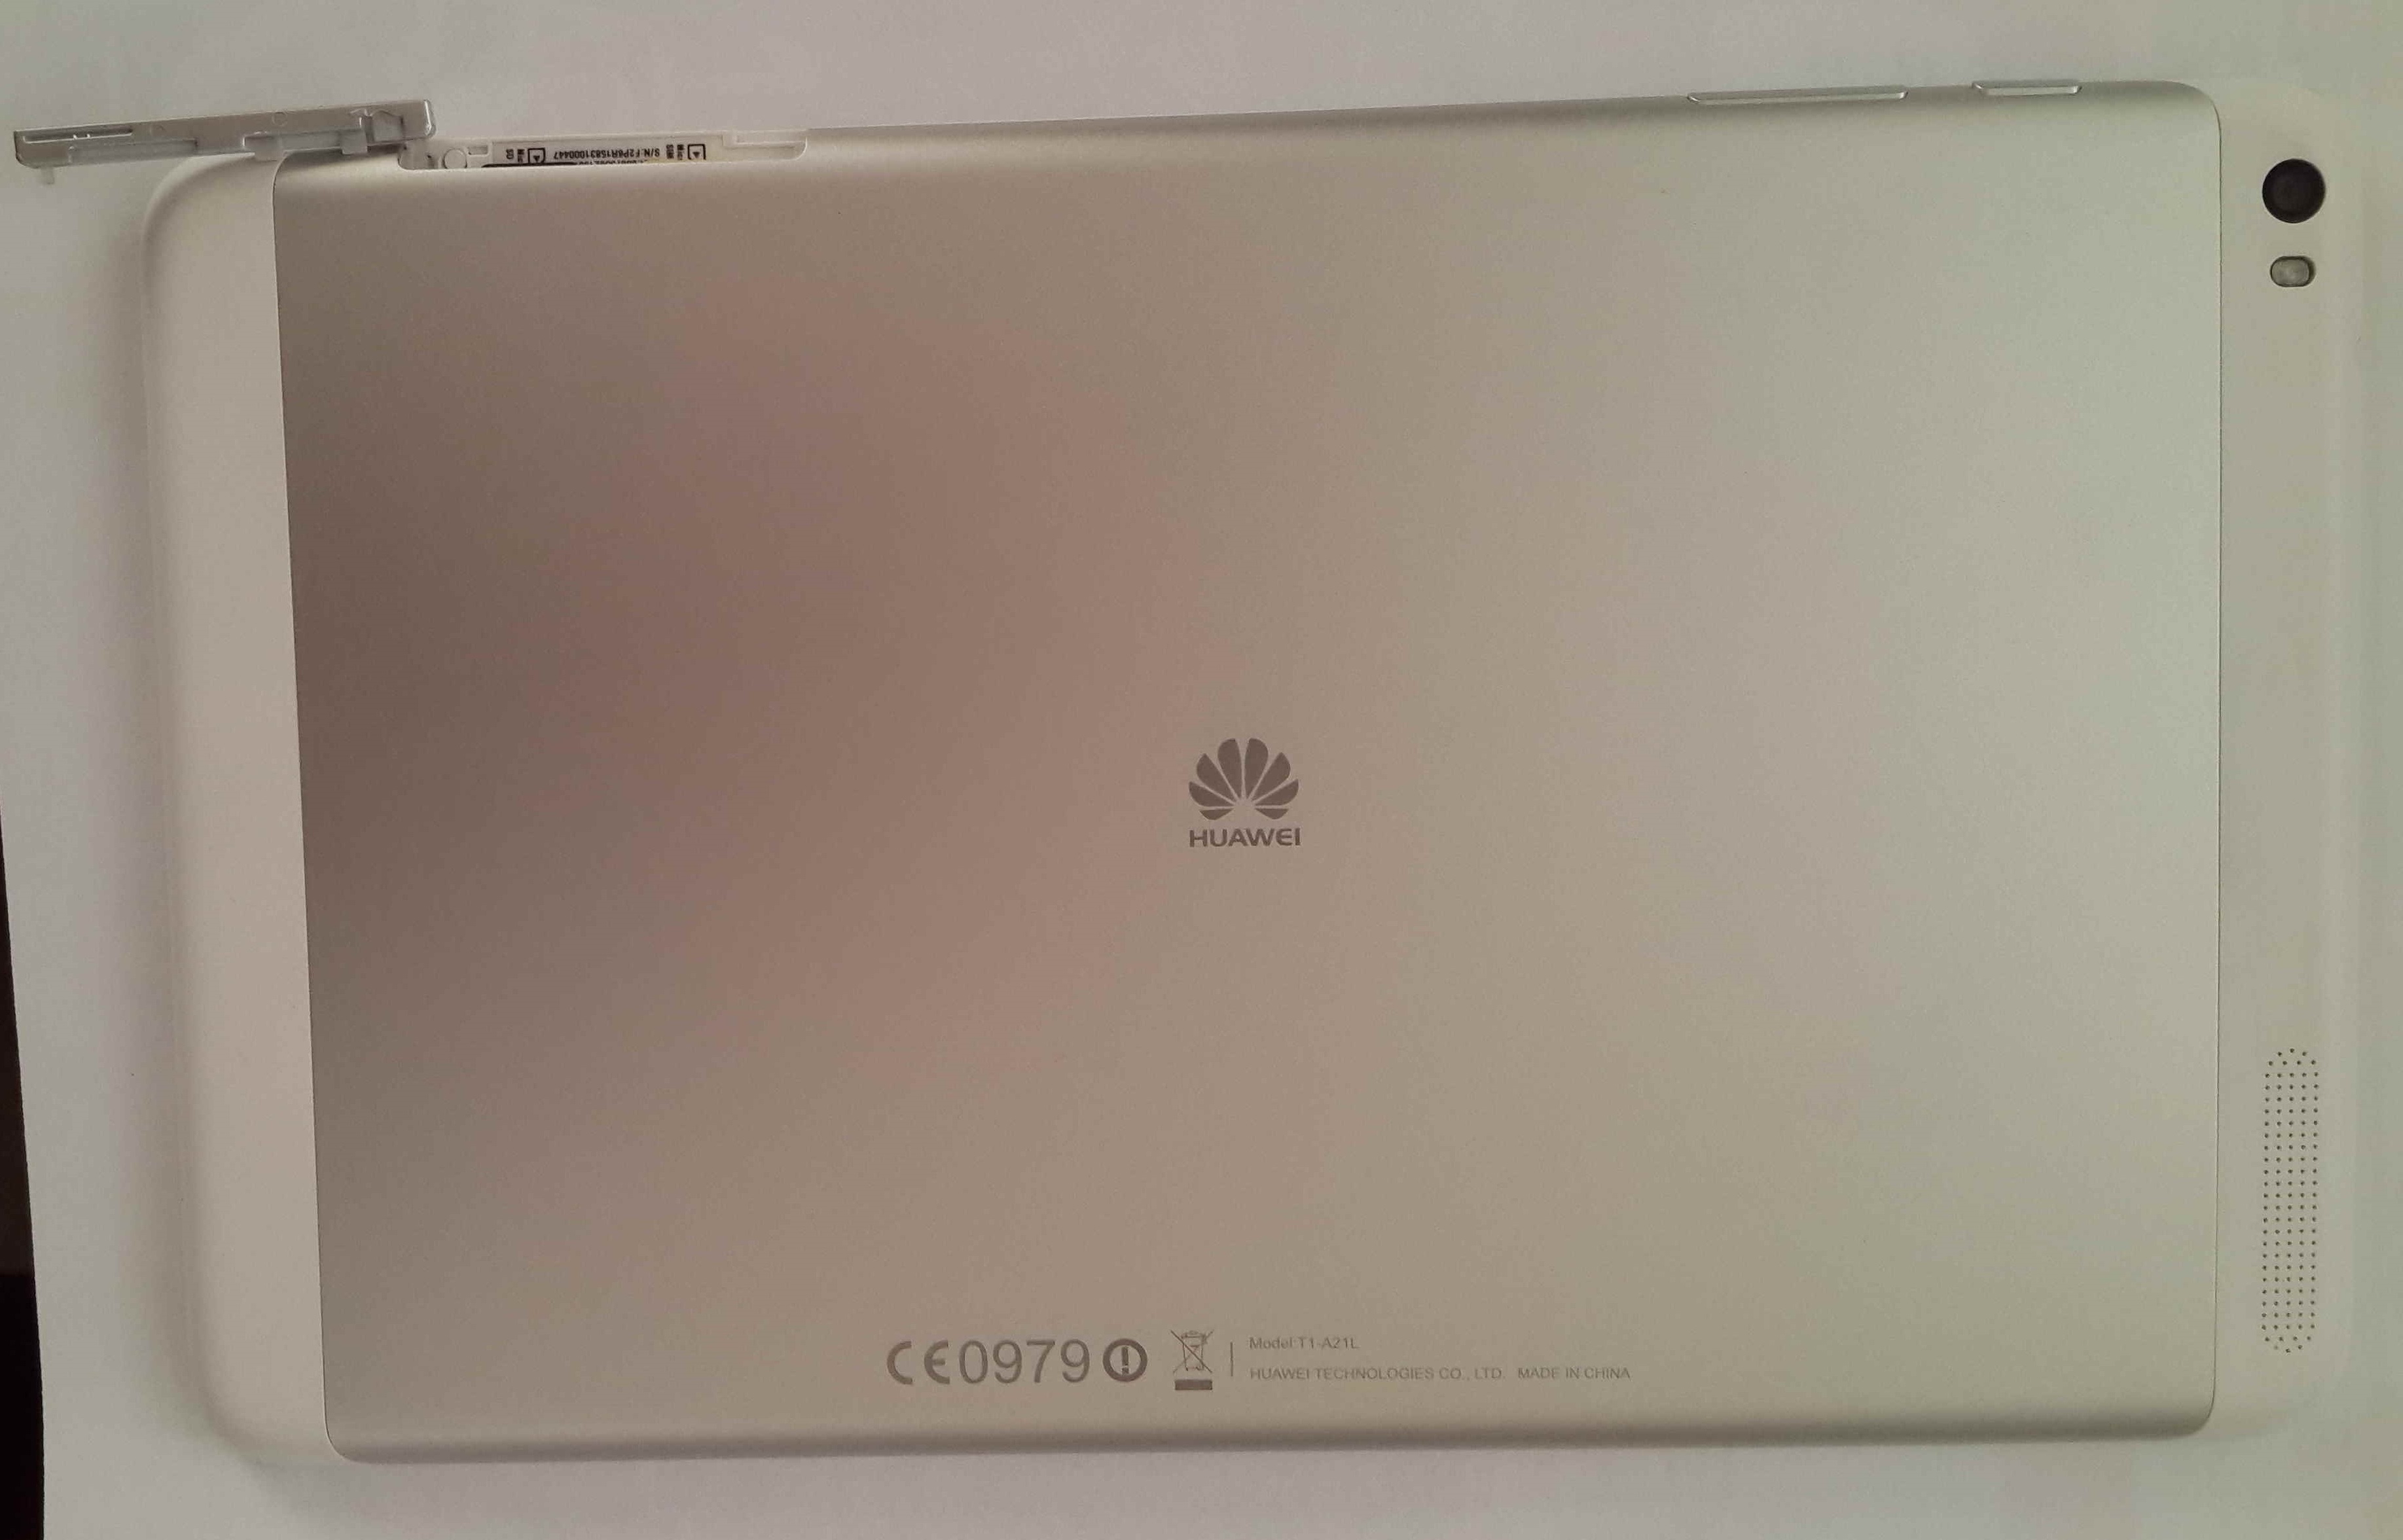
I tried Android equivalents but they were no cheaper. Eventually resigning my fate to that of a 720p screen. Still in the market I started monitoring specials and deals from the various technology outlets. Eventually settling on a Huawei T1 Mediapad.
And it’s ticked all the boxes. Takealot had it on special and with a significant amount of eBucks I managed to pick it up fairly cheap. Takealot advertised it as a 4Gb model without SD card slot. Research however showed this did not exist, so I ran the risk and ended up with a 16Gb unit that I added a 64gb microSD card to. I ordered a black unit but they delivered a white one. Not the end of the world and I chose to not bother with the return procedure.
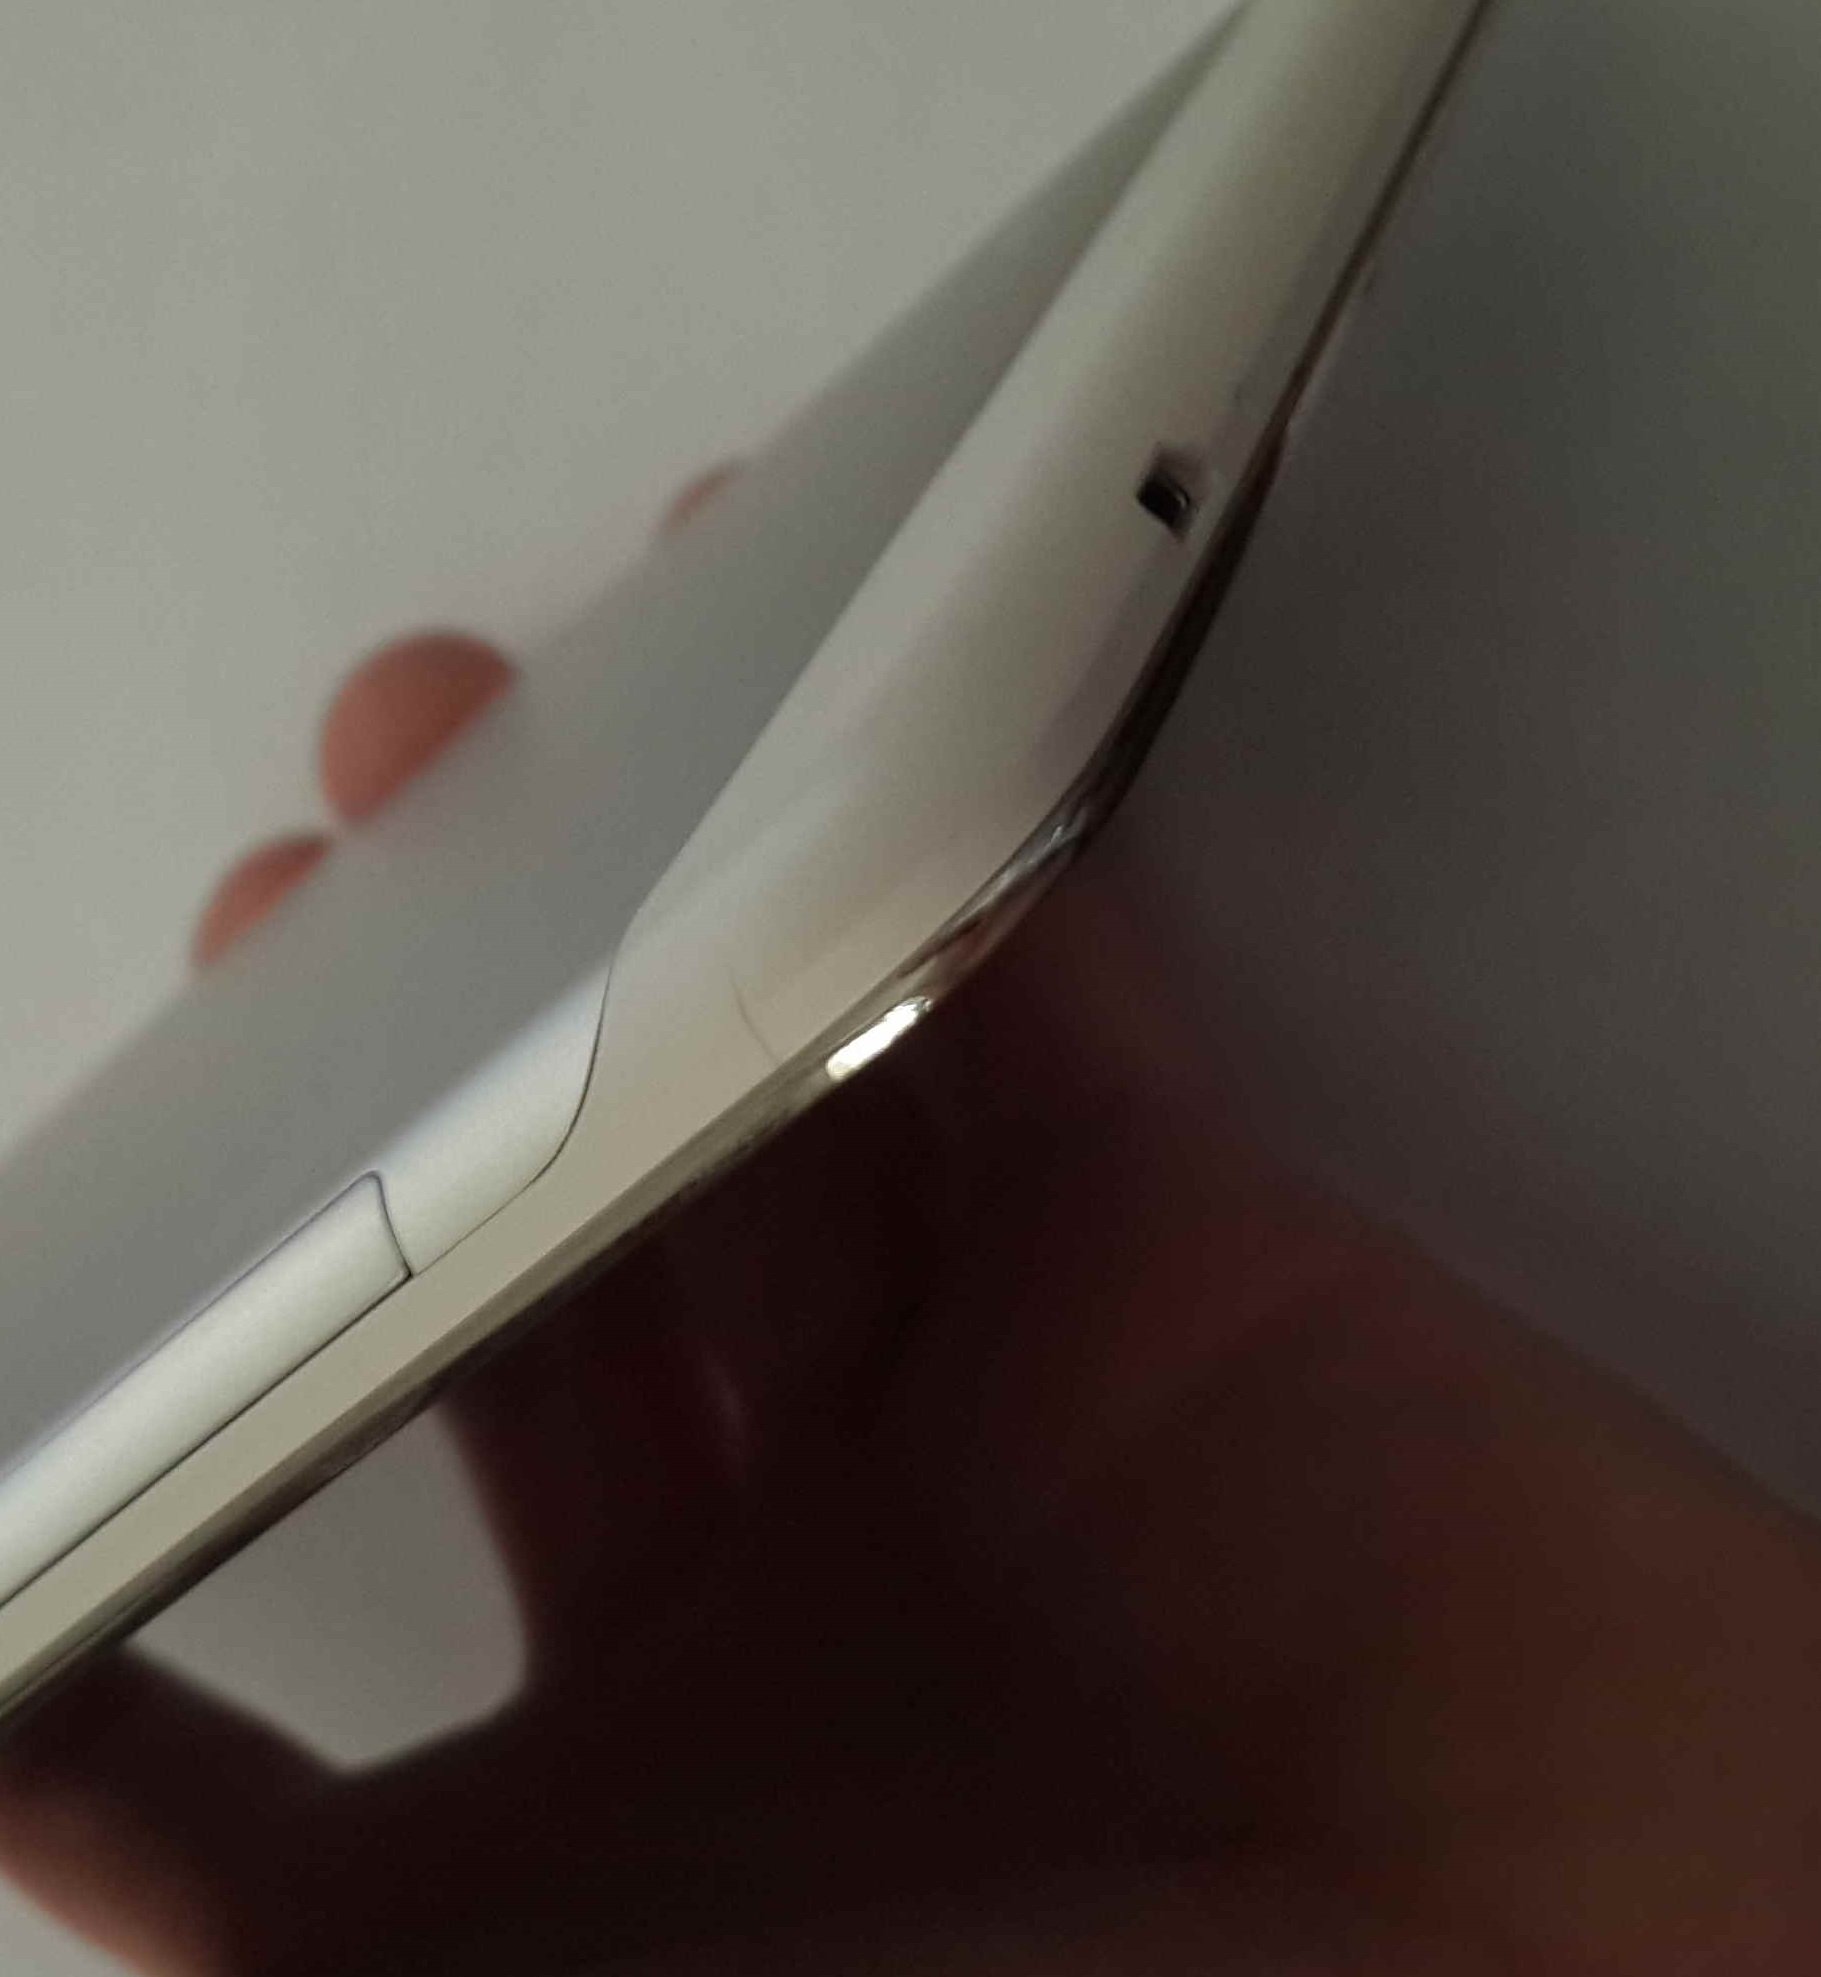
charging port at bottom is upside down
It came neatly packaged with earphones I haven’t bothered to use and surprisingly only a 1A charger with separate micro USB cable. Not much else needed. The first thing I noticed when turning it on was the resolution. I didn’t think it would bother me, and I’ve gotten over it with time, but 720p on a 10″ screen in this day and age is a crime. My 3 year old Galaxy S4 has 1080p on a 5″ screen. Tablet still works fine, but low pixel density is noticeable.
The tablet hasn’t give me any trouble really. I’m not a big fan of the EMUI (v3.0) interface and may run a jailbreak at a later stage but will stick it out for now. It gives transparent icons a green background and all apps are on your ‘desktops’. No apps menu. I also prefer hardware interface buttons as opposed to the on-screen ones Huawei use.
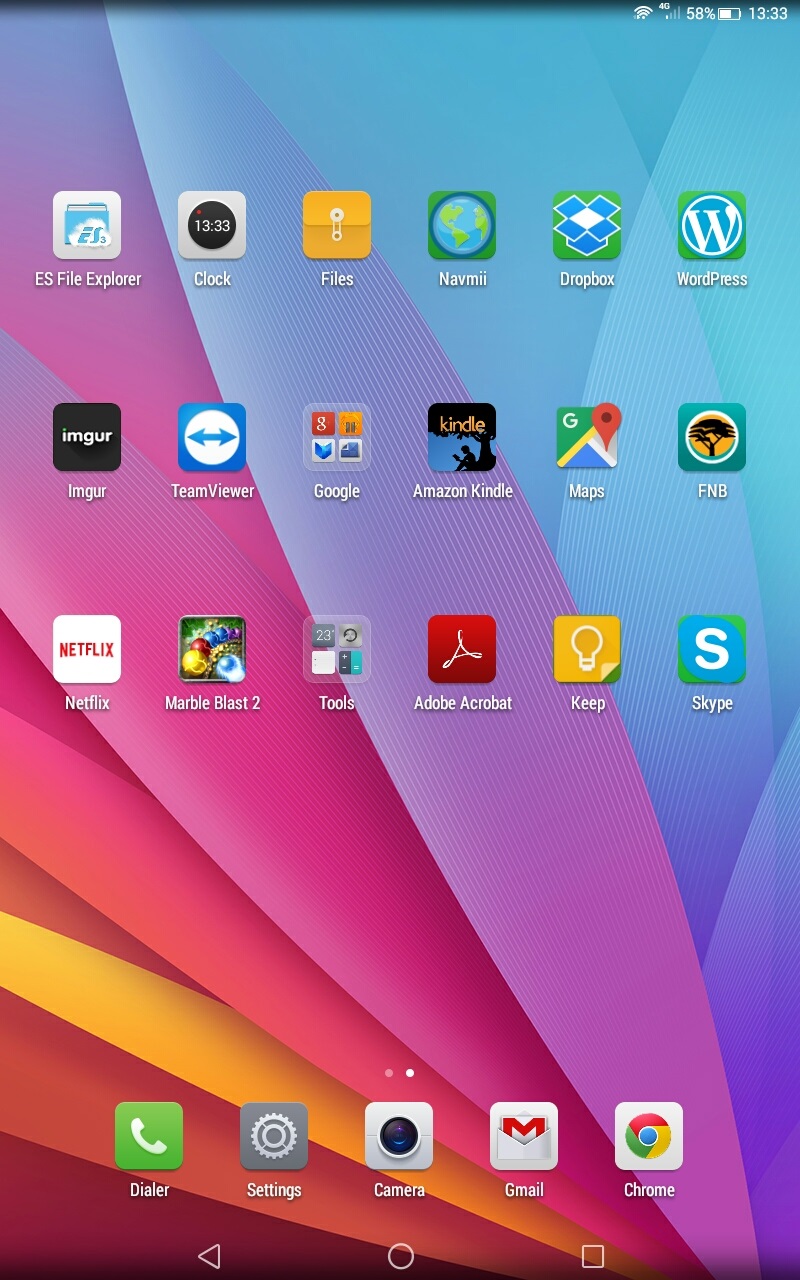
Why do icon backgrounds go green?
The volume rocker sits directly below the power button which means I regularly turn the screen off instead of changing the volume. Both are located top right which works well. The charger plugs in at the bottom, however goes in upside down. Unusual. Headphone jack located on the top. Right hand side bottom hides the micro SIM and microSD cards. Cameras are nothing to rave about, but I won’t use them for anything more than Skype for which they are adequate.
The 4G works well and the phone allows for voice calls and SMS as well. The tablet runs Android KitKat and besides Google Camera not working, I haven’t experienced any other major problems. At times the tablet will freeze momentarily. This is most noticeable when playing music and doing something else where the music will not play for a short time before continuing. This is noticeable in some other apps too when you push a button and it will freeze for a short time. Although slightly annoying it doesn’t majorly impede the use of the tablet and I’m not sure of the exact cause.
Overall I’ve been happy with the performance of the tablet. I’m by no means a power user and am slowly finding more and more uses for the tablet. Another slight annoyance is the lack of locally available covers for the Media pad. I’ve had to resign to doing an eBay order to get one which will probably still take another month (took 6 weeks in total in the end) to arrive assuming SAPO do their job.
The touch screen is mostly responsive but can be a bother at times, requiring multiple taps, specifically on smaller targets, to register.
Time goes on and as it does I discover more I like and dislike about the tablet. But I won’t be selling this one any time soon.


![GP012706.MP4_snapshot_00.01_[2015.10.13_19.56.49]](http://blog.gcawood.com/wp-content/uploads/2015/10/GP012706.MP4_snapshot_00.01_2015.10.13_19.56.49.jpg)
![GOPR2706.MP4_snapshot_10.54_[2015.10.13_19.59.41]](http://blog.gcawood.com/wp-content/uploads/2015/10/GOPR2706.MP4_snapshot_10.54_2015.10.13_19.59.411.jpg)
![GOPR2706.MP4_snapshot_01.24_[2015.10.13_19.57.57]](http://blog.gcawood.com/wp-content/uploads/2015/10/GOPR2706.MP4_snapshot_01.24_2015.10.13_19.57.57.jpg)
![GP012704.MP4_snapshot_00.53_[2015.10.13_20.09.58]](http://blog.gcawood.com/wp-content/uploads/2015/10/GP012704.MP4_snapshot_00.53_2015.10.13_20.09.58.jpg)
![GOPR2705.MP4_snapshot_08.02_[2015.10.13_20.04.40]](http://blog.gcawood.com/wp-content/uploads/2015/10/GOPR2705.MP4_snapshot_08.02_2015.10.13_20.04.40.jpg)
![GP012704.MP4_snapshot_04.37_[2015.10.13_20.10.55]](http://blog.gcawood.com/wp-content/uploads/2015/10/GP012704.MP4_snapshot_04.37_2015.10.13_20.10.55.jpg)
![GOPR2705.MP4_snapshot_03.06_[2015.10.13_20.02.47]](http://blog.gcawood.com/wp-content/uploads/2015/10/GOPR2705.MP4_snapshot_03.06_2015.10.13_20.02.47.jpg)
![GP012704.MP4_snapshot_00.24_[2015.10.13_20.09.25]](http://blog.gcawood.com/wp-content/uploads/2015/10/GP012704.MP4_snapshot_00.24_2015.10.13_20.09.25.jpg)