
A friend recently picked up a 2nd hand Guitar Hero guitar. It worked mostly well, but at times when pressing some of the frets, other frets would also register. This makes playing the games normally a nightmare, as you’re currently being penalised for mistakes you didn’t actually make.
I took it apart but couldn’t find much wrong with it, besides some odd design decisions. /start side rant
There are 5 buttons on the fretboard. So if I were to design it, I would have 6 wires, 1 for each button, and one ground. But the fretboard has 8 connectors. I’m not sure if it allows a wire to be damaged and it to continue to work, but it doesn’t seem so. All I can think is that they had 8 pin connectors, and decided to use them. On the guitar itself, the 8 pins connect to a small PCB, with 6 lines coming from it straight to the microcontroller. It confuses me.
/end side rant
I didn’t have any way to test the guitar, so I gave it back, but my friend returned saying it seemed slightly worse. This was concerning. I got him to return it to me so I could take another look, this time requesting the receiver dongle as well so I could do testing myself.
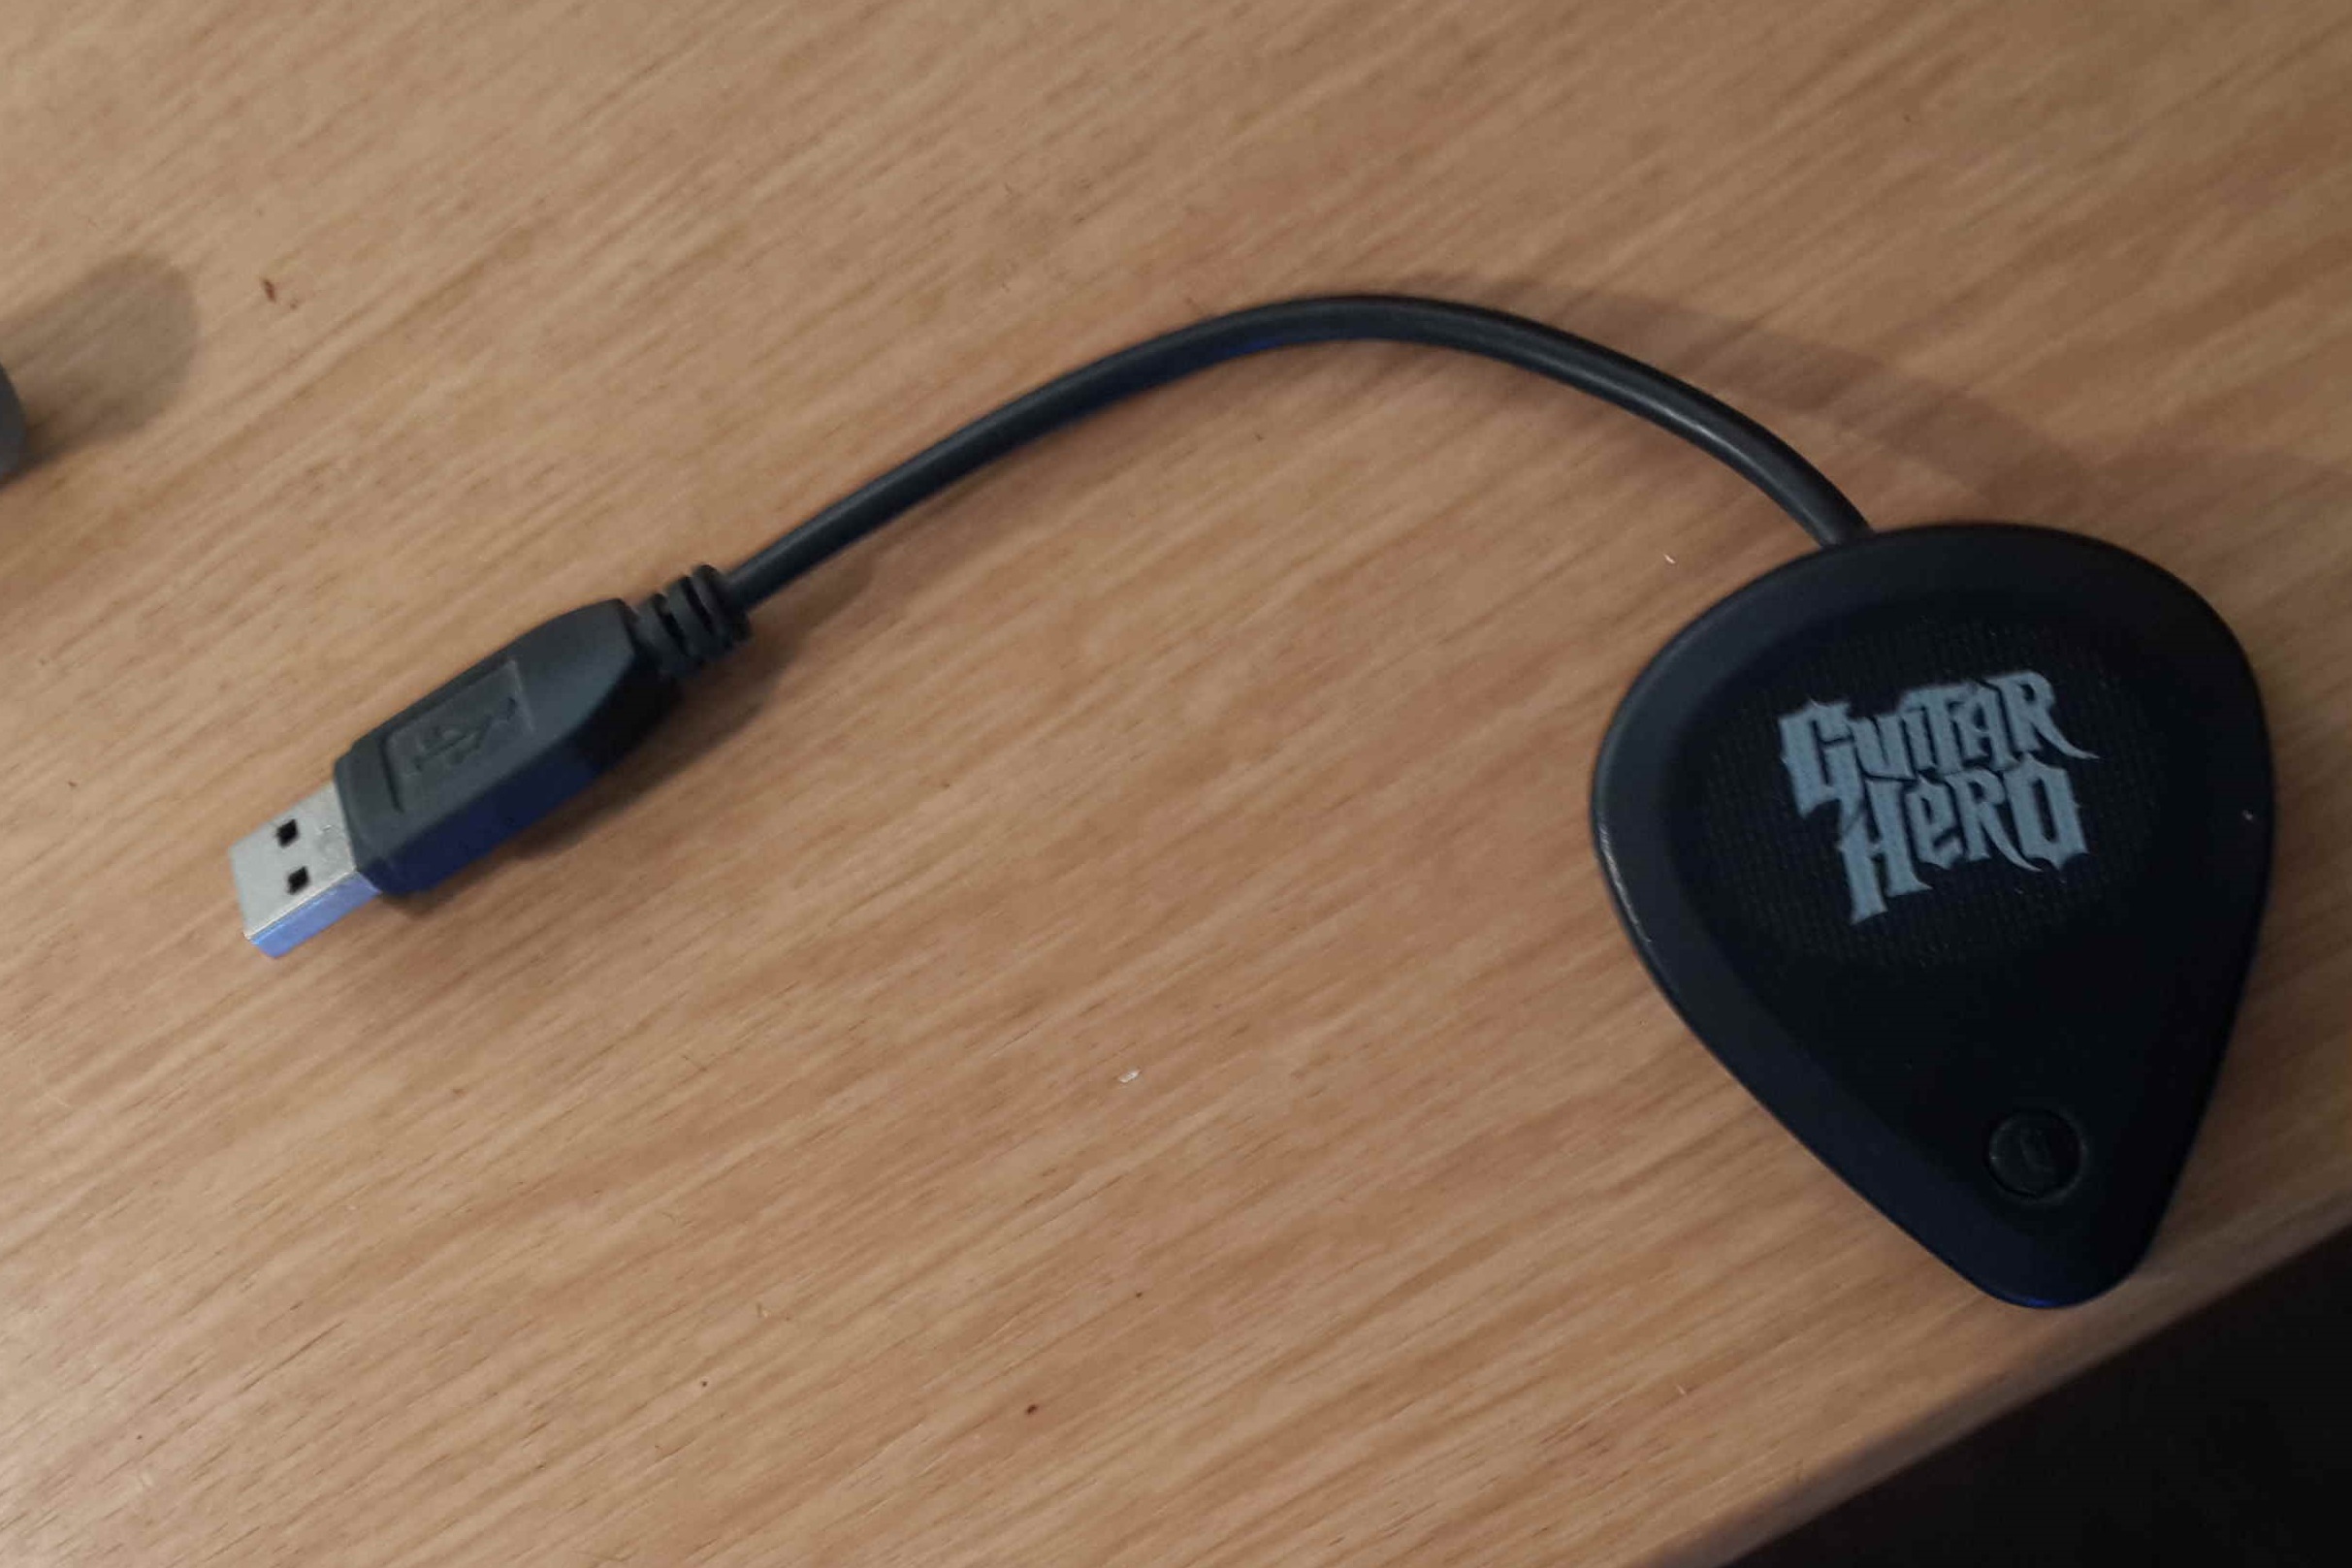
USB Guitar Hero Dongle
The USB receiver is detected by Windows, and shows up as a game controller, so it’s quite easy to test the response of the system. What I found is that when the red button was depressed, the yellow button would trigger for a few 100ms as well. And likewise when depressing the yellow button, the red button would also be triggered for a few 100ms.

Windows sees the Guitar Hero as a gamepad, allowing one to monitor the inputs.
So again I opened up the guitar, spent some time with a multi-meter probing around, but didn’t find much. The connection from the buttons to the microcontroller all seemed to be in order, without any obvious problems. I don’t know what the problem actually was. The soldering on the board was relatively poor in my opinion, quite a bit of splatter, and several potentially joined lines. I took a scalpel to the board and cleared off any extra residue and solder I noted. Plugged everything back in and it all appears to be functioning 100%.
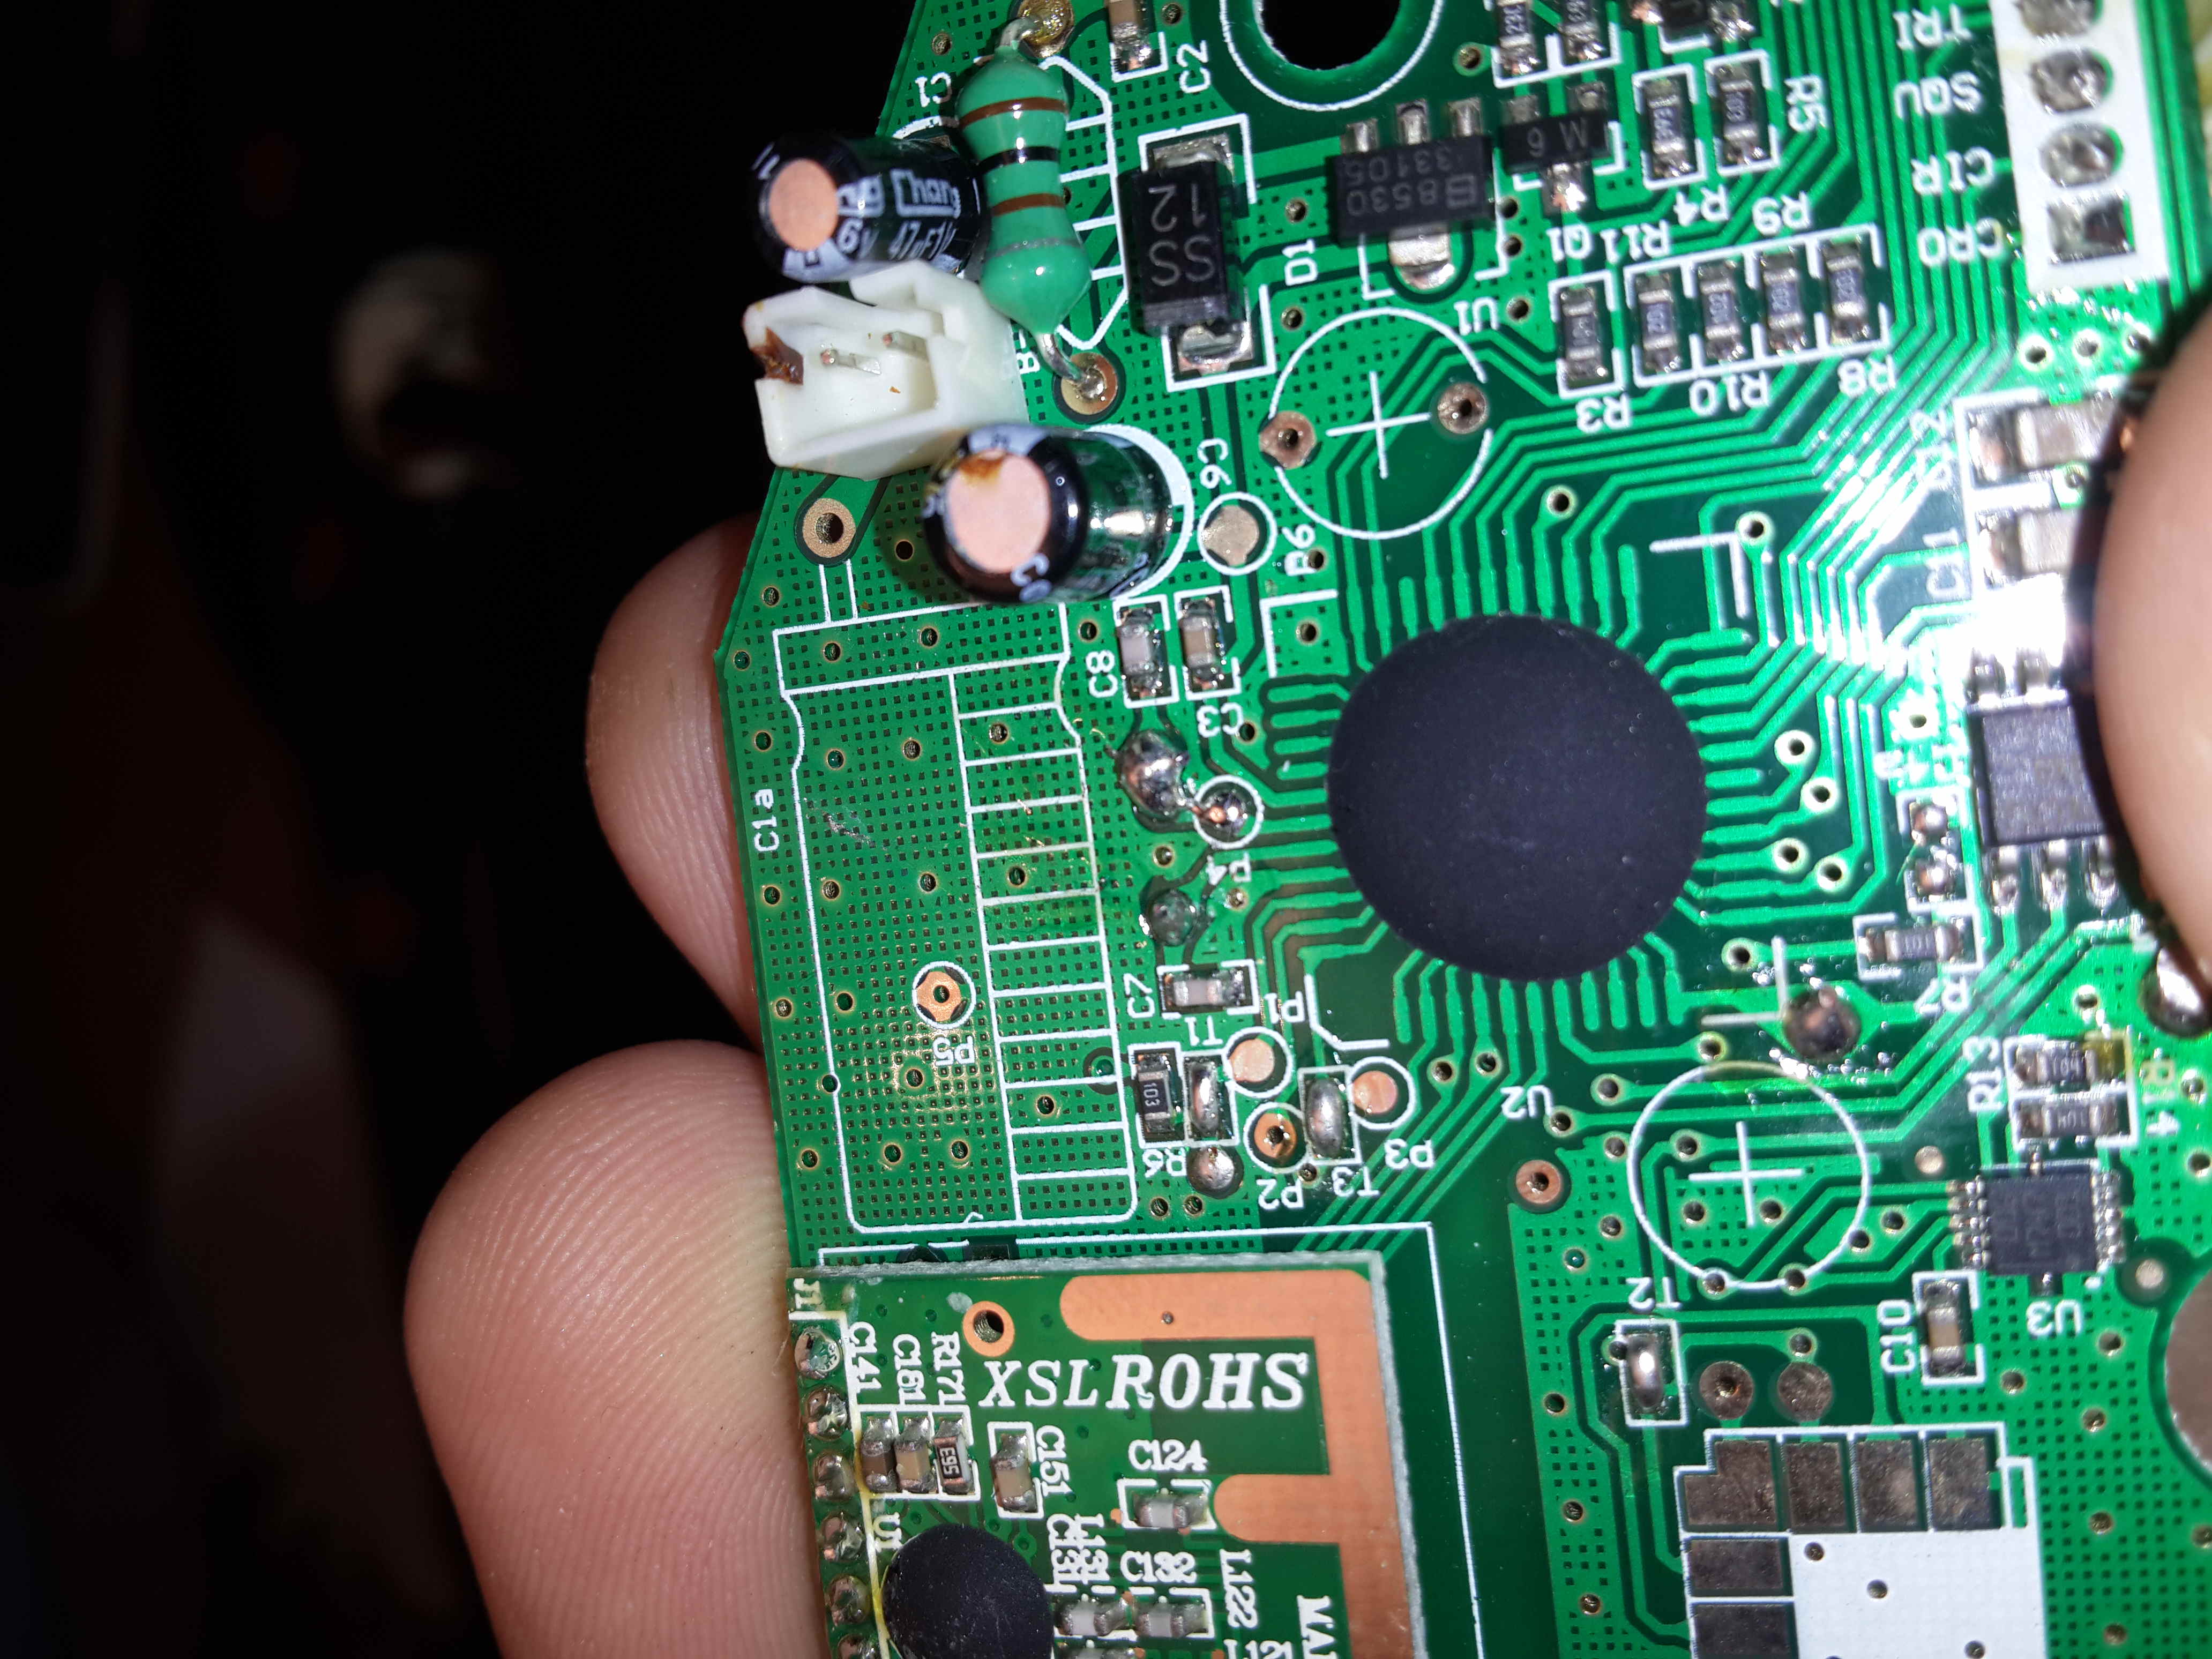
Main PCB, some solder contamination noted.
Again, I don’t know what was/is actually wrong with the board. Time will tell if the problem reoccurs, but at the moment it seems to be working well.
Disassembly
The guitar is fairly straightforward to disassemble. The fretboard pops out and is secured by multiple Torx-screws, and inside the PCB is secured by the same screws.
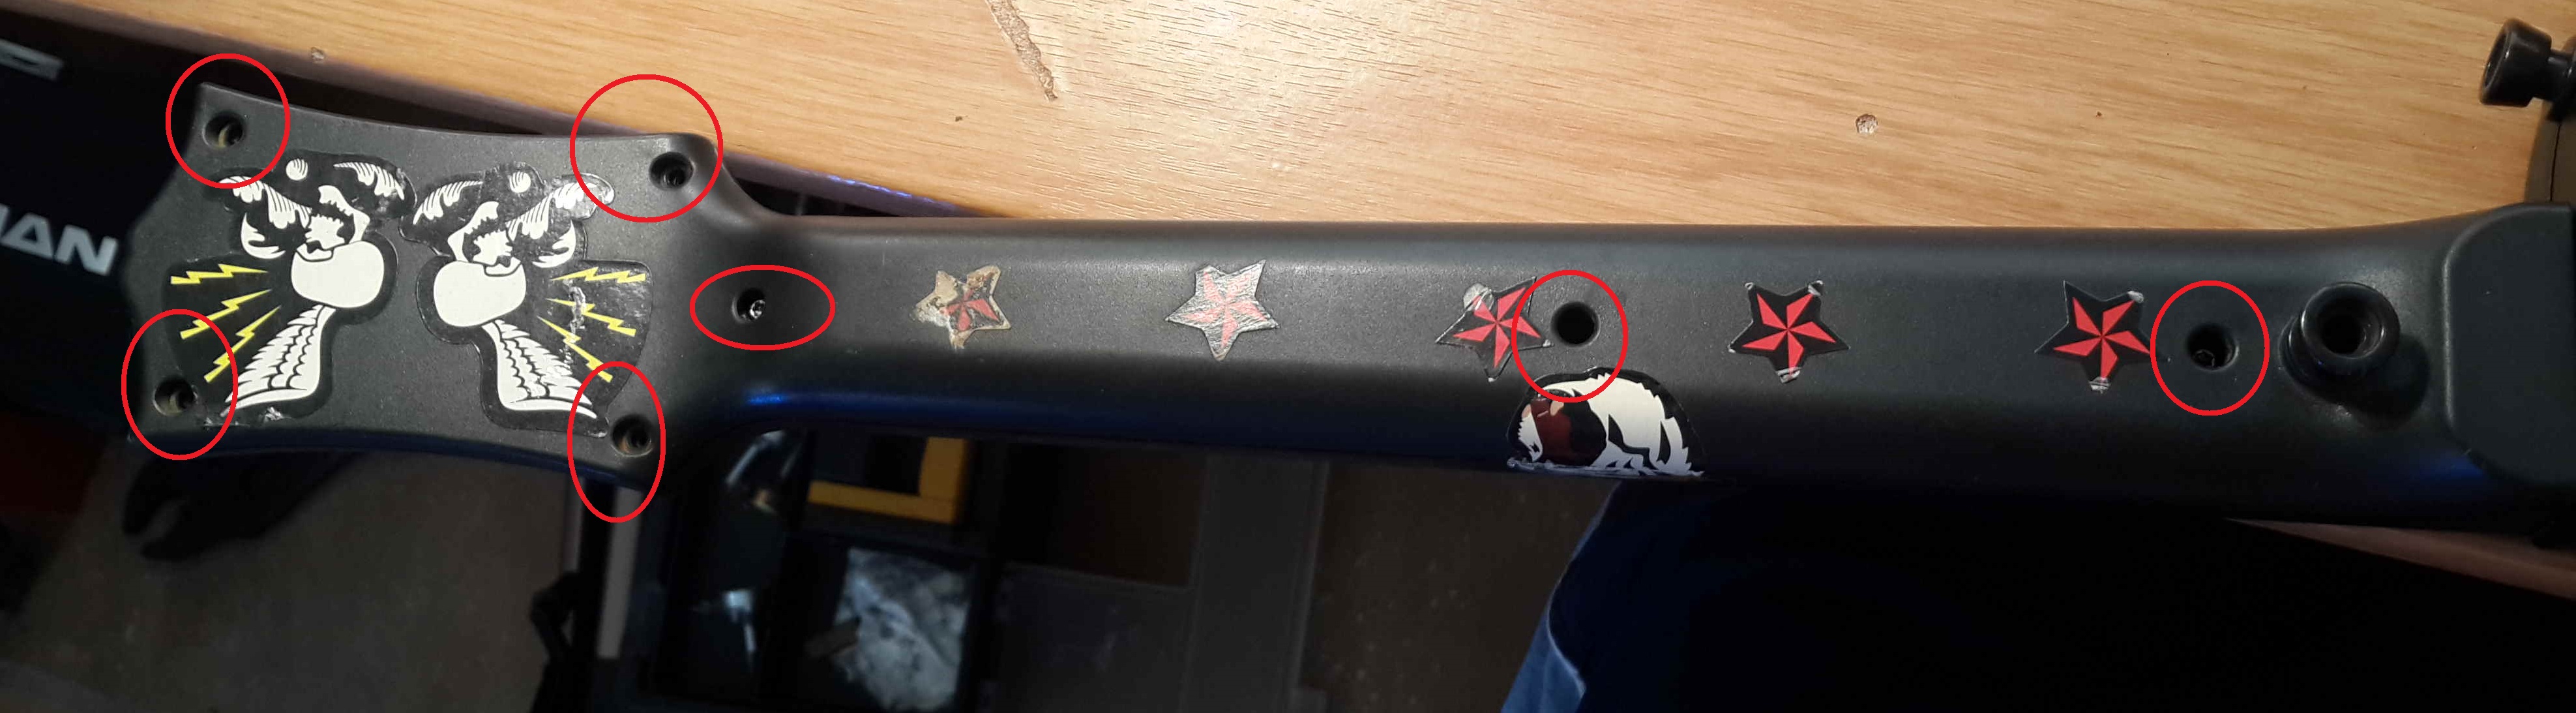
Screws to loosen to open fretboard

Two screws holding PCB in place. Slight press-fit.
The body of the guitar is similarly assembled. Remove the face plate and loosen all the screws on the back (11 in total, one is hidden behind a ‘warranty void’ sticker). Take care when separating, as the whammy bar needs to be threaded through, and some wires connect the two halves of the guitar together (namely the battery connector), these can be unplugged fairly easily.
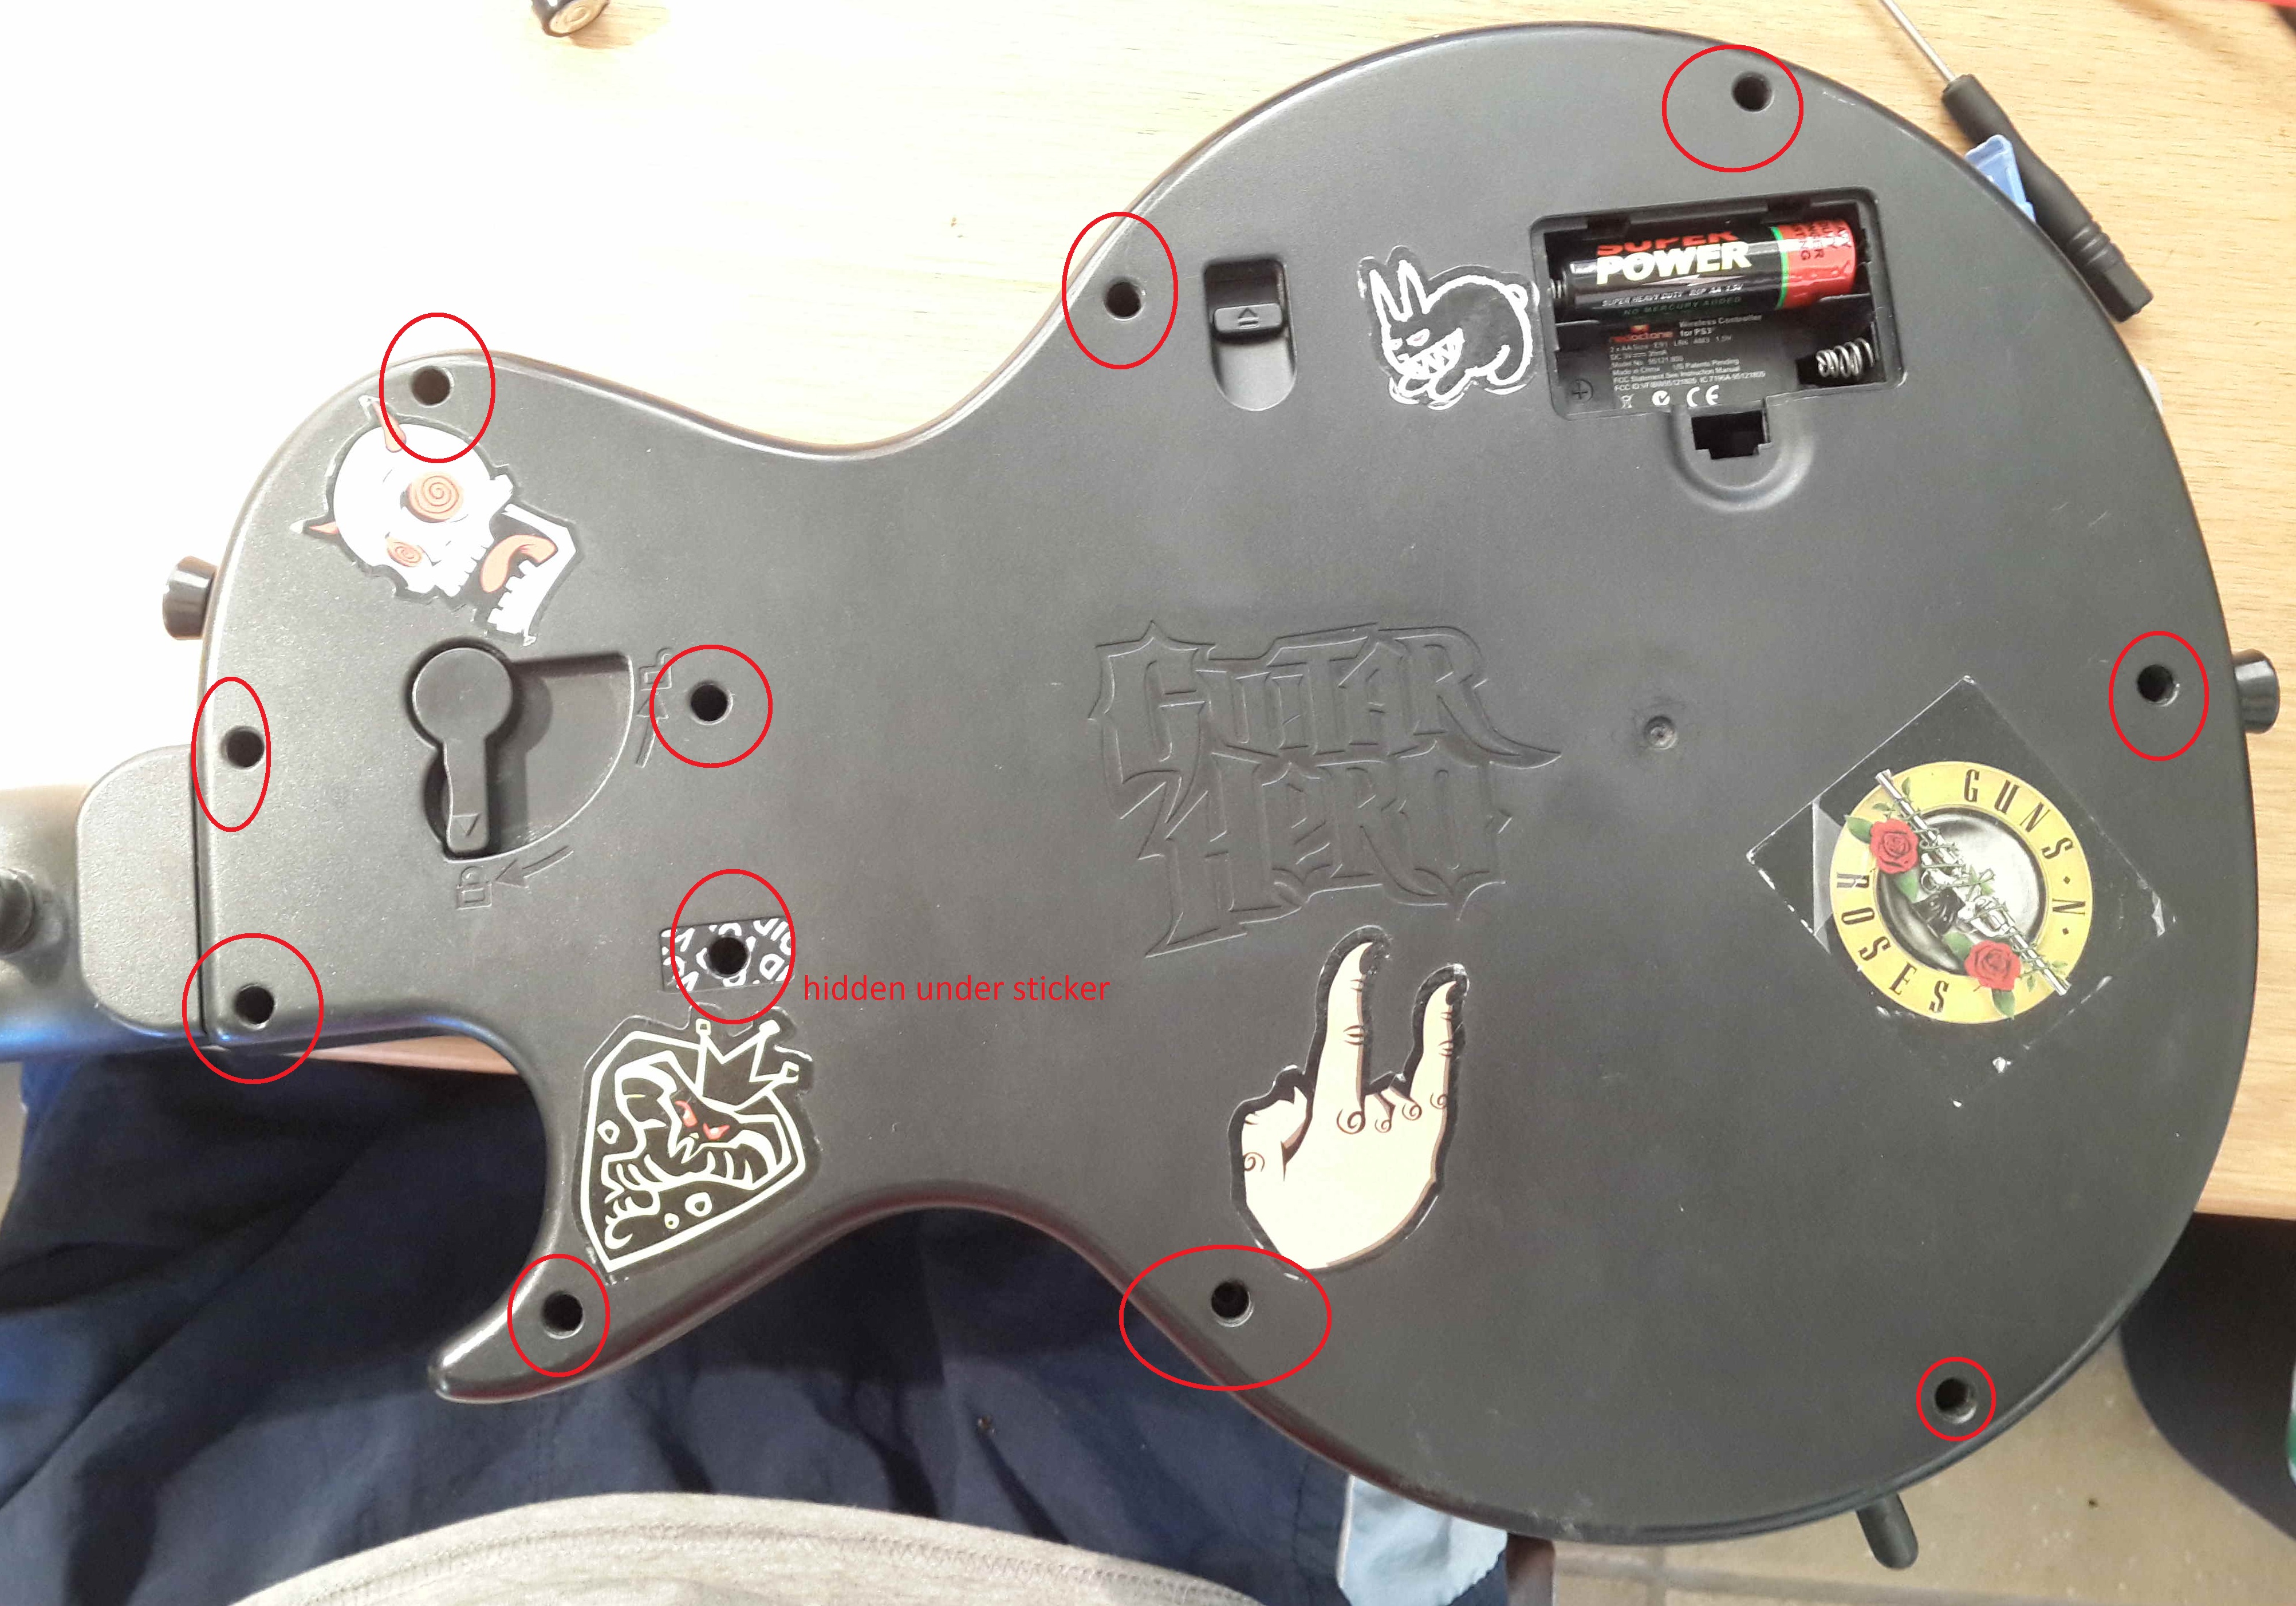
Location of screws to loosen to open guitar body
The main PCB is secured by screws which can be easily removed to give access to the board.
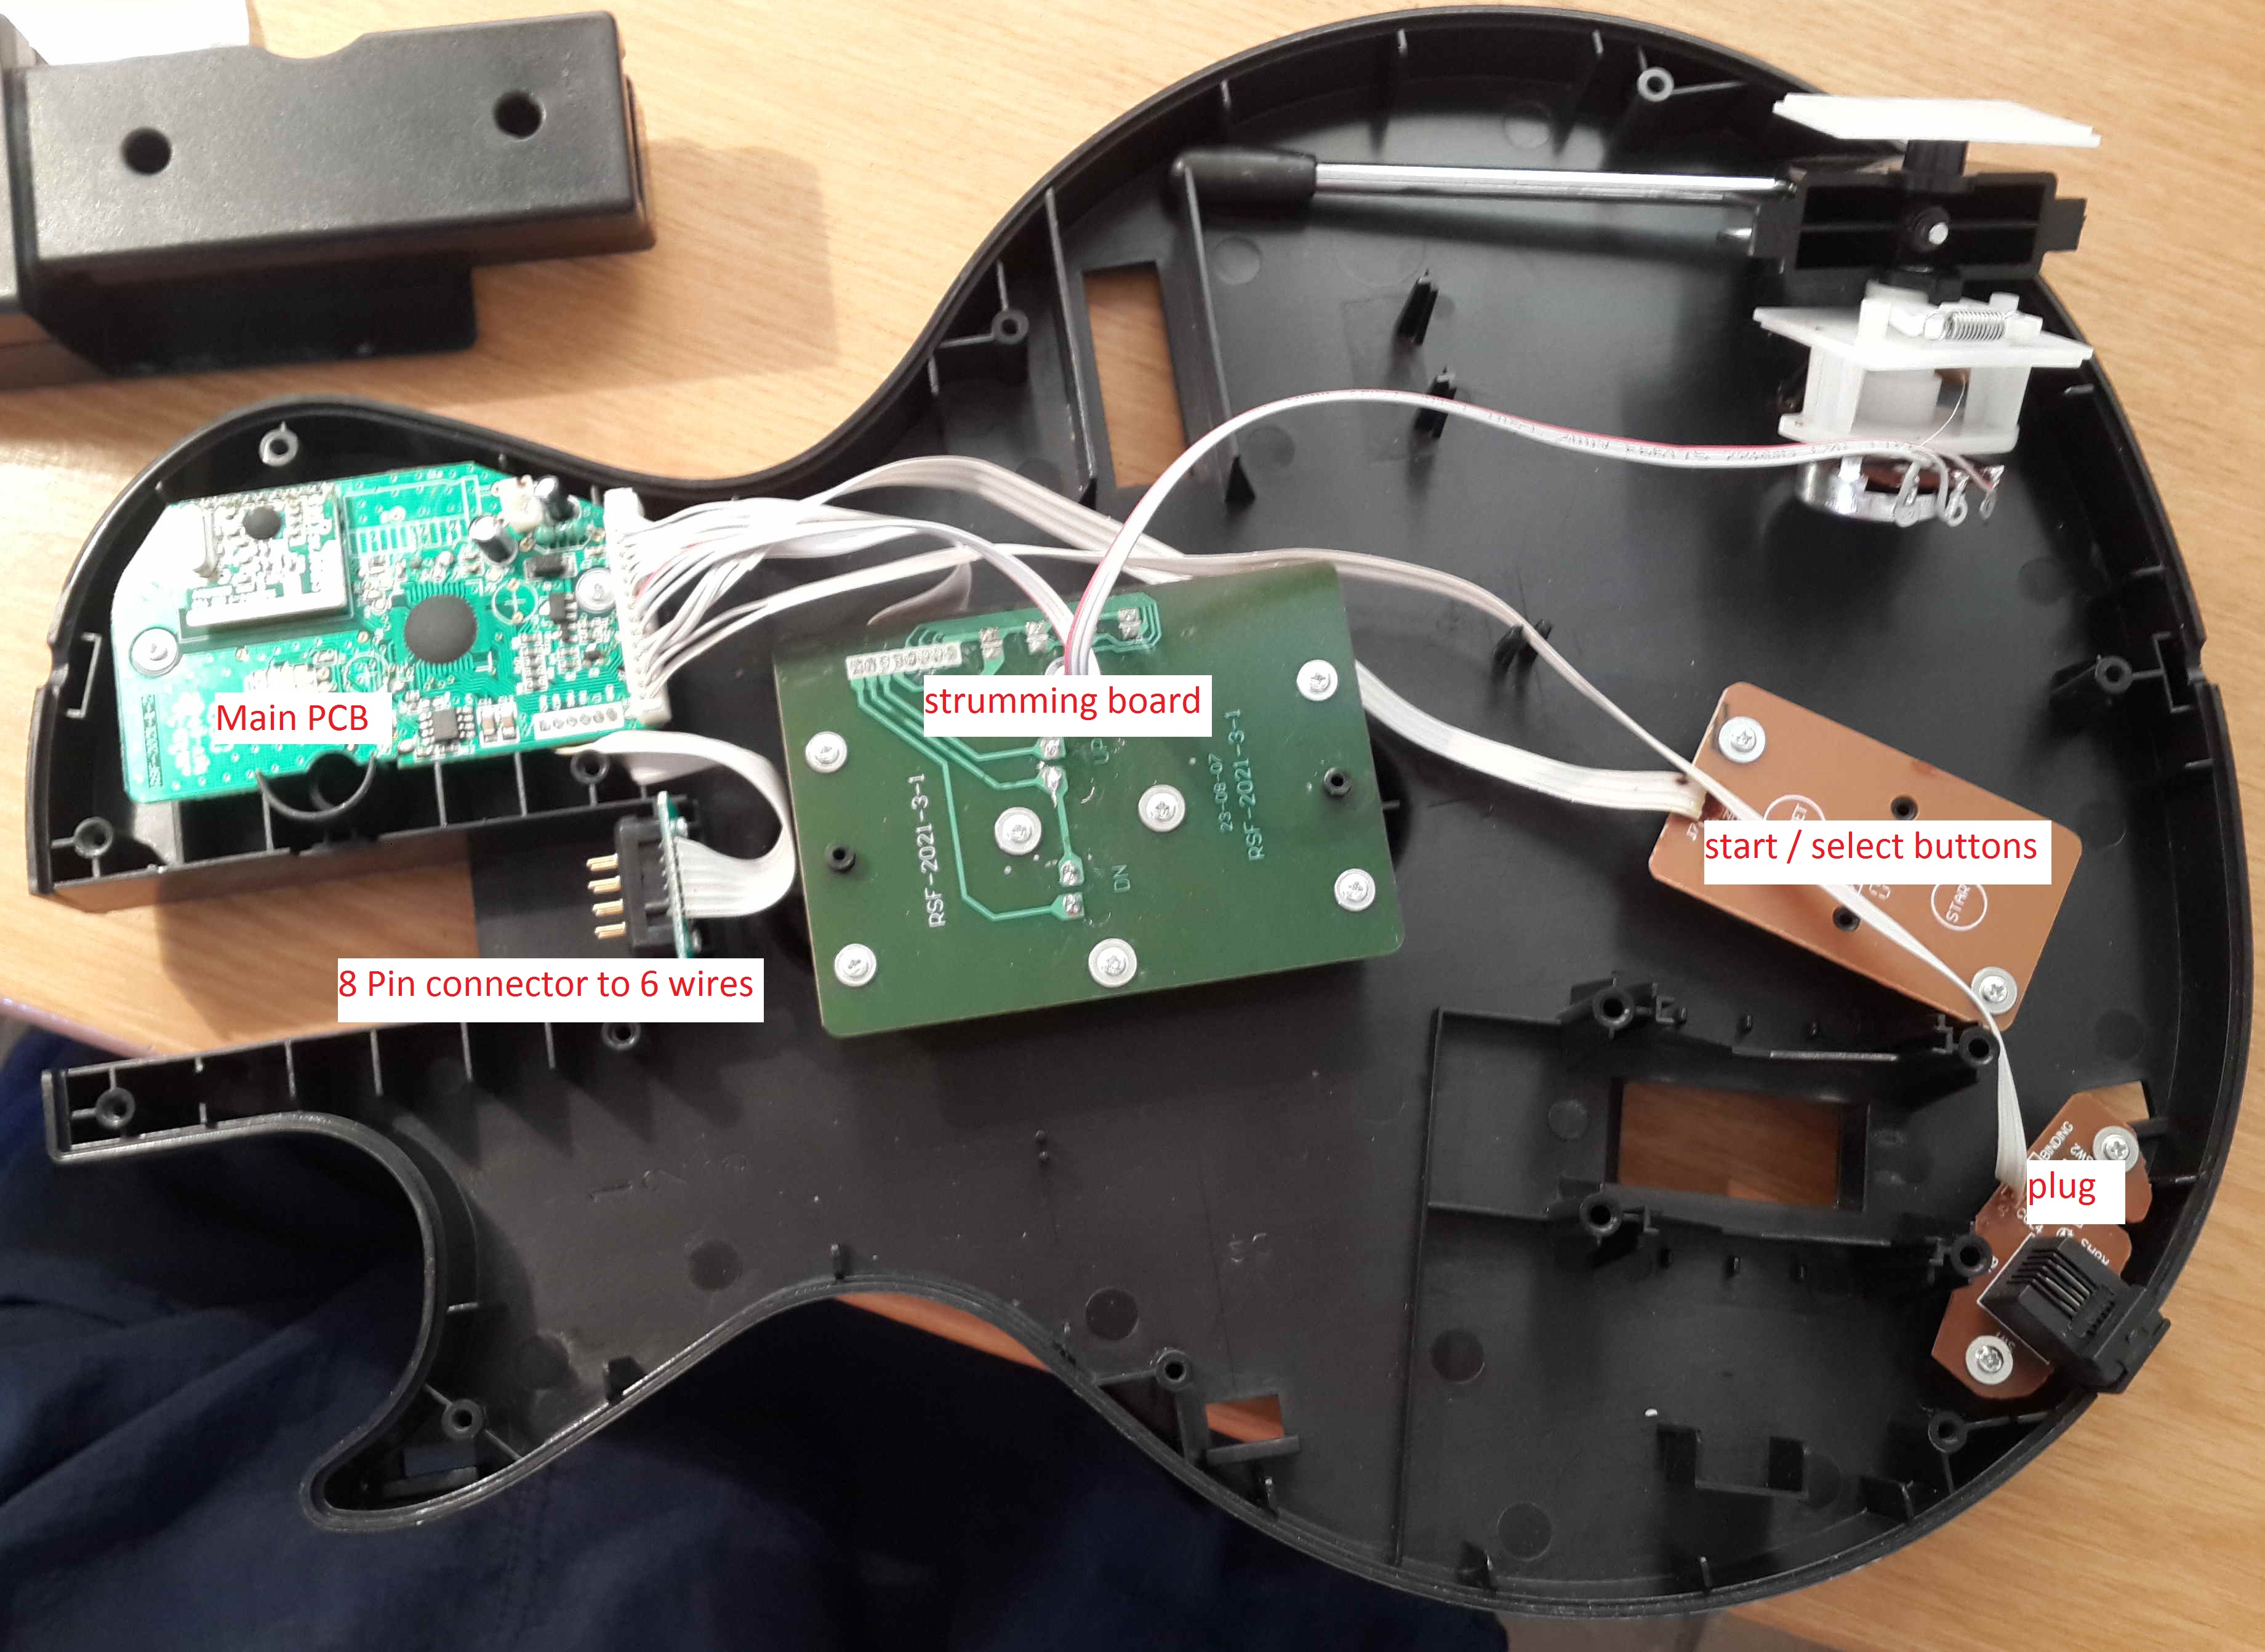
Location of various items within the guitar body