I recently had to fly with my bike, and the airline wasn’t going to take it for me, so I ended up having to freight it. I used Emirates SkyCargo, and they first look at the weight of your item, and then calculate a volumetric weight, based on the dimensions of your package (LXBXH div. 6000).
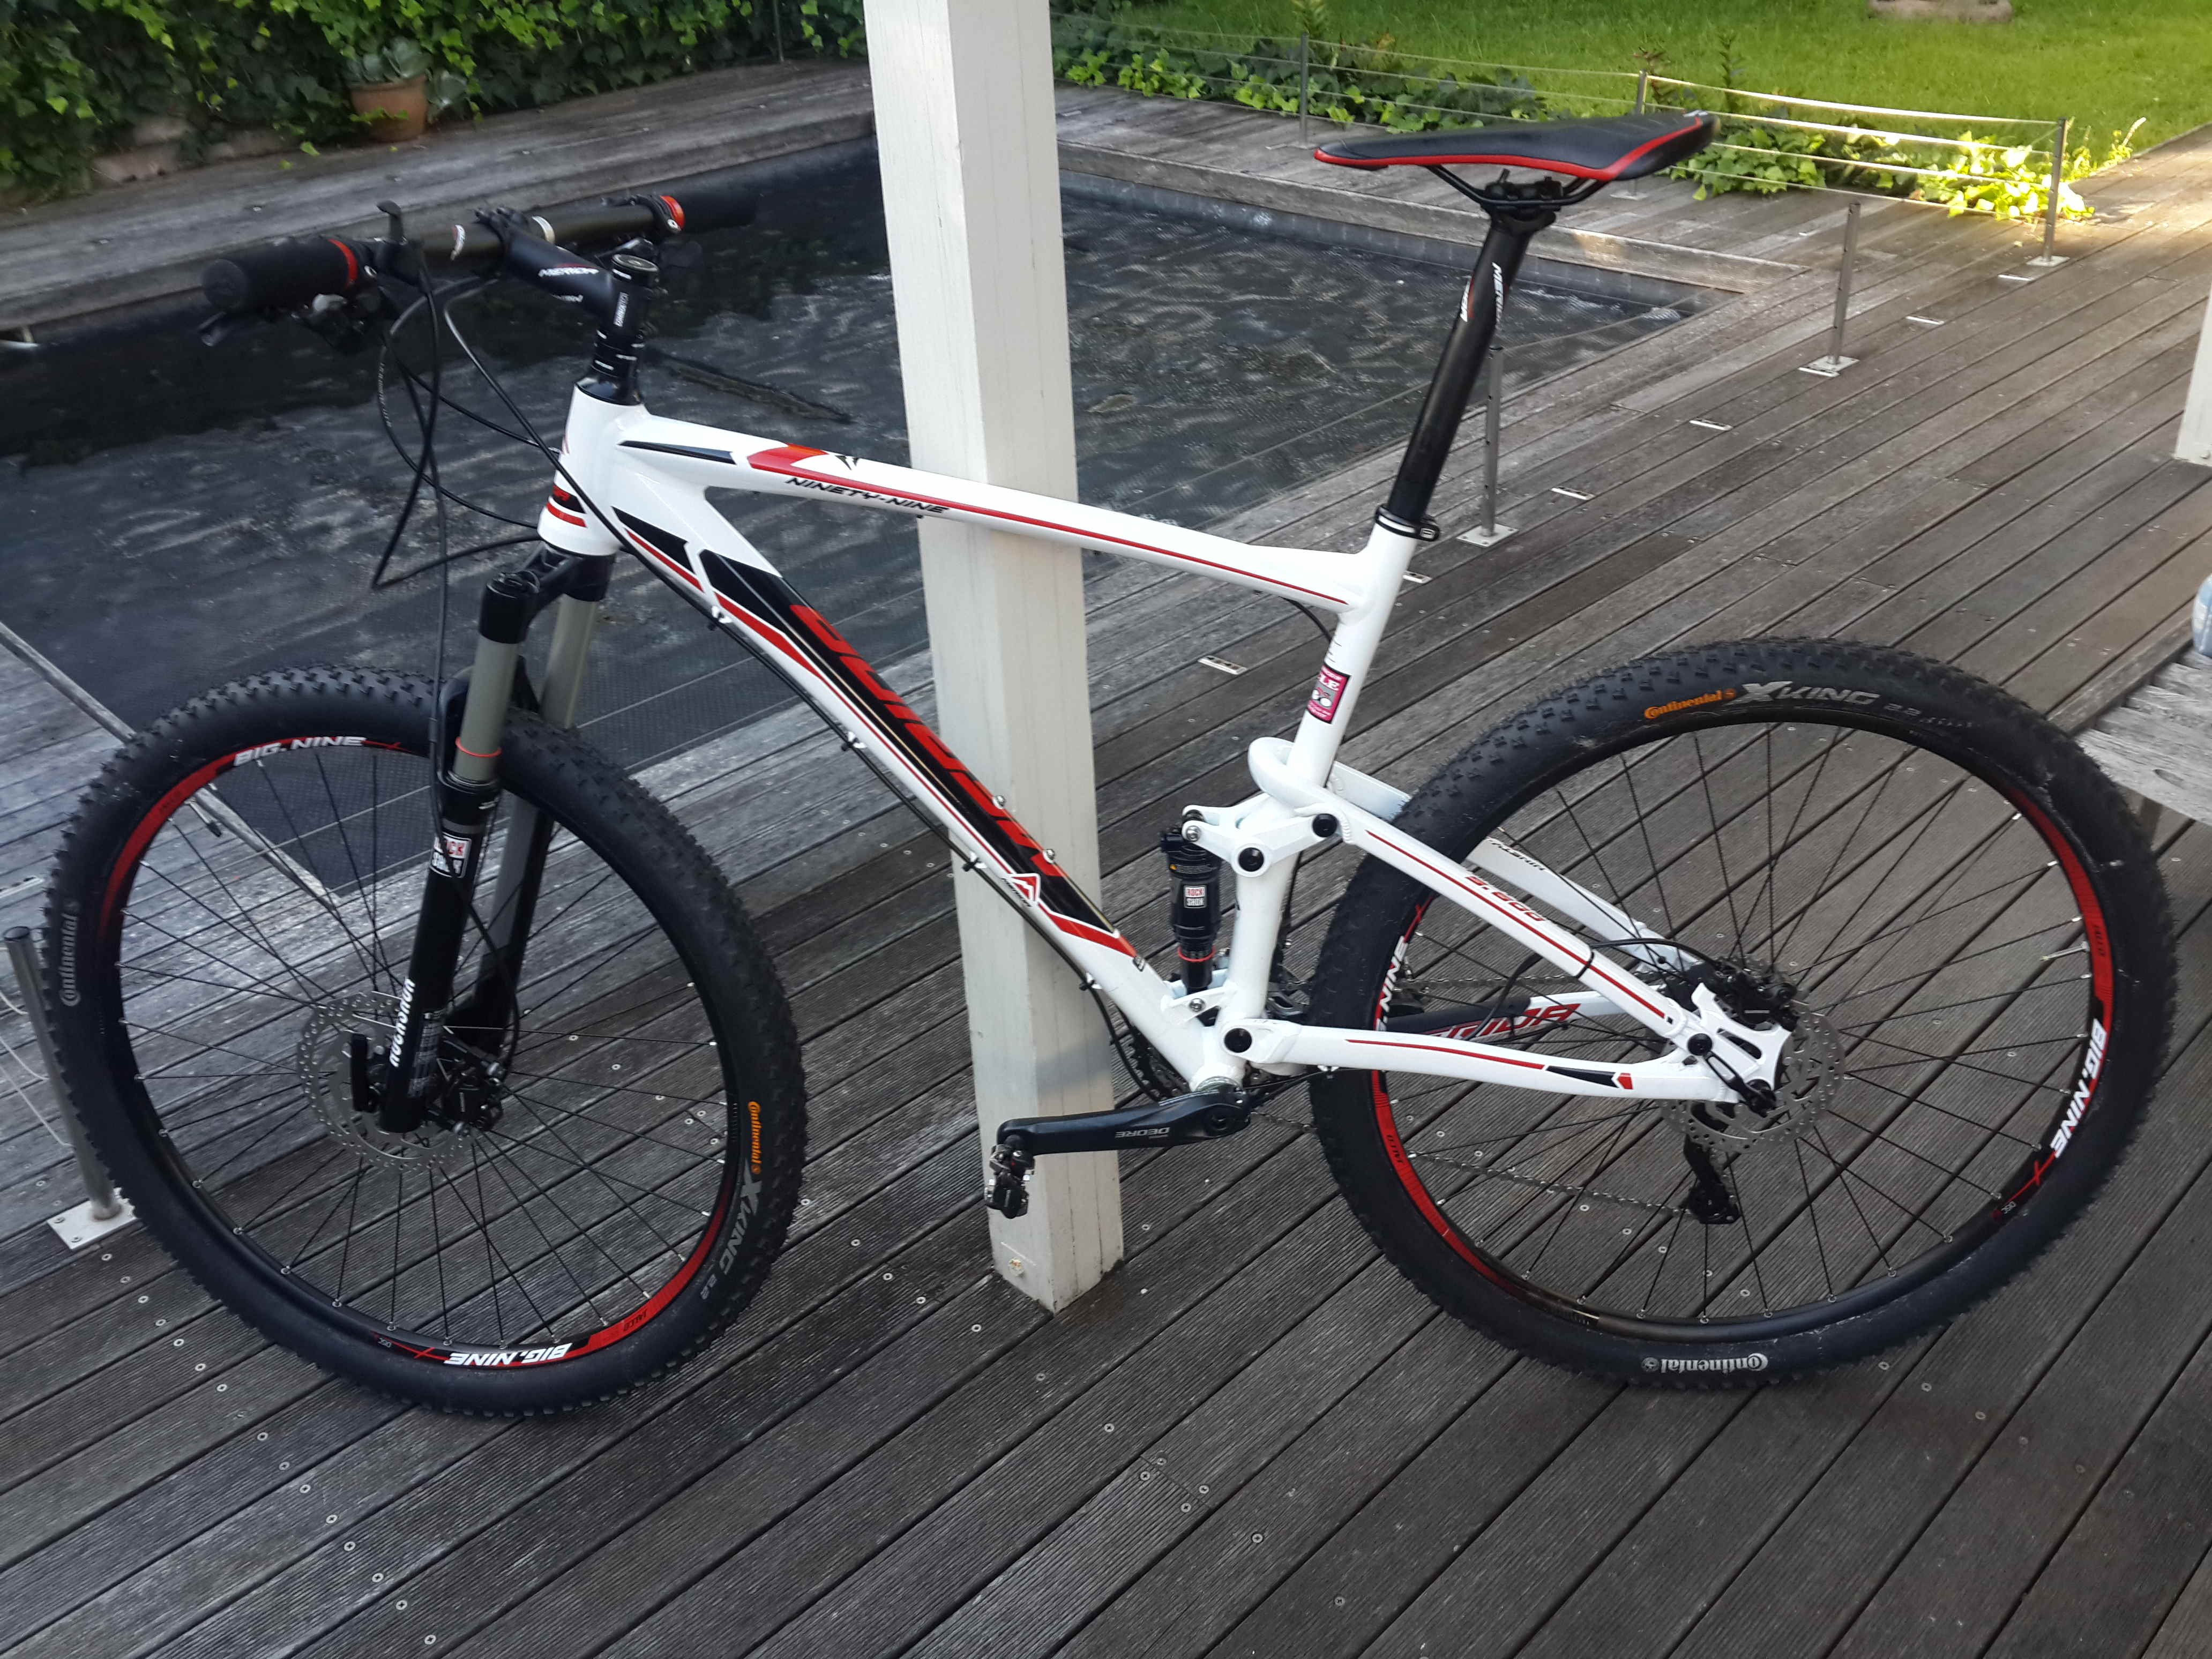
My bike as it should look
Their minimum billing amount is 30kg. My bike and accessories definitely weighed less than this, but the standard bike boxes are significantly larger than what is considered a volumetric 30kg. As such I went to town cutting my box down to size. But to get the box small enough, I also had to almost completely disassembly my bike. I removed the wheels, and took my tubeless tires off the wheels. I removed the saddle, the rear dérailleur, the pedals. Then I took the fork out and separated the brakes from the fork. And then squashed it into my box. And it all fitted. I even got my tent, helmet, pump and one or two other items in.
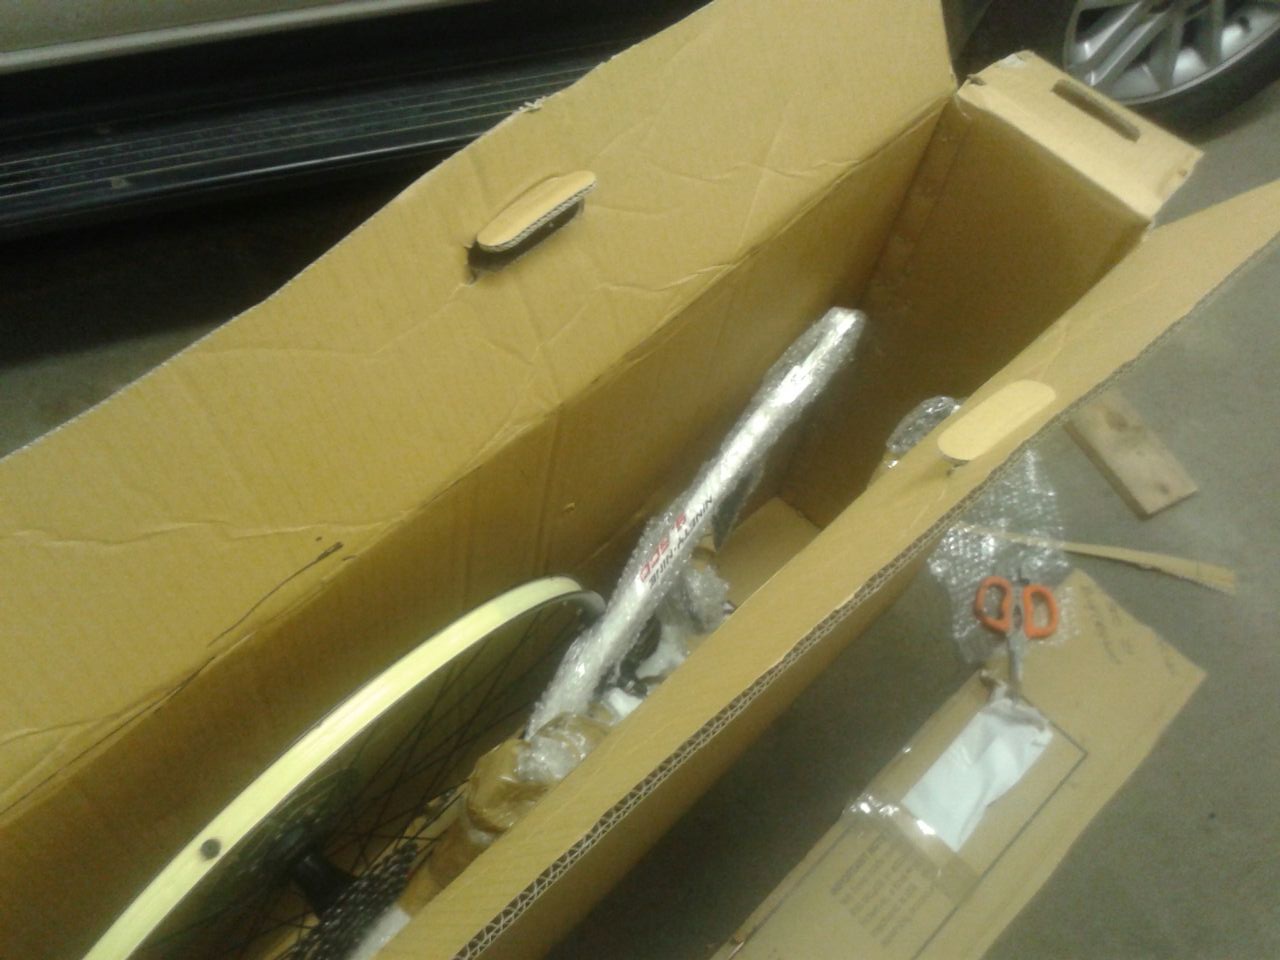
Cramming my bike into a box
So my dad helped when I did all this, and I didn’t pay too much attention when we removed the fork and put all the bearings loose into a small bag. I wish I had, as it would have saved me a couple disassemble and re-assembles of my headset. Regardless now I know a lot more about the topic. After all that, I decided quite a bit of dirt probably got in during the hassles and decided to re-grease the bearings.
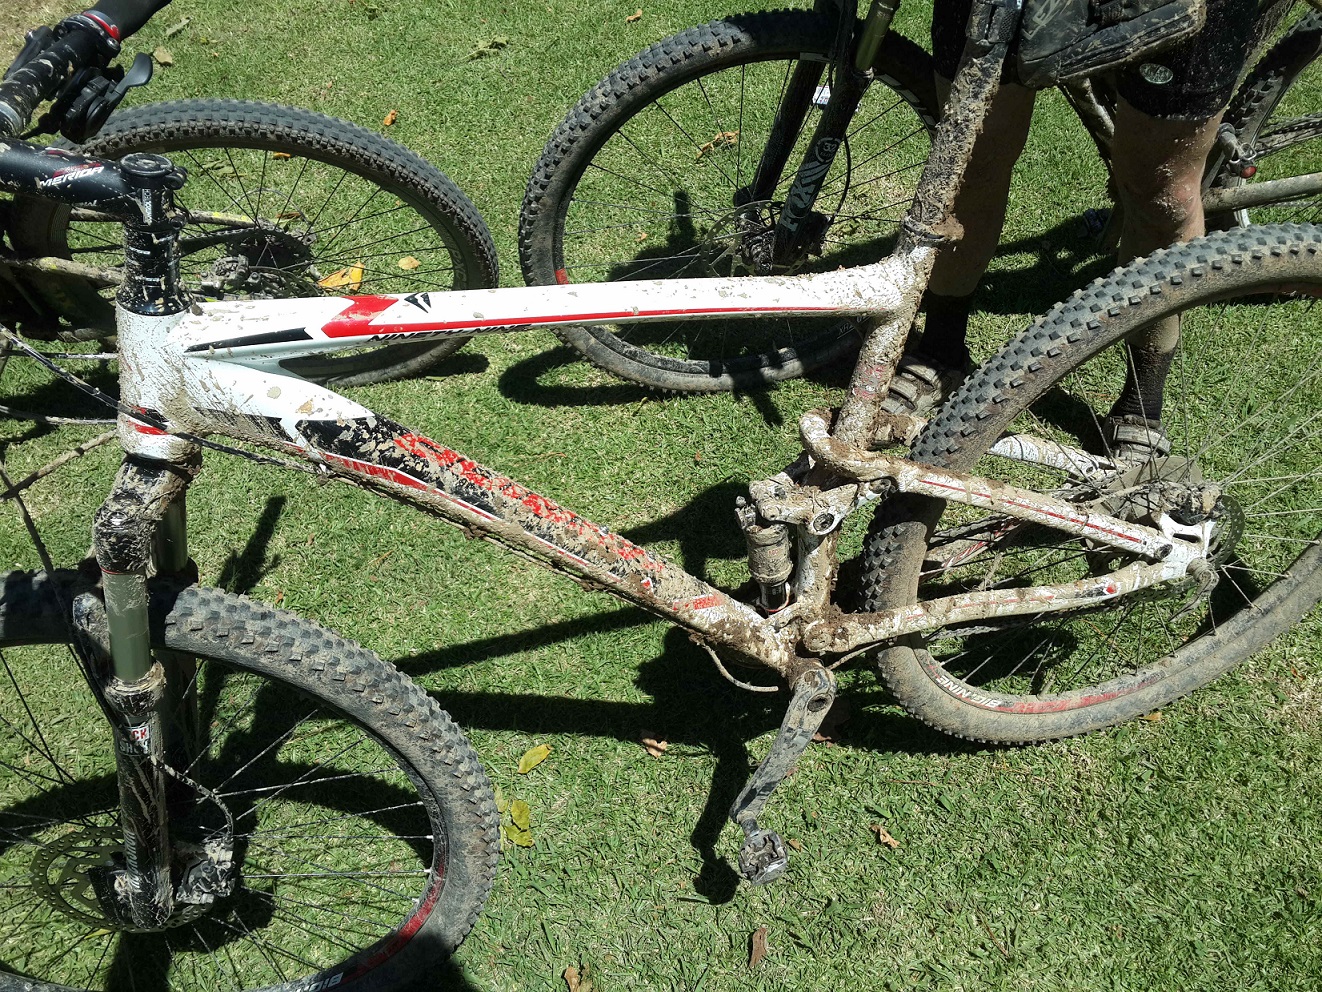
How my bike sometimes looks
It seems like the number of variations for headset bearings is a lot. I couldn’t find an example the same as mine, so I figured I’d put some pictures up here. I tried recording the whole thing, but that was humorously terrible :) So instead I just took some screen shots.
The bike is a Merida Ninety Nine 9. 600. The headset is described as “big conoid semi”. It makes use of non-sealed roller ball bearings. The lower bearing is just a bearing, and the upper bearing consists a bearing, a seal, an upper race and a centring ring. If you do do this, I really recommend getting a nice bike stand, my bike was falling all over the place while I was trying to hold it together.
- Loosen clamps on fork stem

There are two bolts on the stem (one on either side) and one on top for tensioning
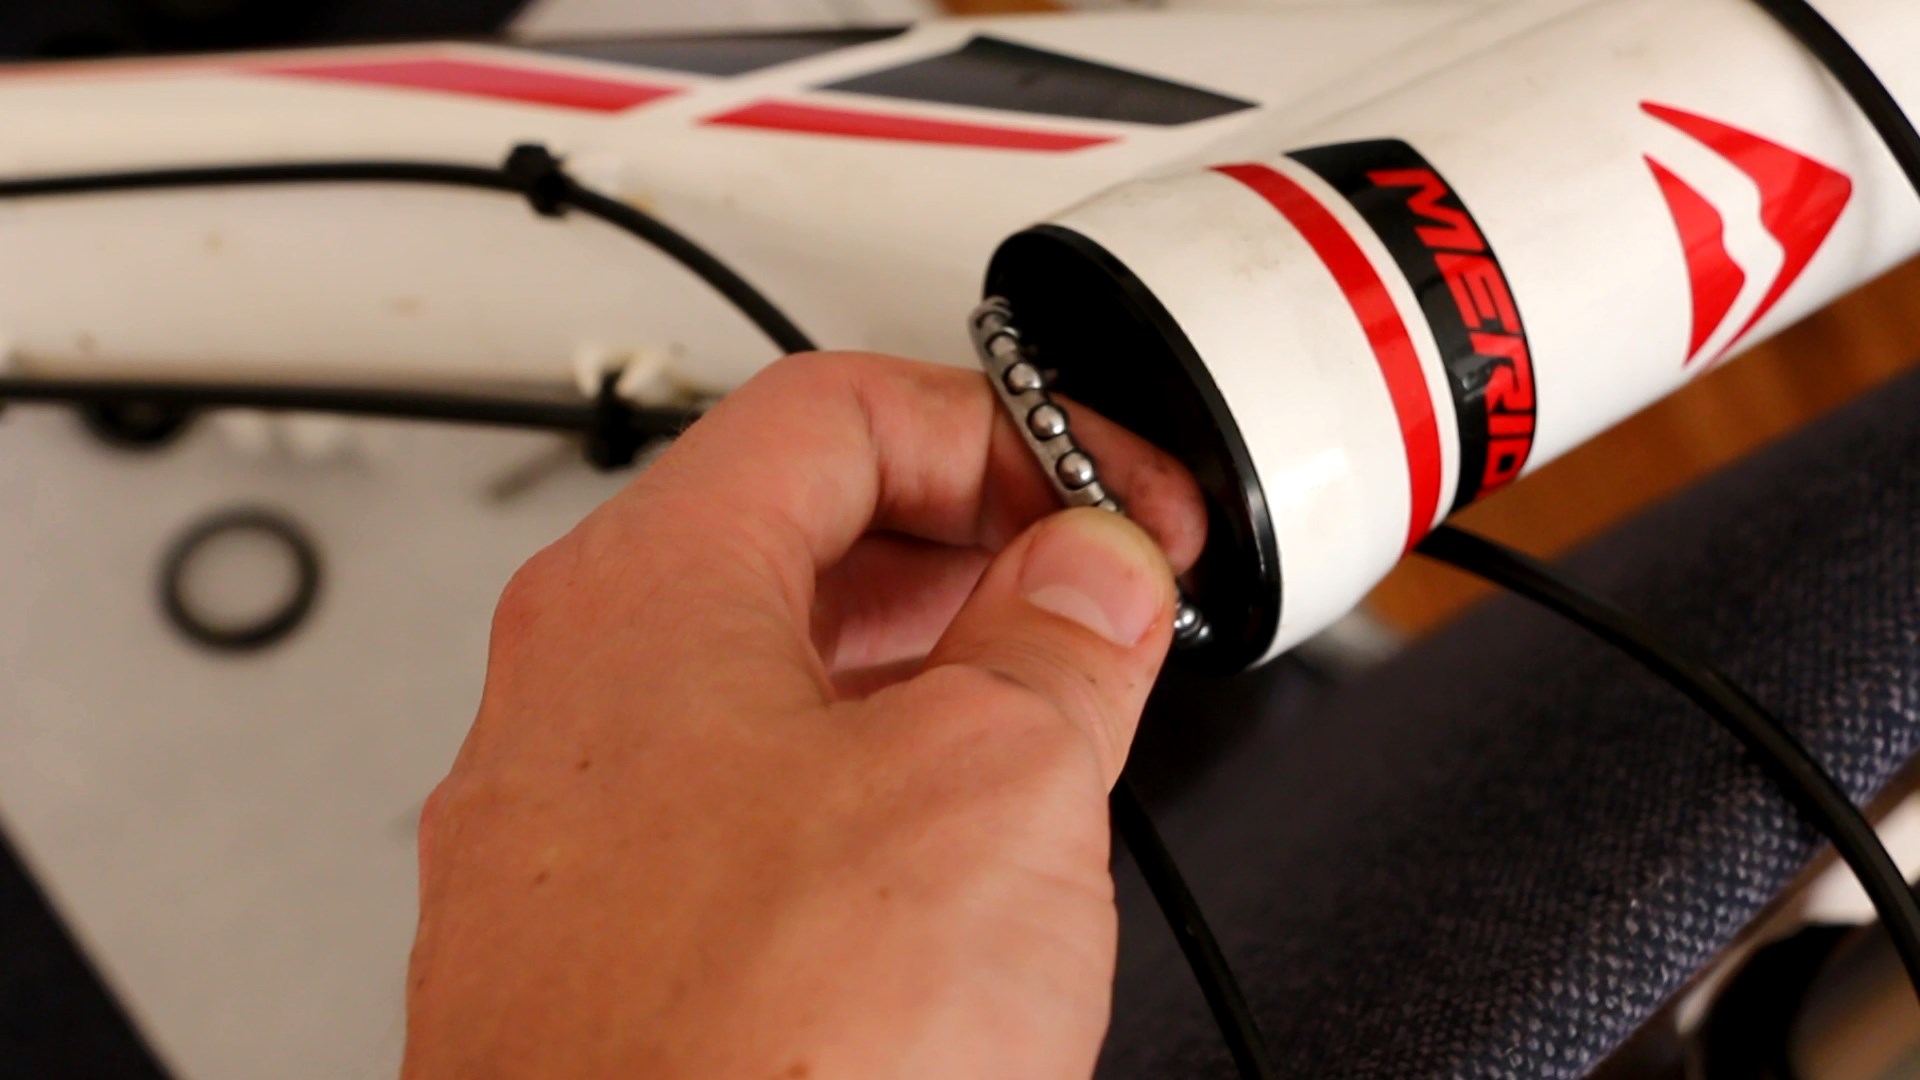
- Remove fork and bearings
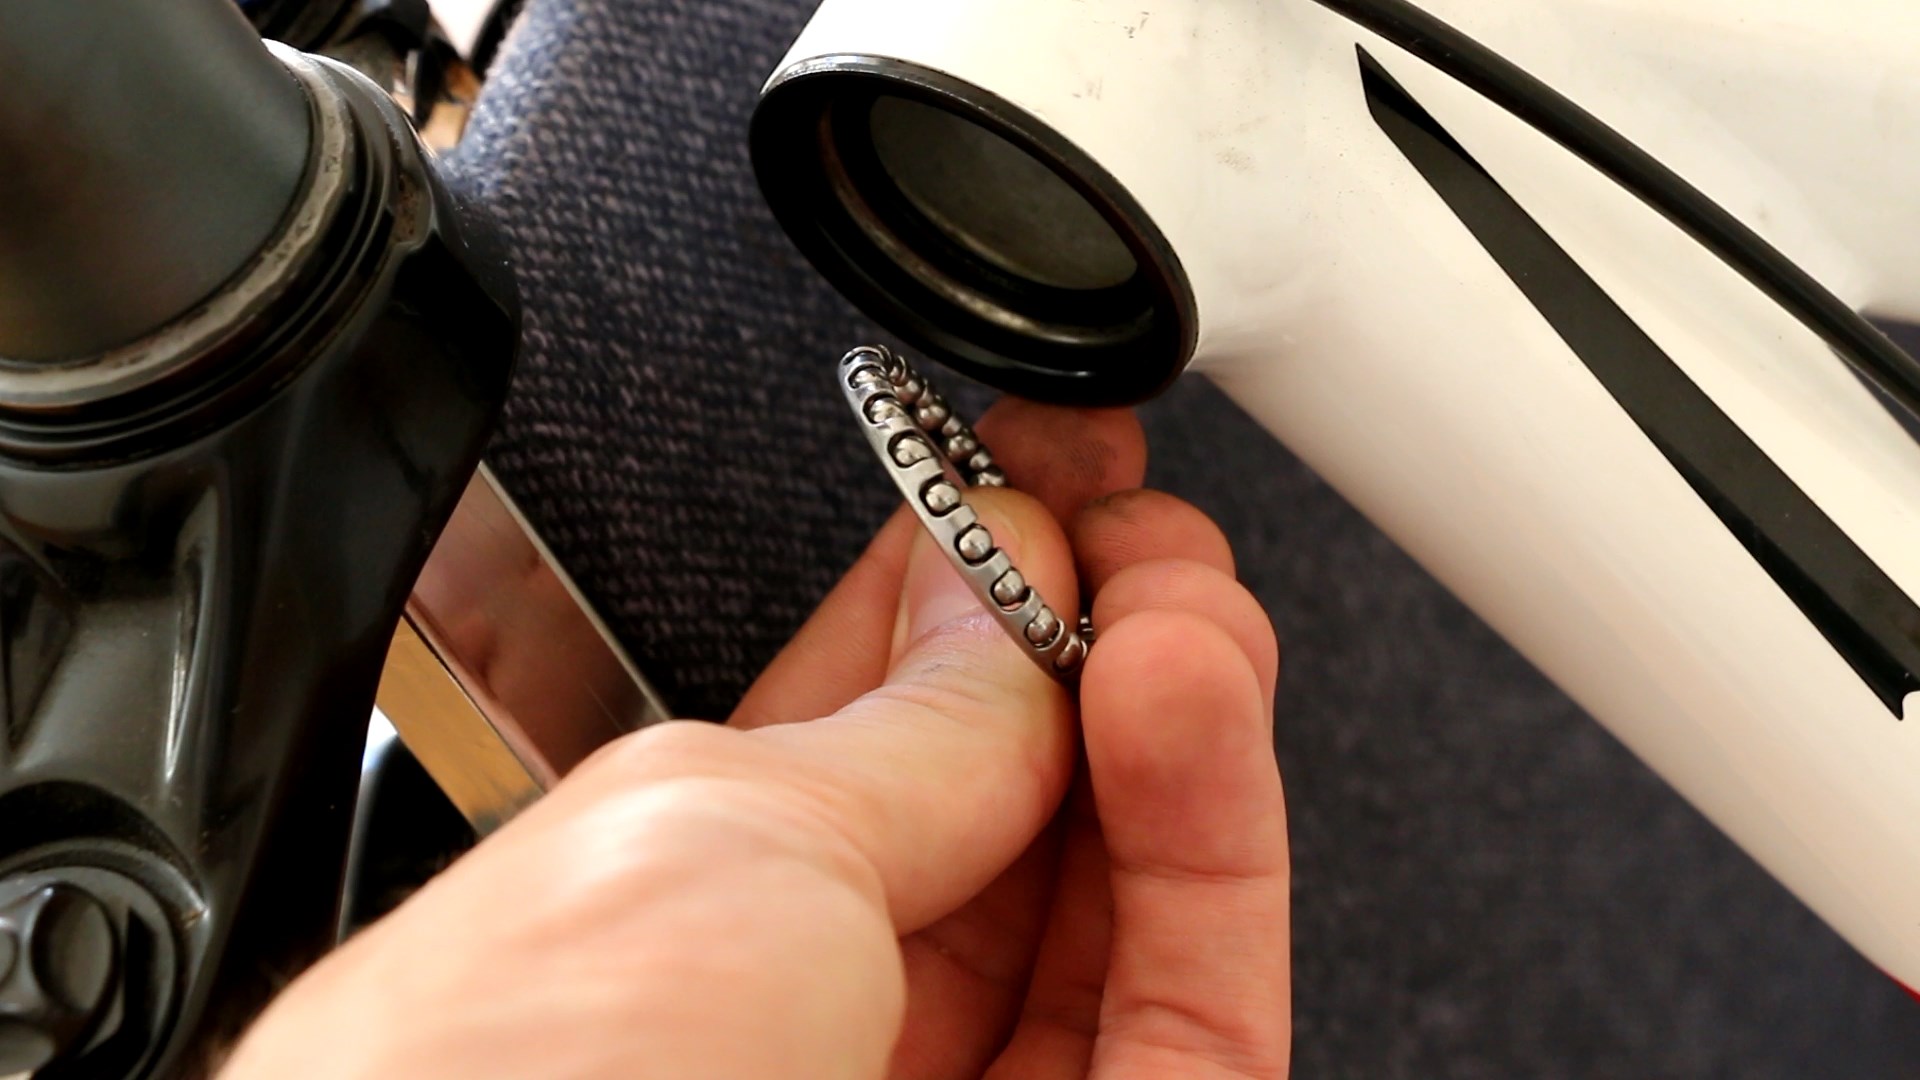
- Clean bearings and races (I just used paper towel, but some degreaser will help)
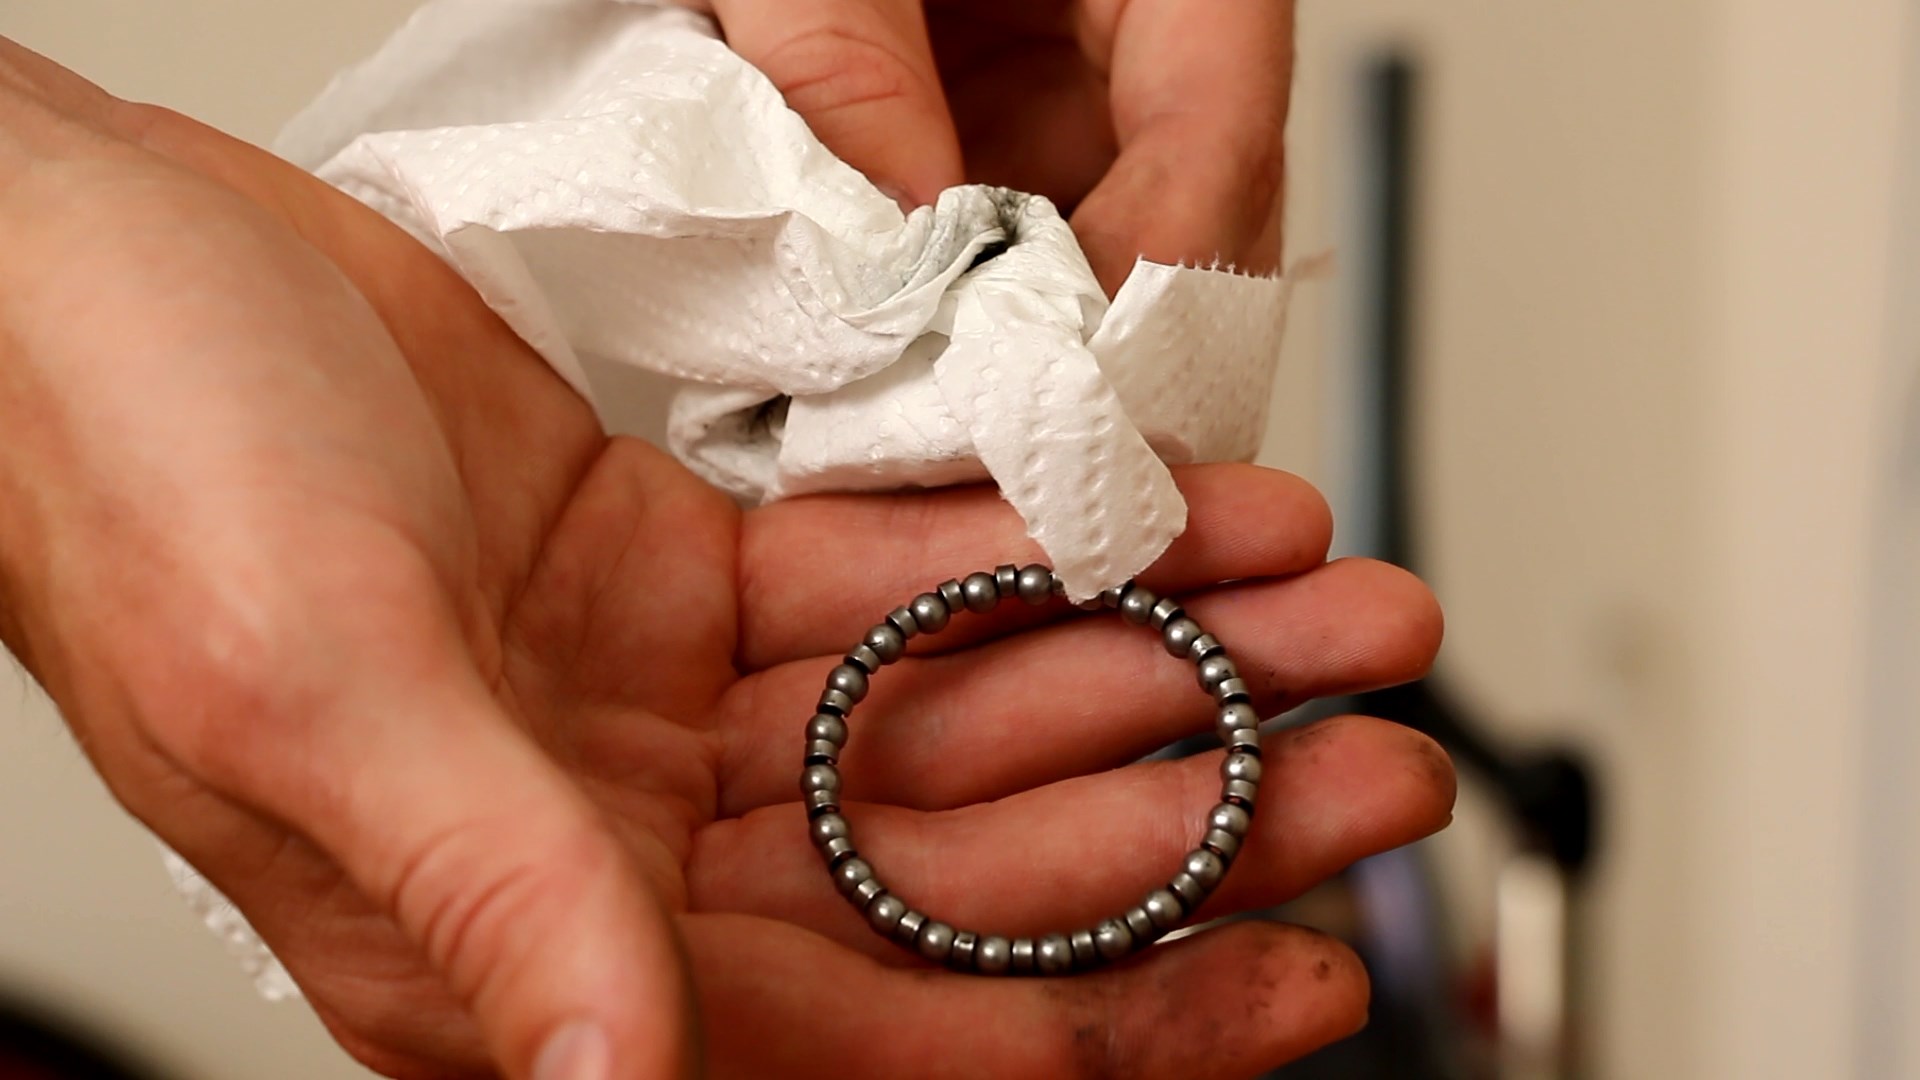
Bearing after having grease removed
- Place some grease on the races and bearings (I just bought a small tube of automotive grease from local hardware store).
- Replace all bearings in order you removed them
Bottom bearing goes in with balls upwards (towards bike frame)
Top bearing goes in balls facing down (towards bike frame)
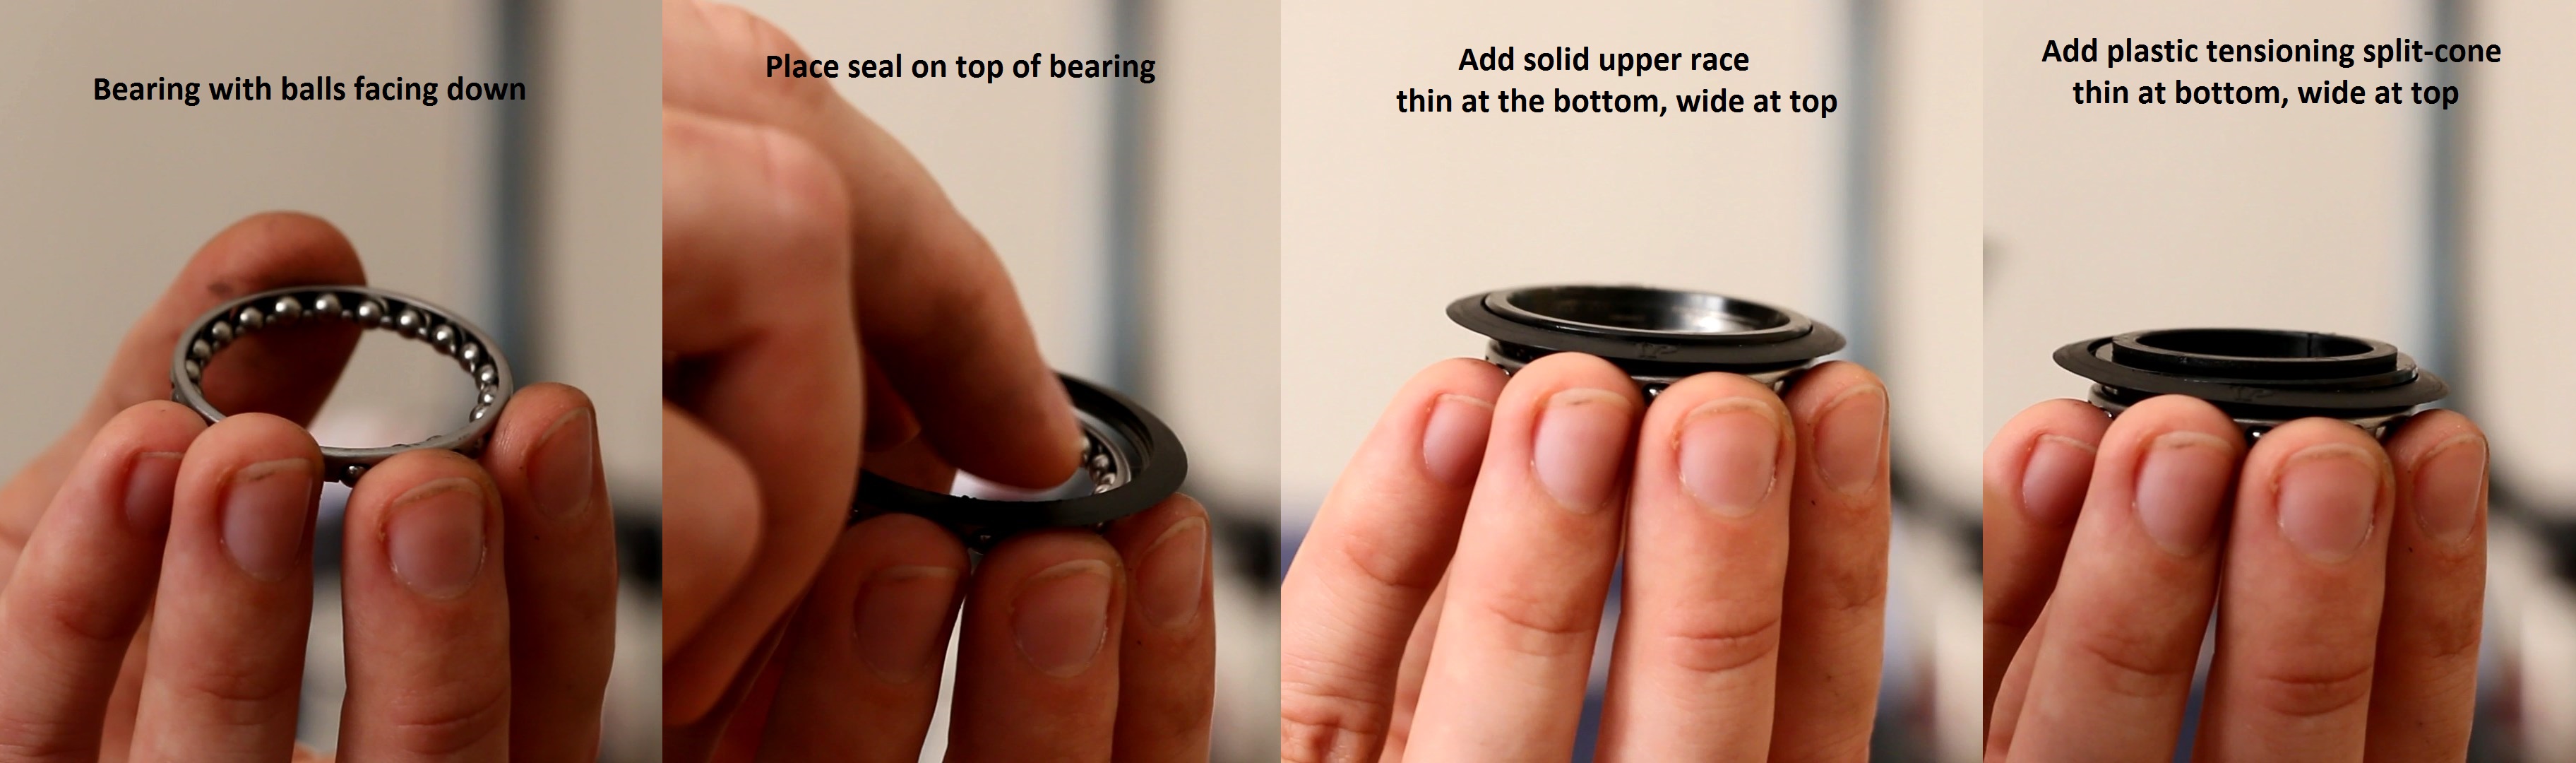
Top bearing gets additional seal, upper race and tension cone
- Tighten bolt on-top of fork (to tension the package), then tighten clamps on stem.
- If you’re unsure how tight they must be, find specified torques in your bike’s technical manual.