This last weekend I got invited out to the Wildcoast for a bit of mountain-biking. A friend had just got himself a bike and was looking to put it through its paces. Another friend who works at a hospital out by Zithulele suggested we do a ride from the hospital out to a backpackers by Bulungula. A relatively short route (15-20km), but certainly challenging. It ended up with 5 of us starting off from Zithulele on Saturday morning at about 10h30. We weren’t in any particular hurry and ended up riding for about 3 hours, including some backtracking, lots of discussions about which route to take and general breaks to take in the stunning scenery and recover from the never ending onslaught of hills.
 About half the route we ended up doing was on dirt roads of some form, and a lot of the rest was on single track cattle paths which added about of a technical aspect to the ride. The rolling hills mean you get a good dose of killer uphills and flying downhills. One of the most surprising things for me was how many people live out there. Each time you reach the crest of a hill you’re greeted with another view of green fields spotted with houses all over the place.The backpackers can be reached by car, a vehicle with decent ground clearance is probably recommended, but a Citi-Golf and a Ford Bantam were both evident in the parking lot when we arrived. There’s also a shuttle that runs the route (apparently all the way from Mthatha) a couple times a week.
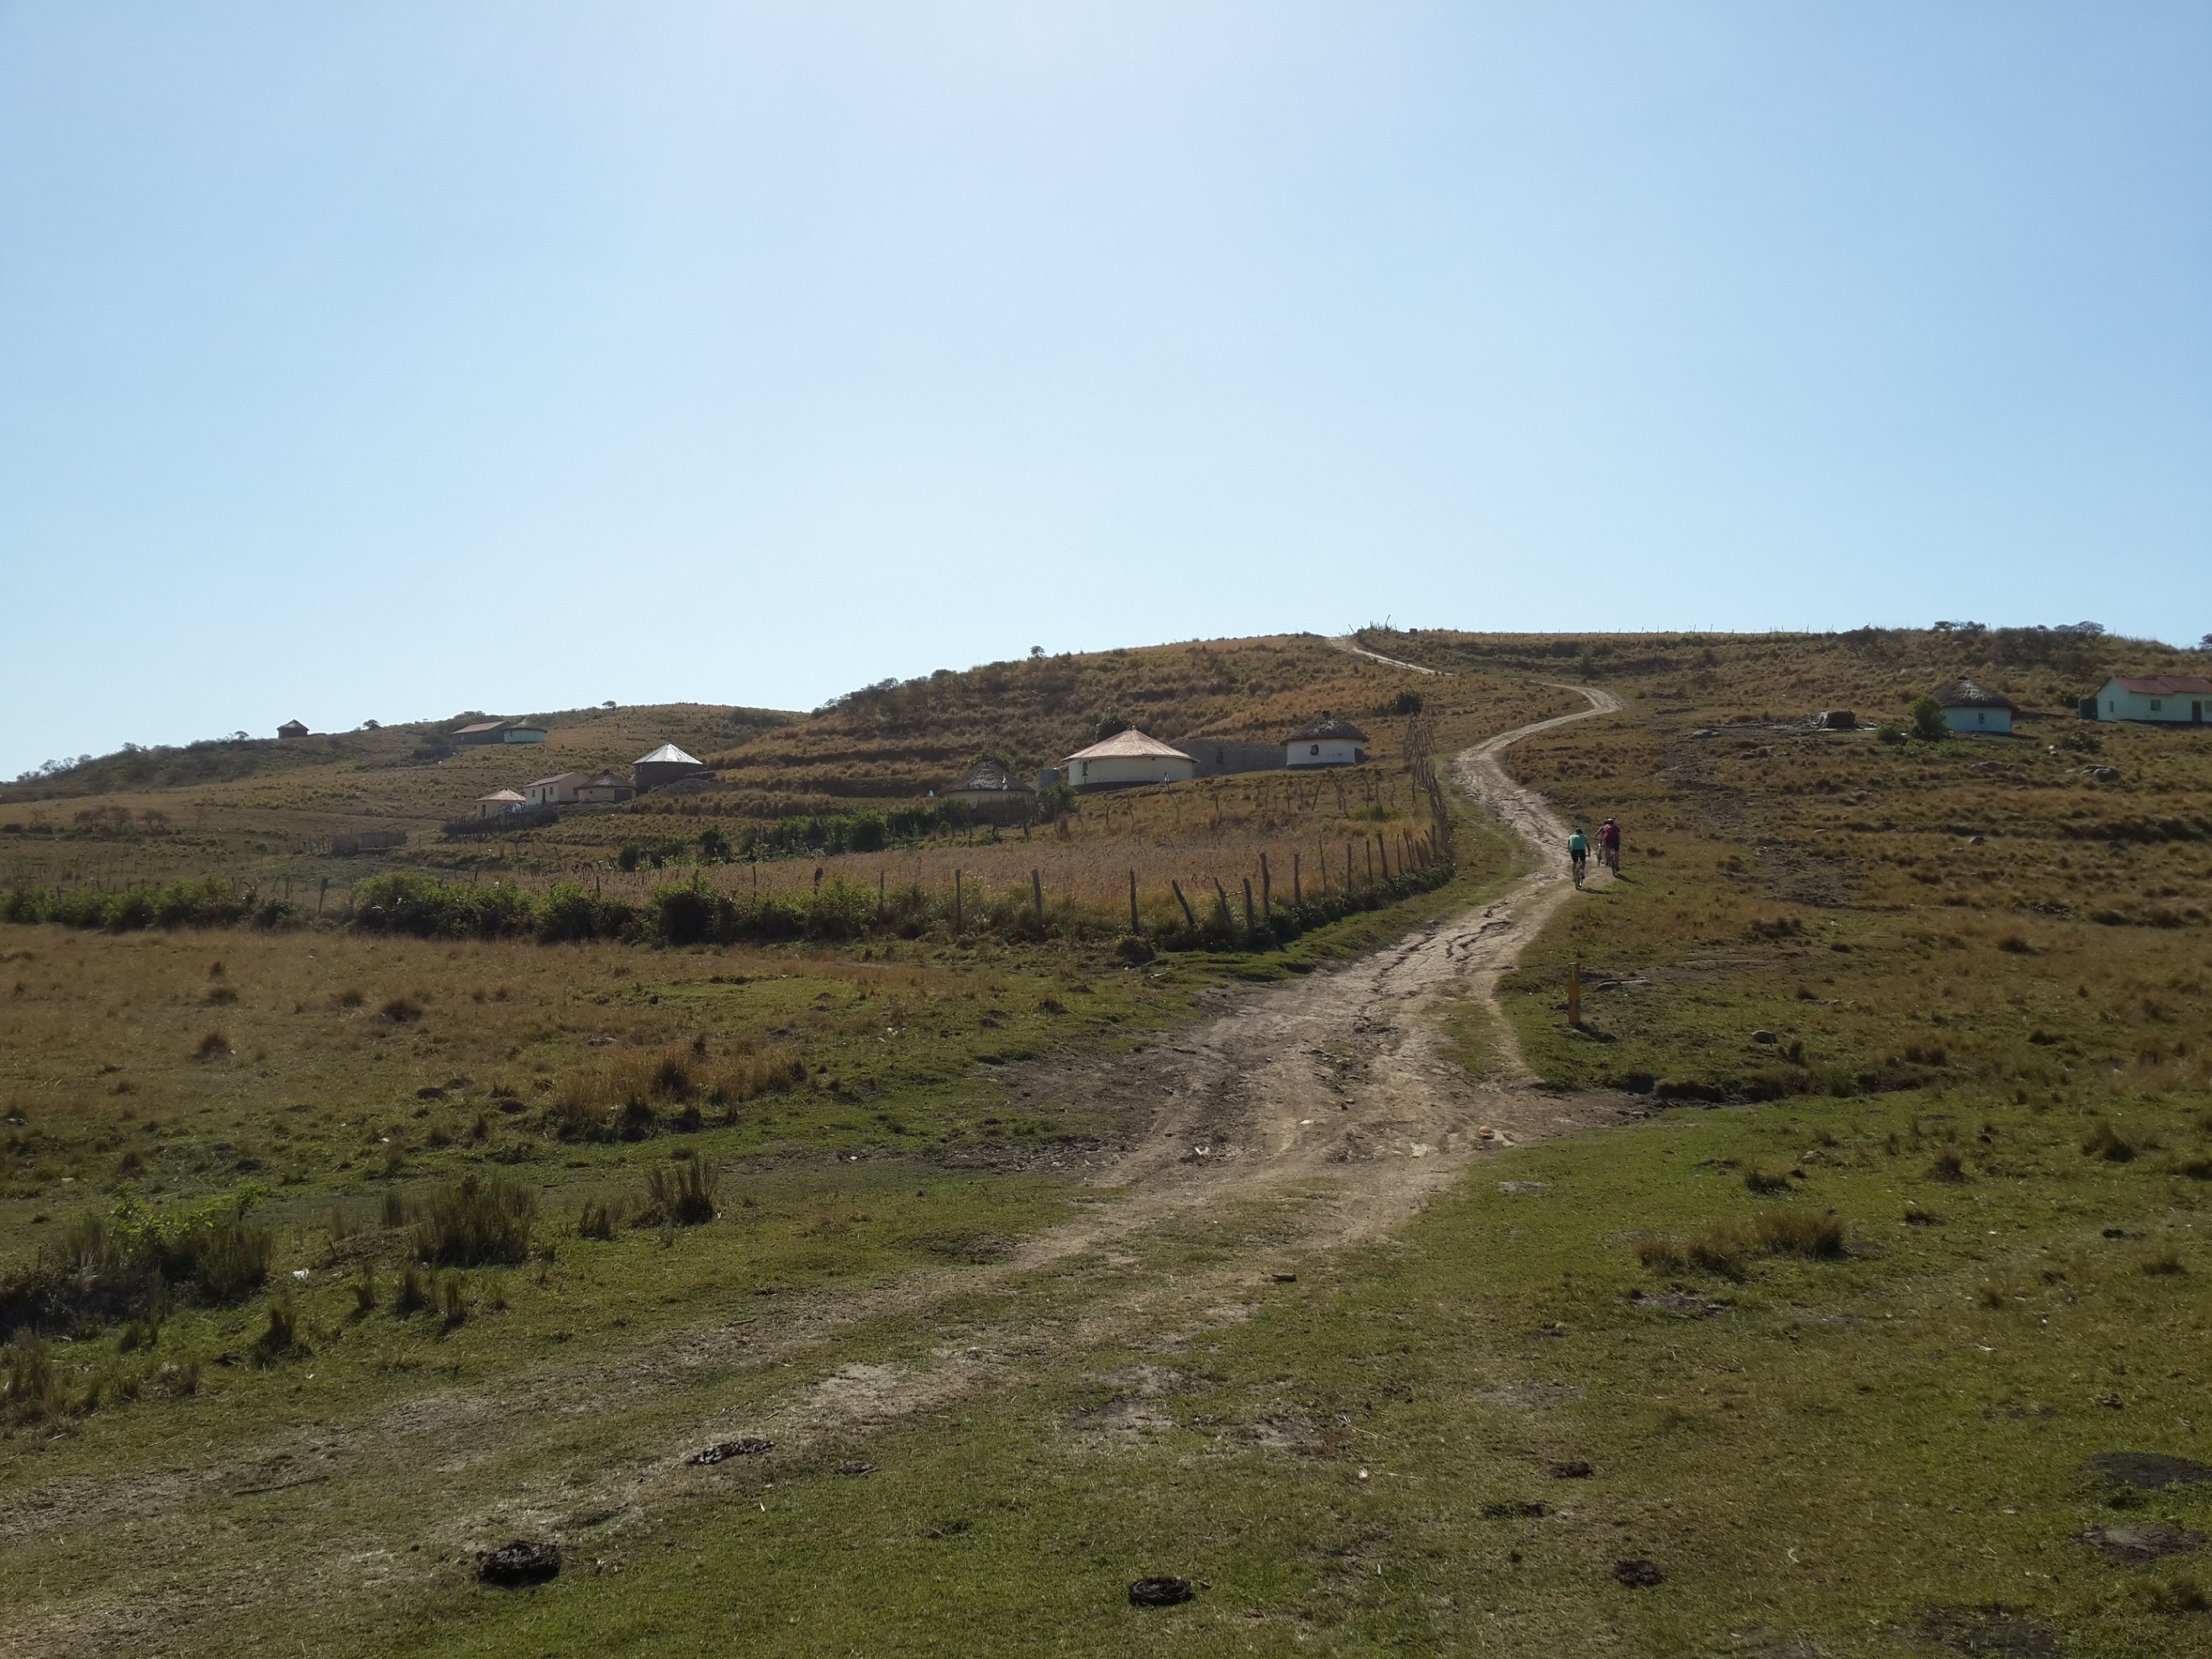 The Bulungula Lodge is situated a stone’s throw from the see and Bulungula River mouth. The facilities are rather rustic, but adequate. We shared 4 bedded huts (R140pp), but other options are available. 3 meals are available a day, of which we sampled all starting with some massive toasted sandwiches for lunch when we arrived. Supper was a delicious wors-stew with gnush and stew, and a dessert of Malva Pudding and ice cream was available. A self-service bar including snacks was also located next to the kitchen. Sunday morning we enjoyed a good breakfast of bacon and eggs with beans, toast and tomato.
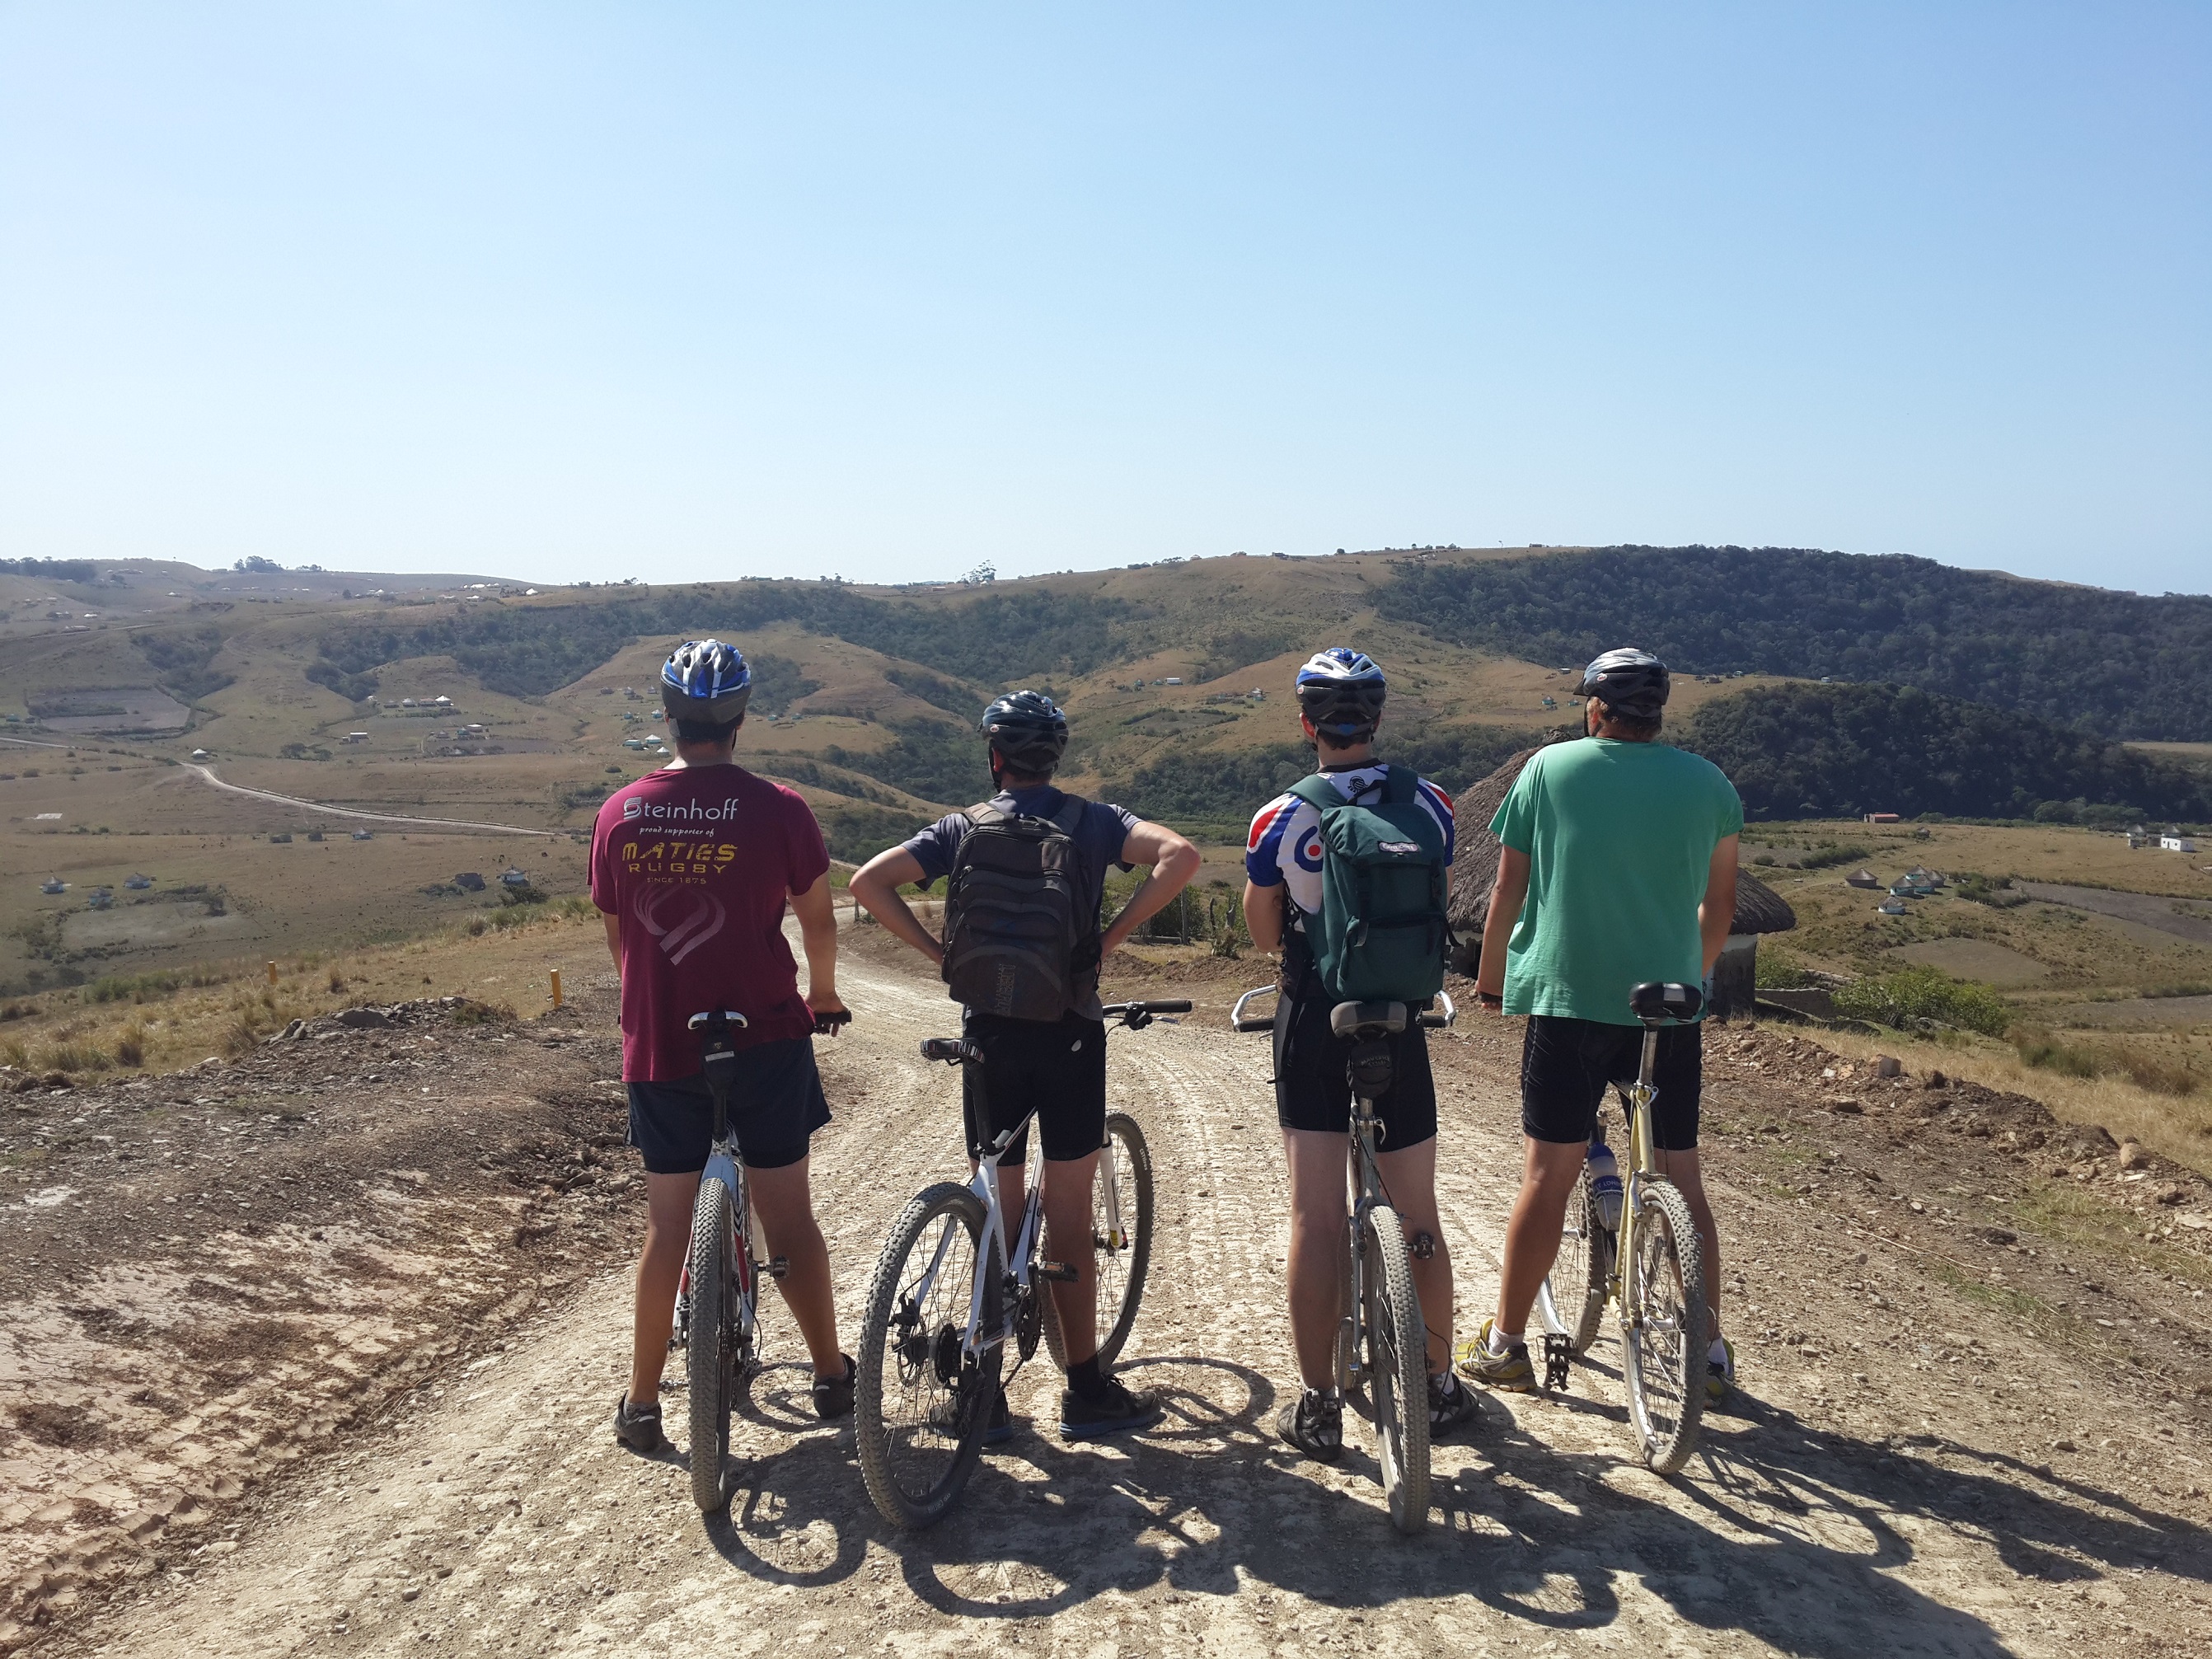 Showers are heated with paraffin ‘rockets’ which provide some warm water for about 7min and enviro-toilets are also provided. The huts have electric lights, but no sockets. There are a few plugs in the communal area, and also a laptop that can be used if you want to use the internet, wi-fi is not available. Cellphone reception is also limited, but can be found out on the beach or in certain areas if required.
 The backpackers is run mainly by the local community of which there are often people hanging around the area. Not really a problem but a bit odd at times. Crime does not seem to be a problem, doors were only closed (not locked) to keep the goats etc. out. And valuables were often left unattended.
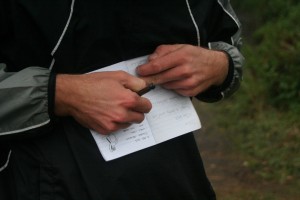
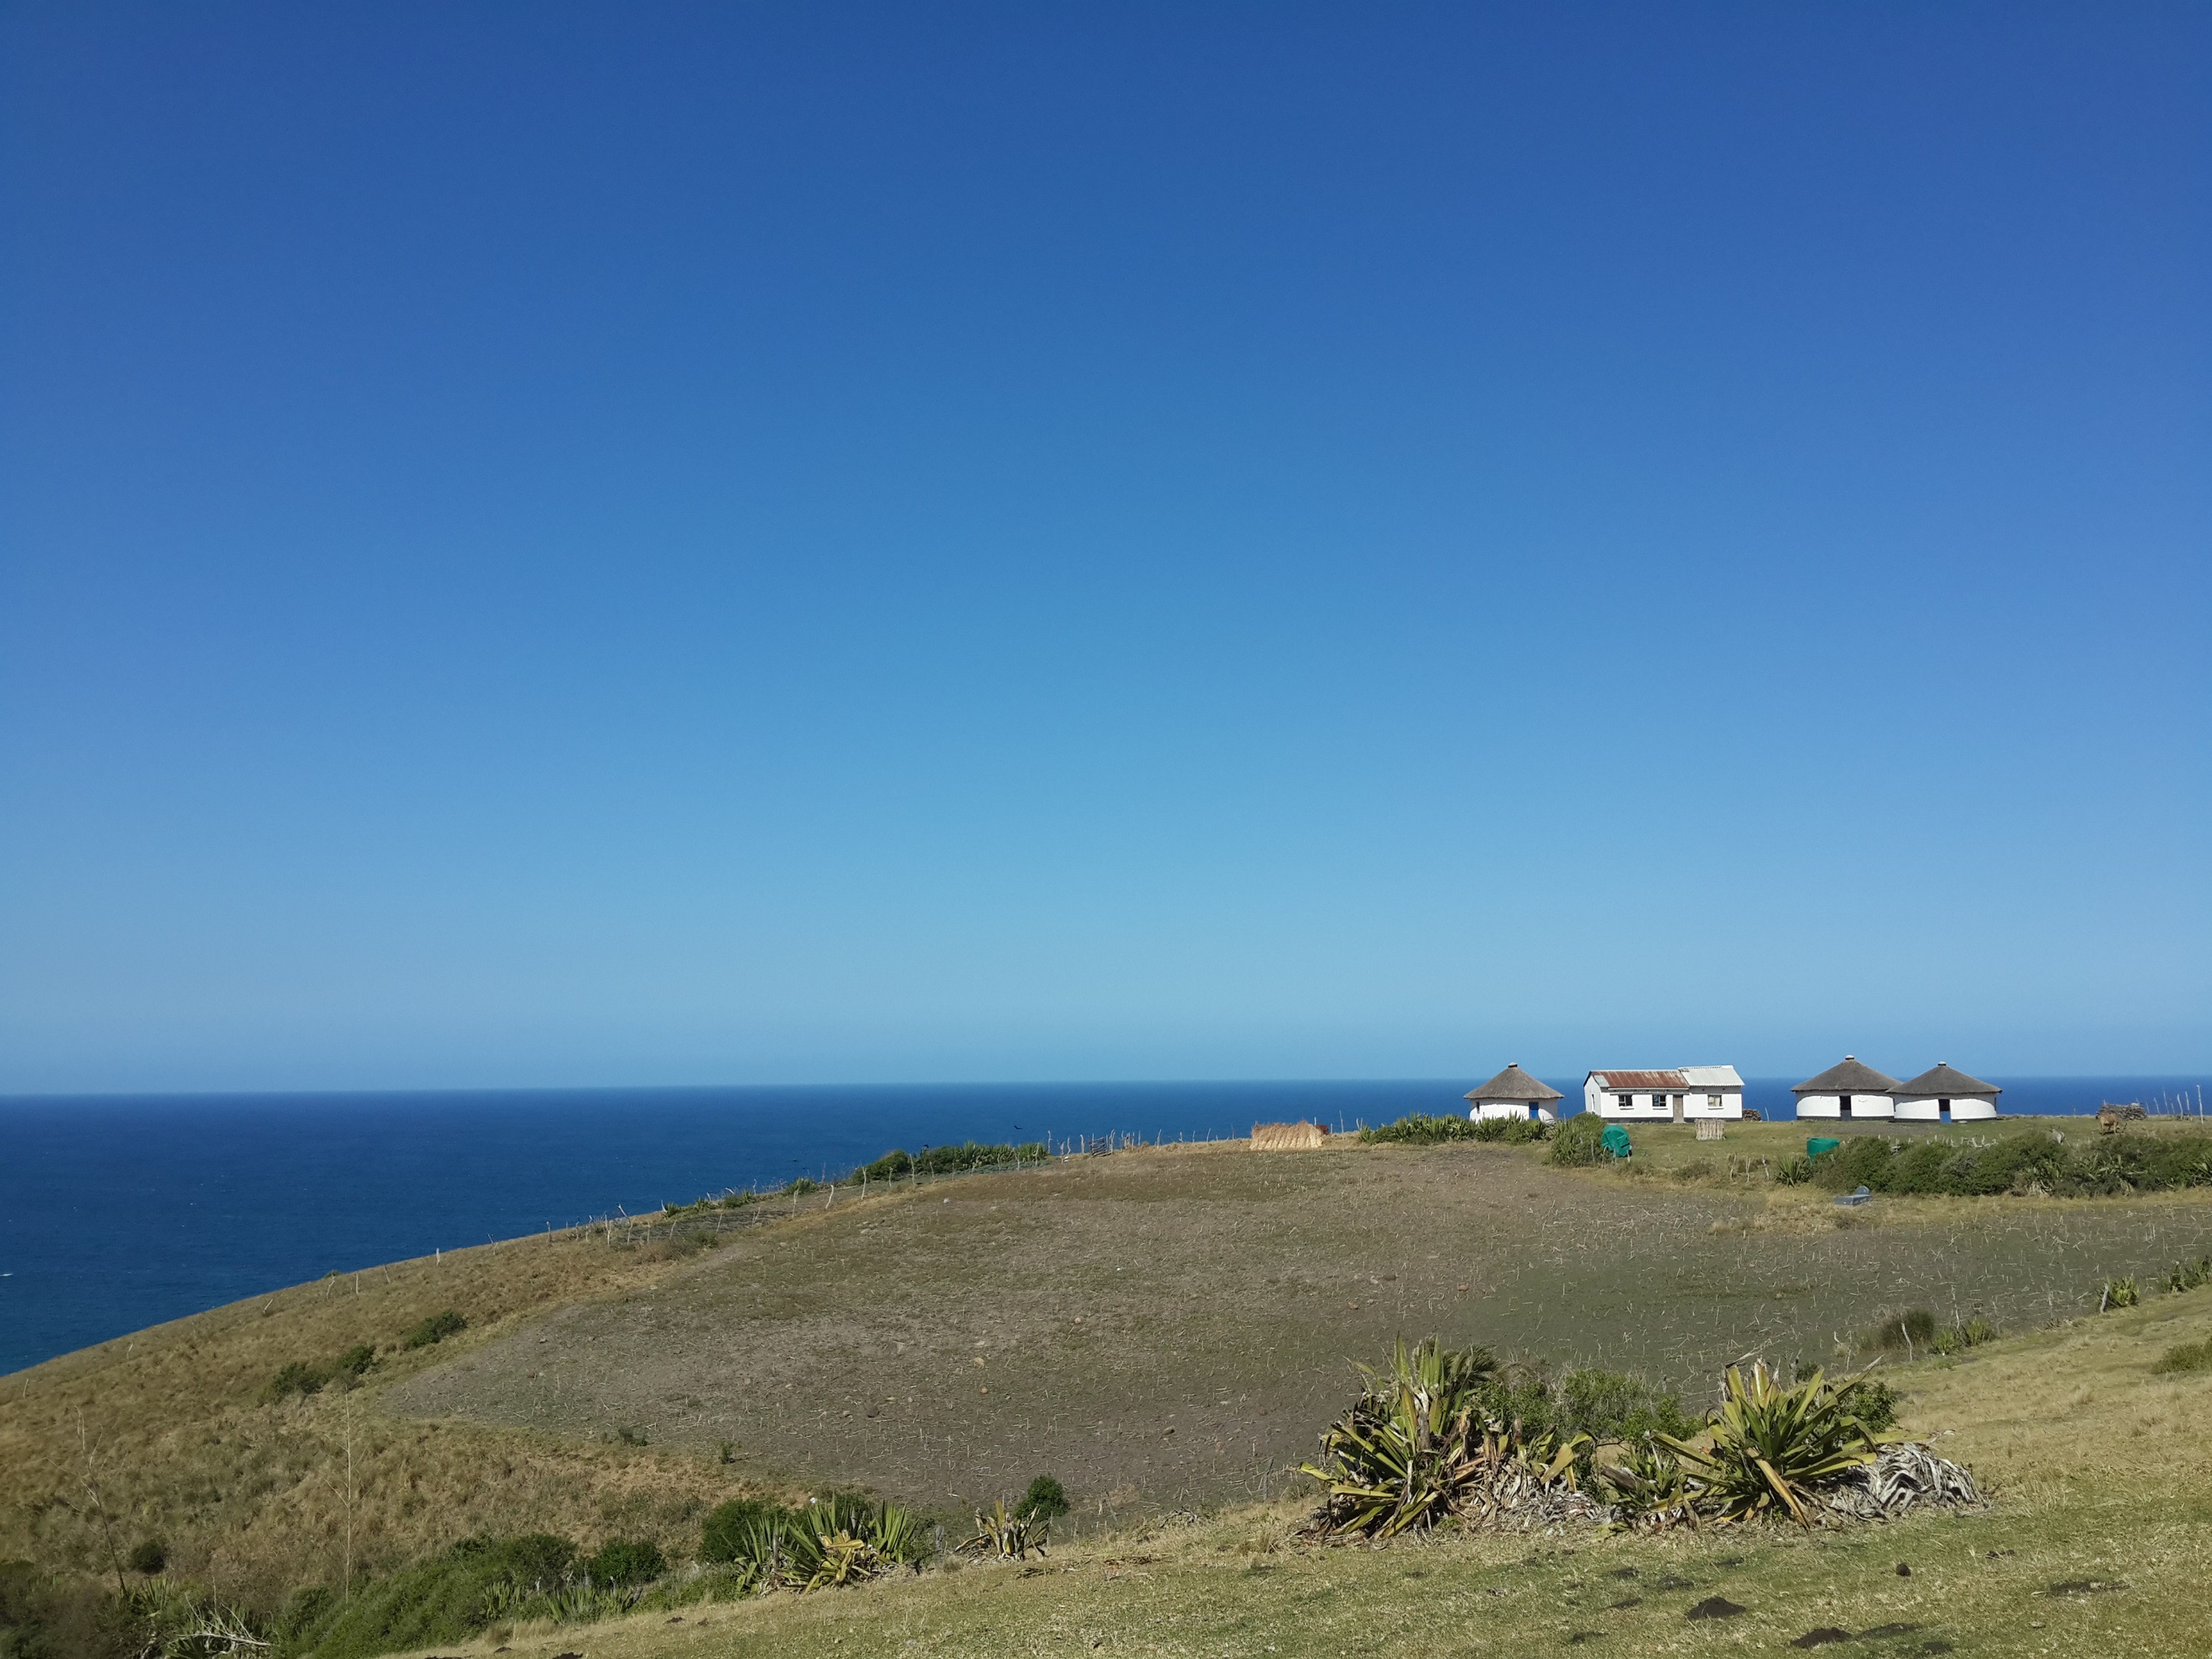 Only annoying issue was when trying to checkout (along with 10 other people) took quite a while as each person’s bill has to be manually tallied and added to their accounting system (excel spreadsheet). And only once all had been completed could we go to another room to pay with a debit/credit card. This facility is handy, but inconvenient in this context. Cash is obviously also accepted. There are also a host of activities in which you can take part, but due to our limited time opted against.
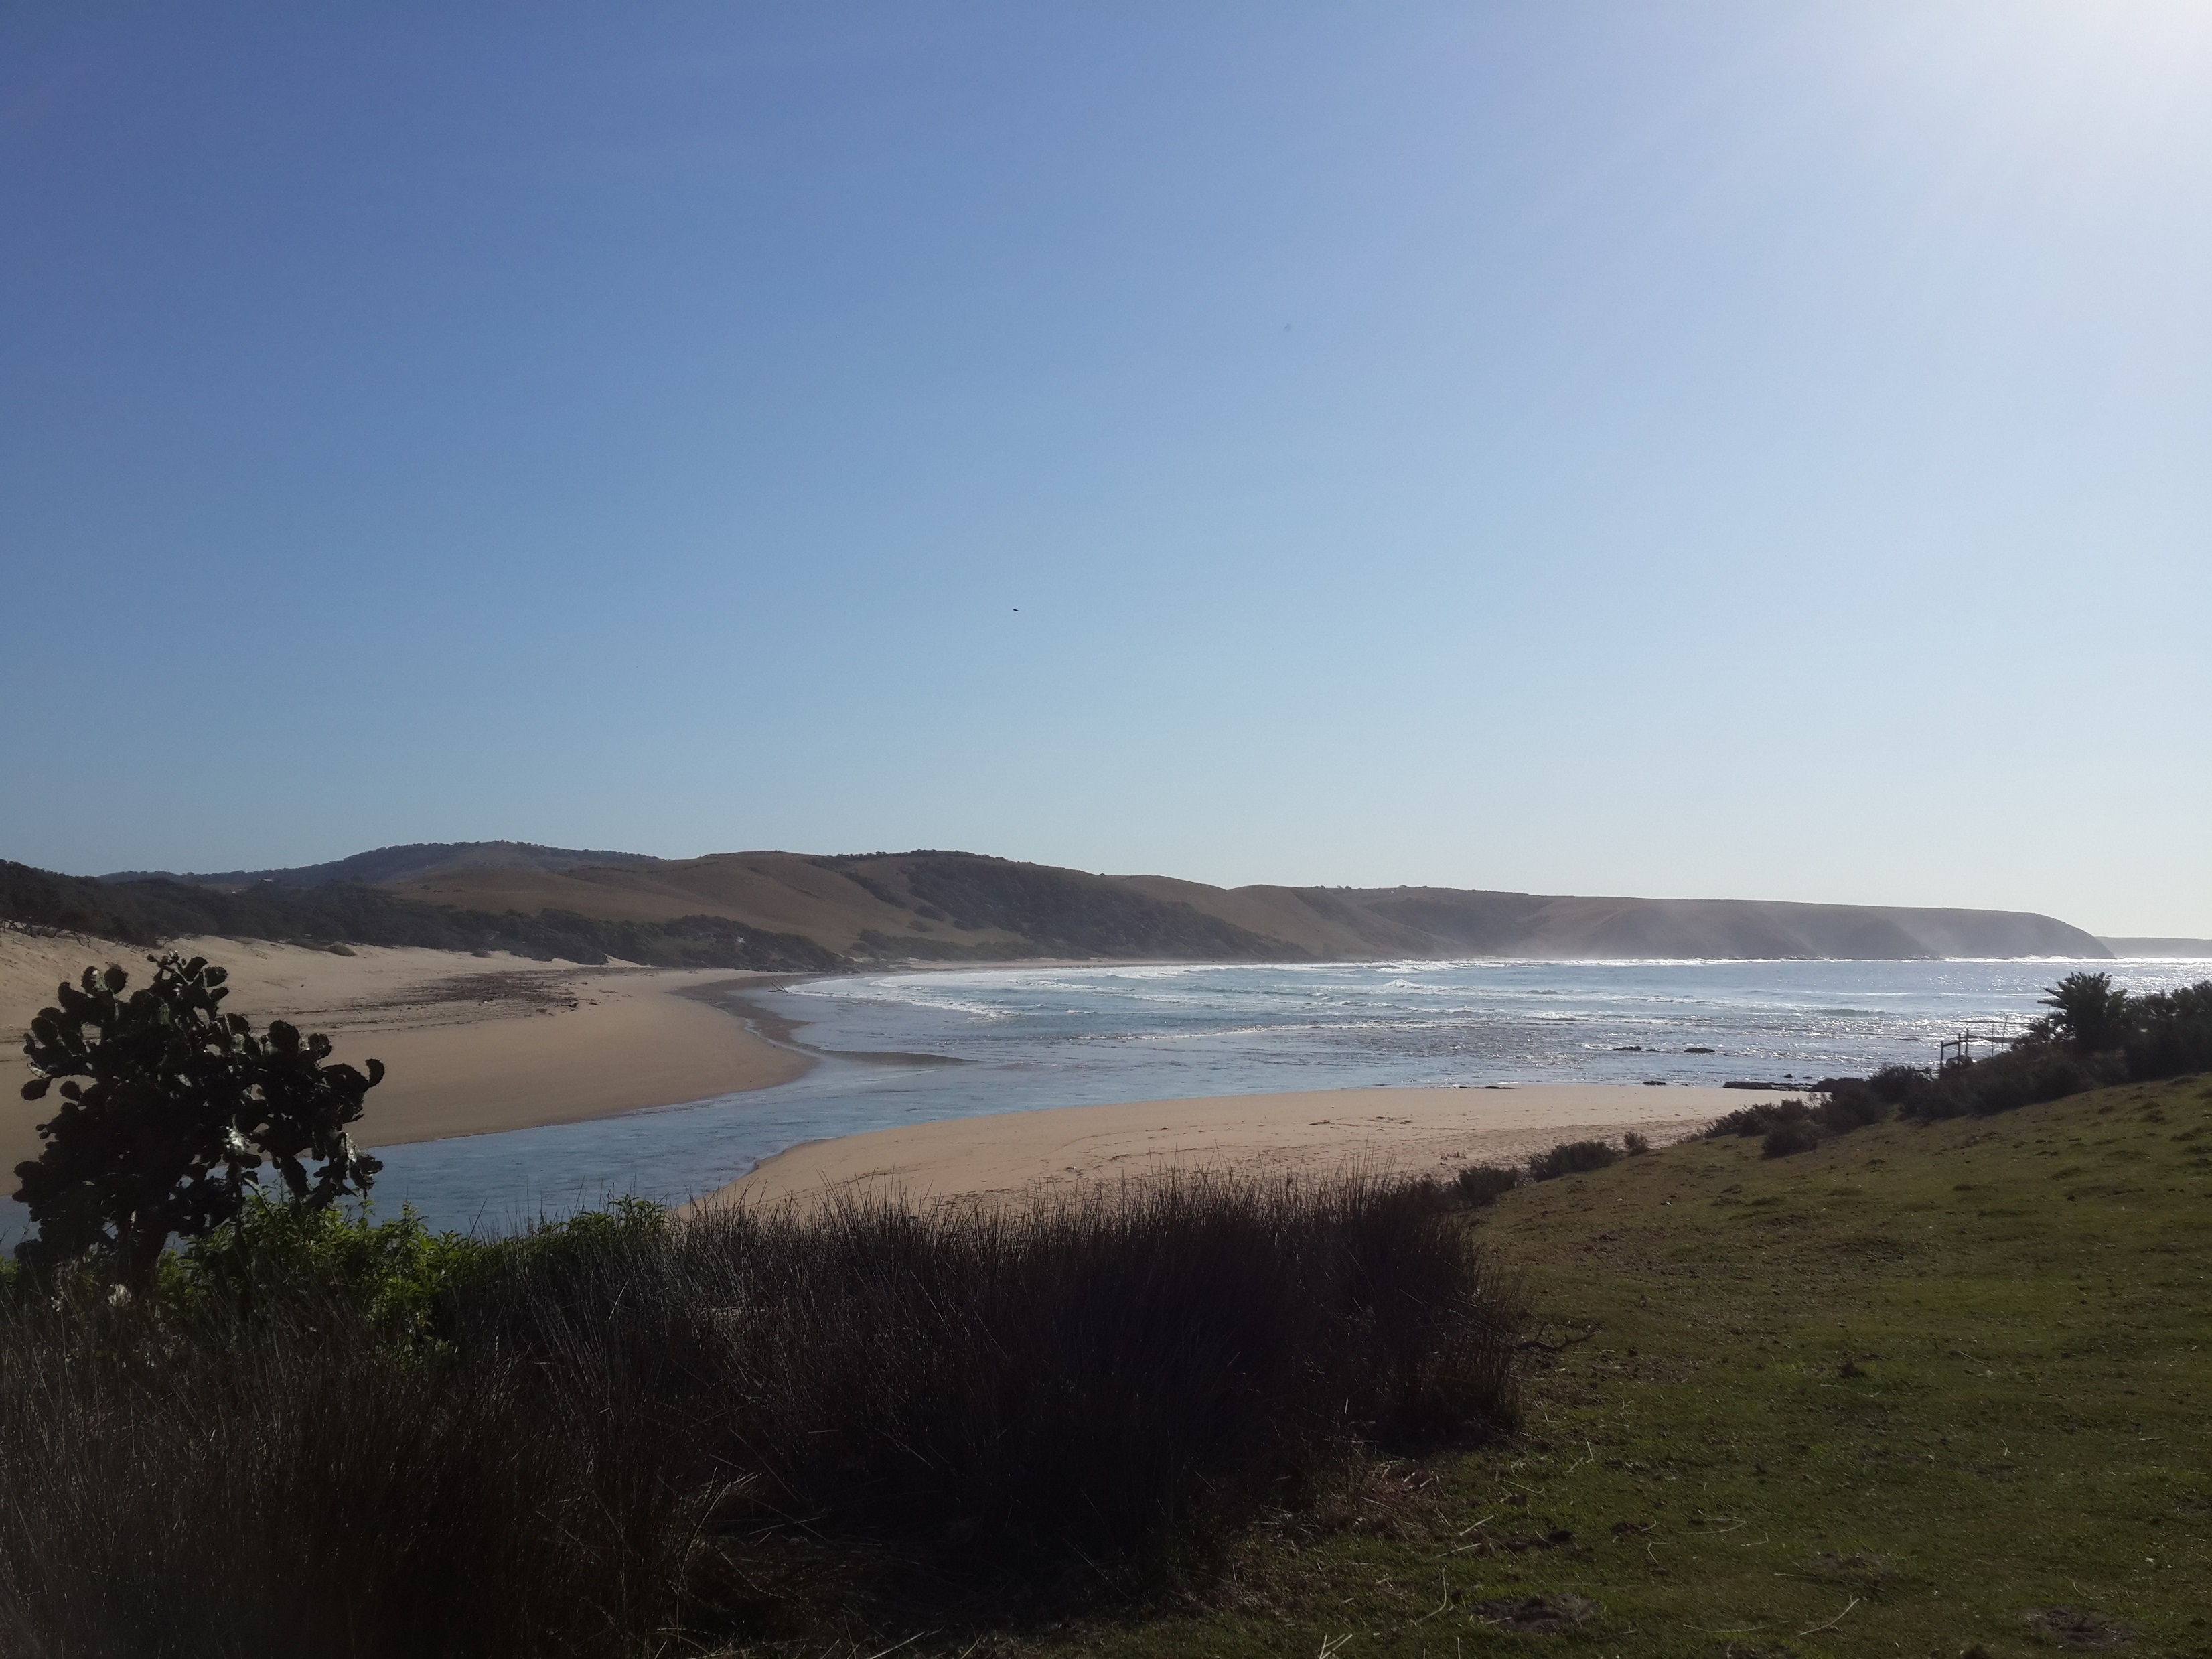 The Sunday morning we headed back to the Zithulele, choosing one or two paths differently but ultimately doing a very similar route to the one we took to get there. Riding a bit faster but being killed again by the reoccurring hills.
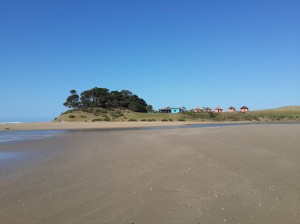
- View of Bulungula Lodge from the beach

The area is absolutely stunning and it was a great experience being able to just hop on a bike and head out into the wilderness picking a route as we pleased. The backpackers was enjoyable, albeit nothing amazing. Other people from the hospital had also hiked to the backpackers all the way along the coast.
Great company, good weather, some tasty food and beautiful scenery made it an all together memorable weekend.