Last week I got the opportunity to hike the Otter Trail. One of the most well known and popular hikes in South Africa, I was checking the booking website daily several months before we hiked, waiting for a cancellation, and all I managed to get was 4 out of a maximum 12 slots, but I took these with pleasure. During the summer and school holidays the route tends to be fully booked months in advance. If you’re able to go out of season you can get a slot with relative ease.
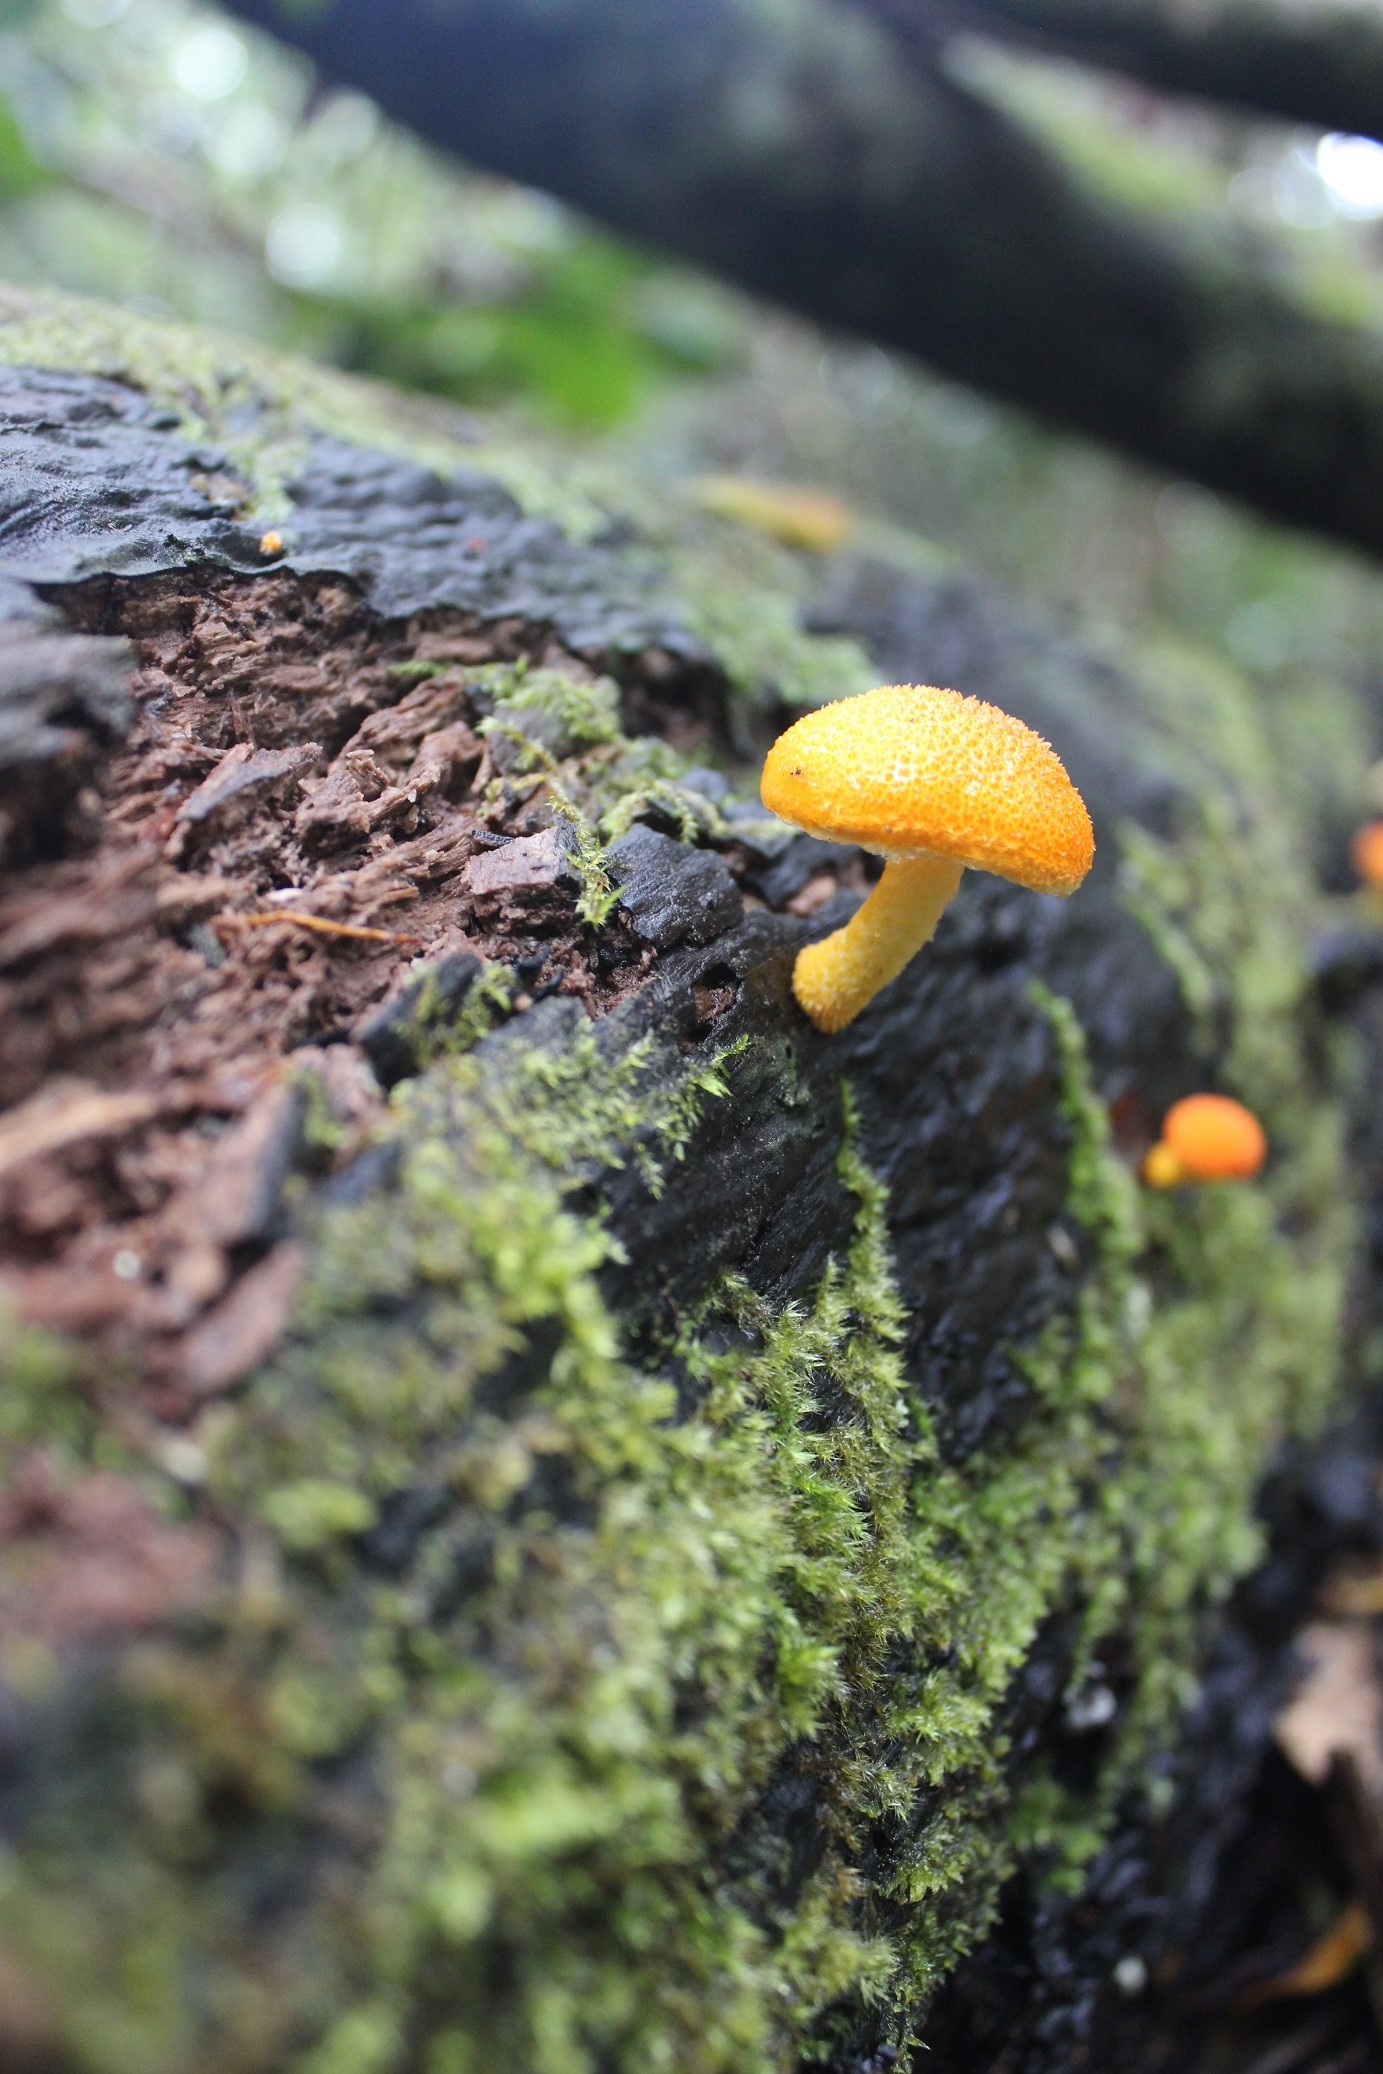
Mushroom
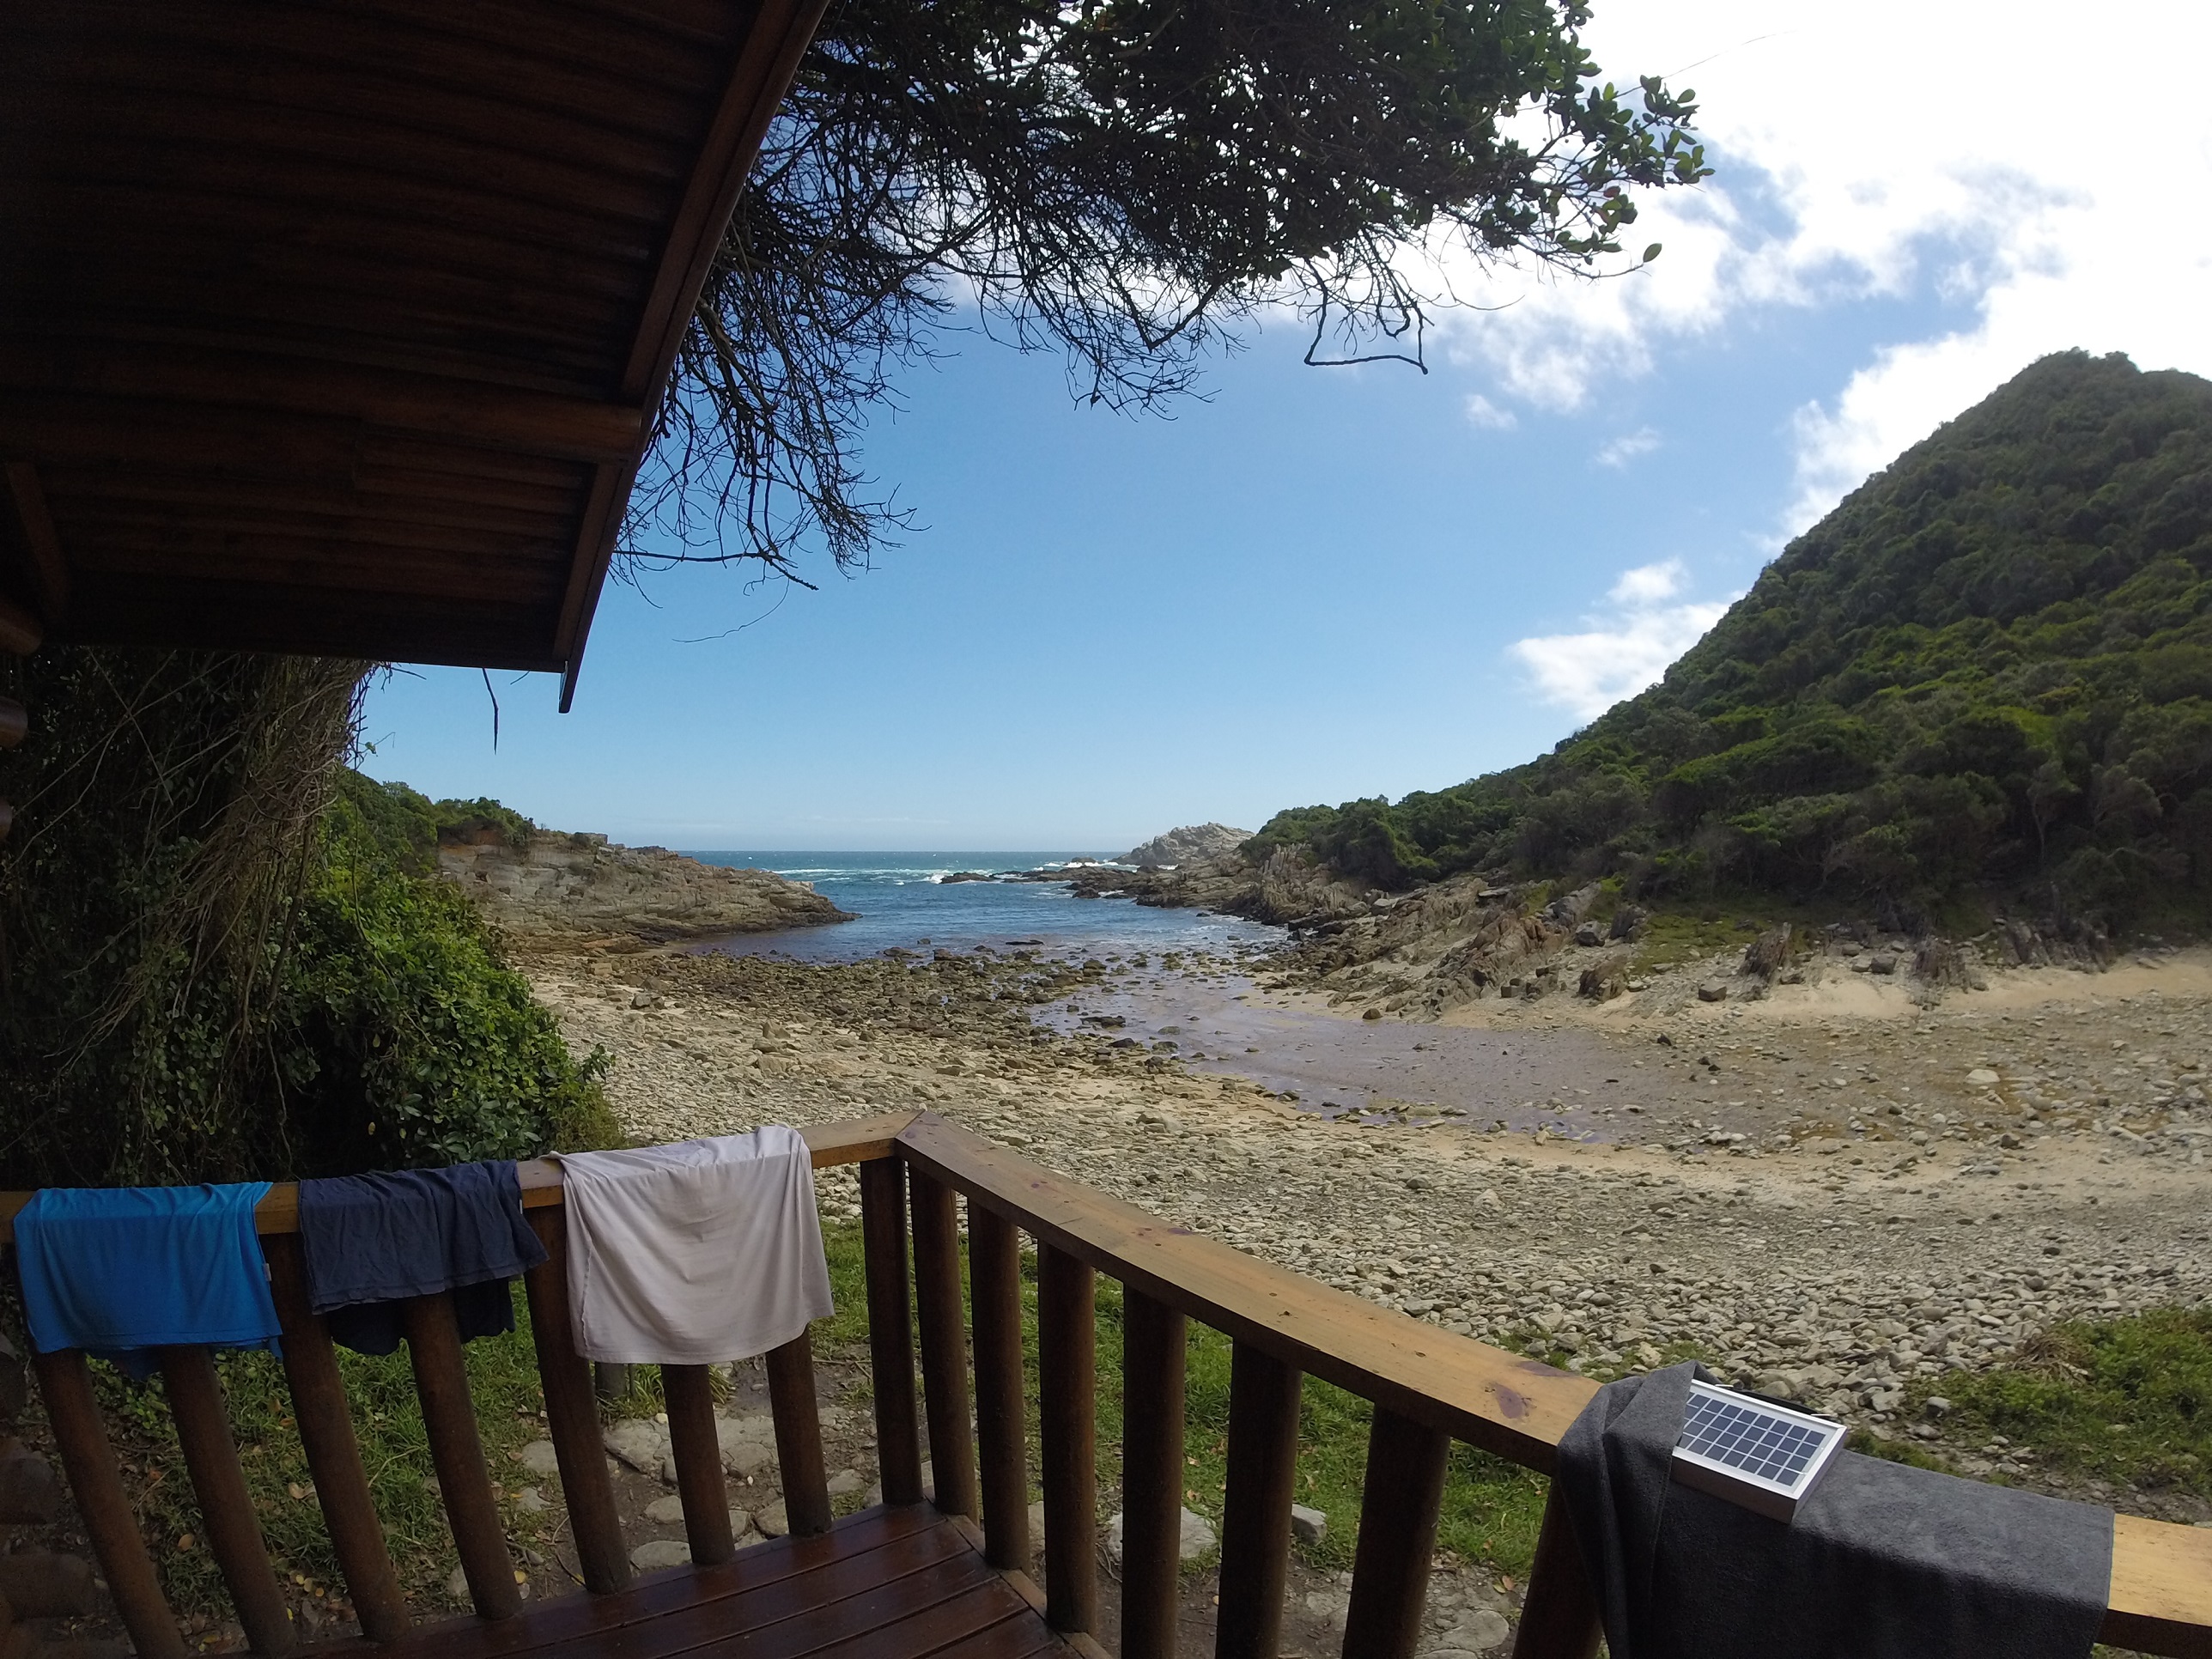
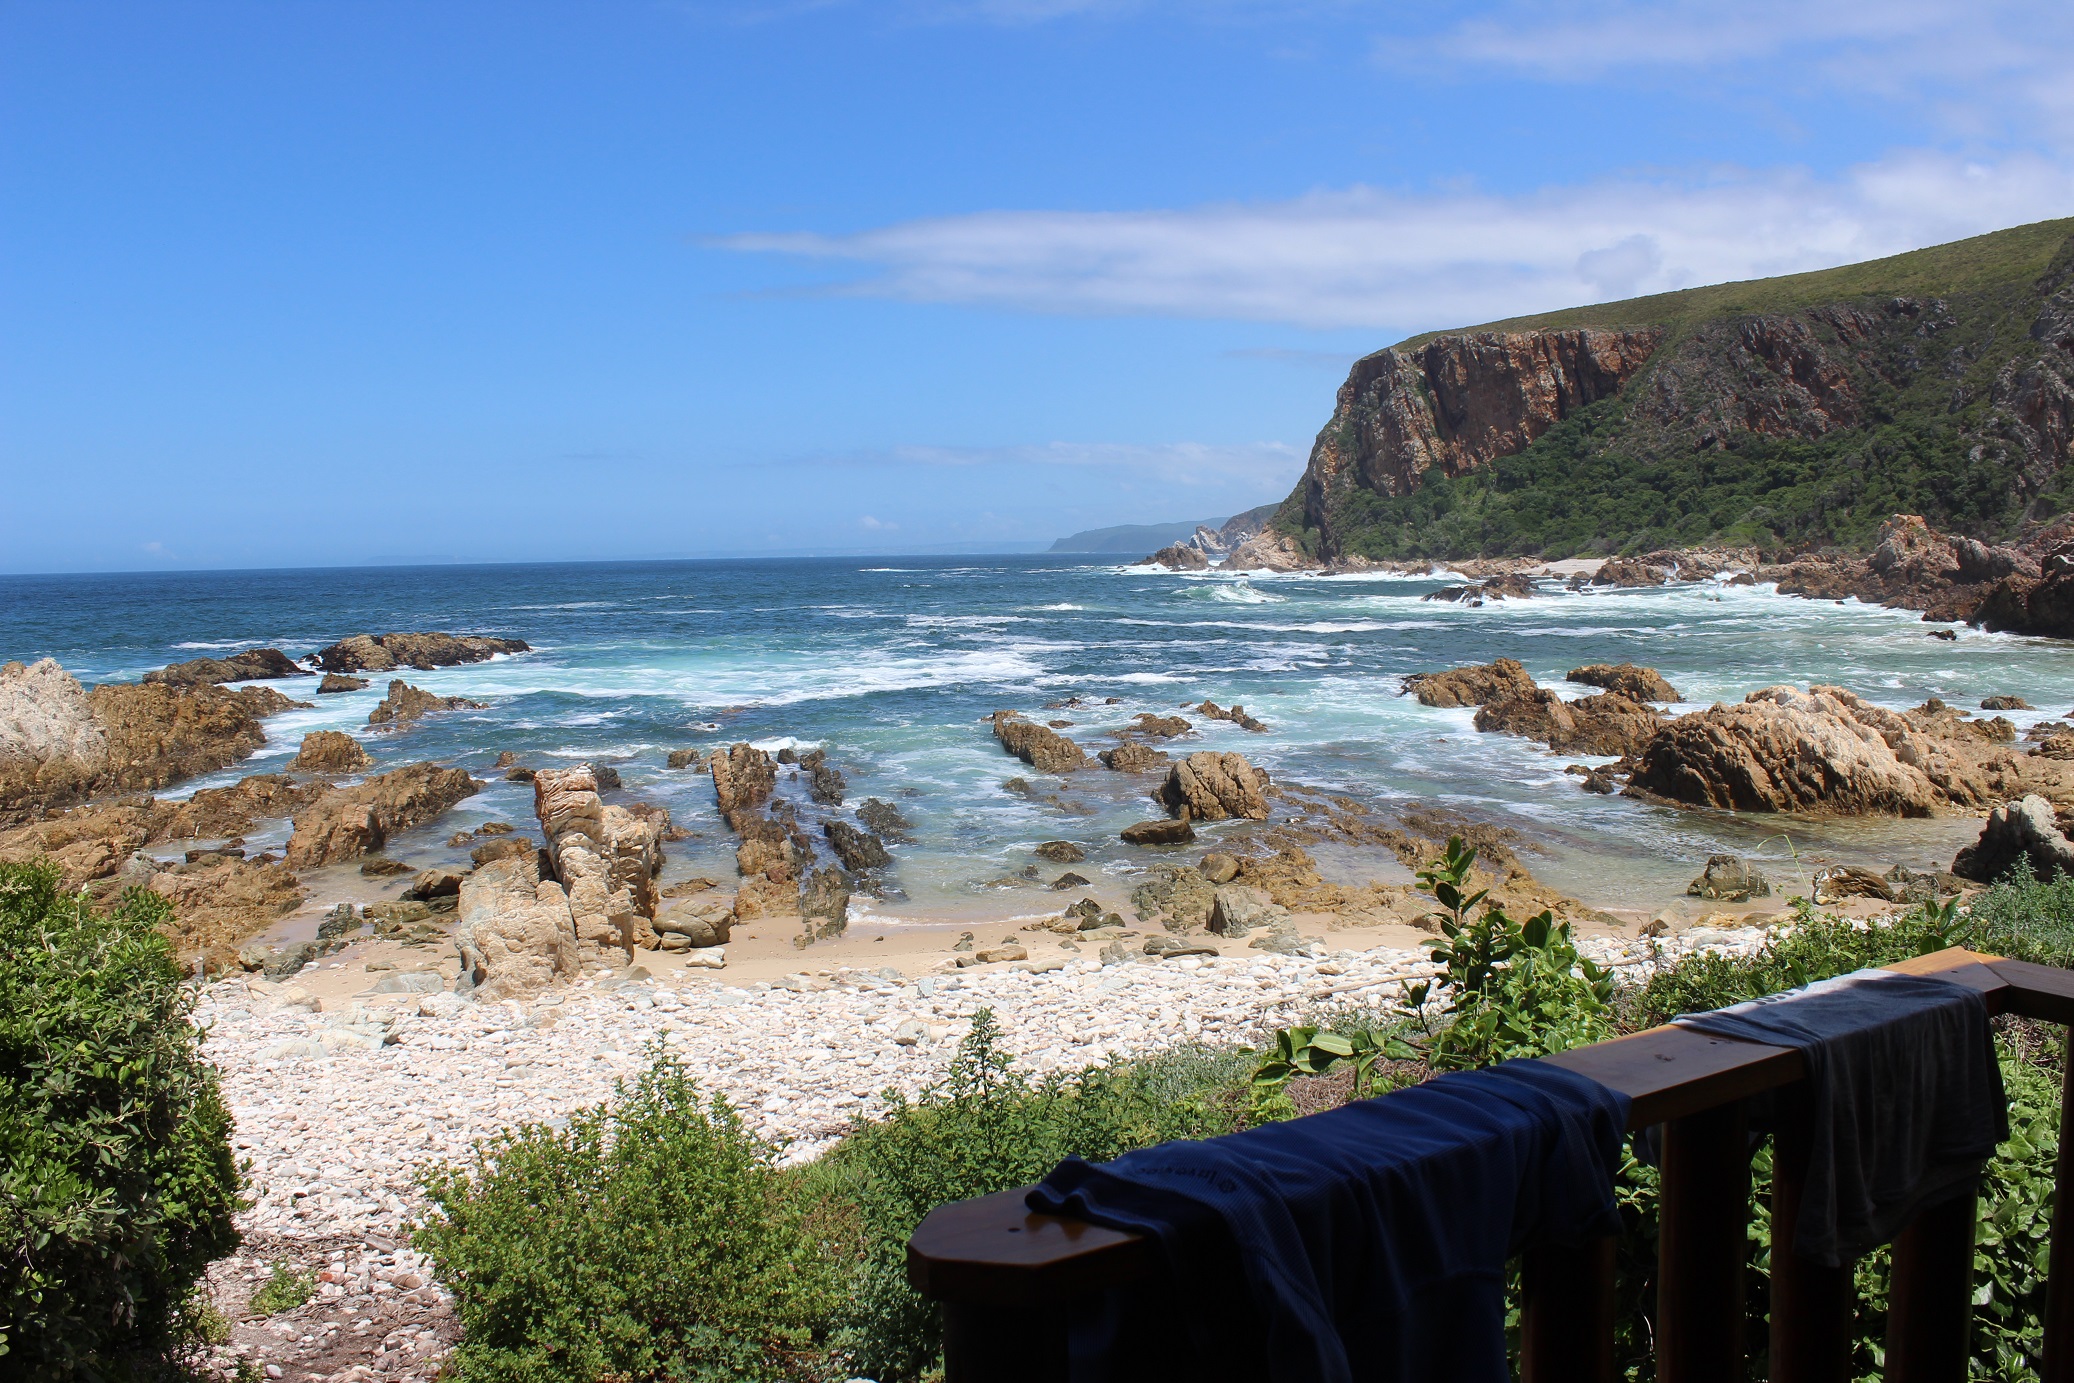
The hike is about 40km over 5 days, averaging 4 hours of hiking a day. Not the most hectic of hikes, but the four hours a day you do hike are tough hours, with lots of up and down as you traverse the Cape coastline, some sections on the beach and rocks, but majority of the time spent up on the cliffs or in the forests lining the coast. Each night there are two comfortable wood cabins, each housing two triple bunk beds, a counter and two benches. Along with this is a communal lapa, and a flush toilet and cold water shower, both featuring stunning views. Drinking water and fire wood are usually available at all 4 night’s accommodation.

Starting weather
The hike starts from the Storms River Mouth camp of the Tsitsikamma National Park, heading down the coast and ending at Nature’s Valley. A car can be left at the De Vasselot camp-site (Also a SANPark) in Nature’s valley where one anyway has to sign out on the last day. Note the start and end points of the hike are on opposite sides of the Tsitsikamma toll plaza, meaning you’re going to be paying that toll a silly amount of times. Map and tide table along with full explanation of everything you need to know are provided to you on booking in at Storms River. The cost for us was R1,010 per person for the hike, and an additional 4 days conservation fee at R42 per day, totalling R1,178 for the 5 days and 4 nights.
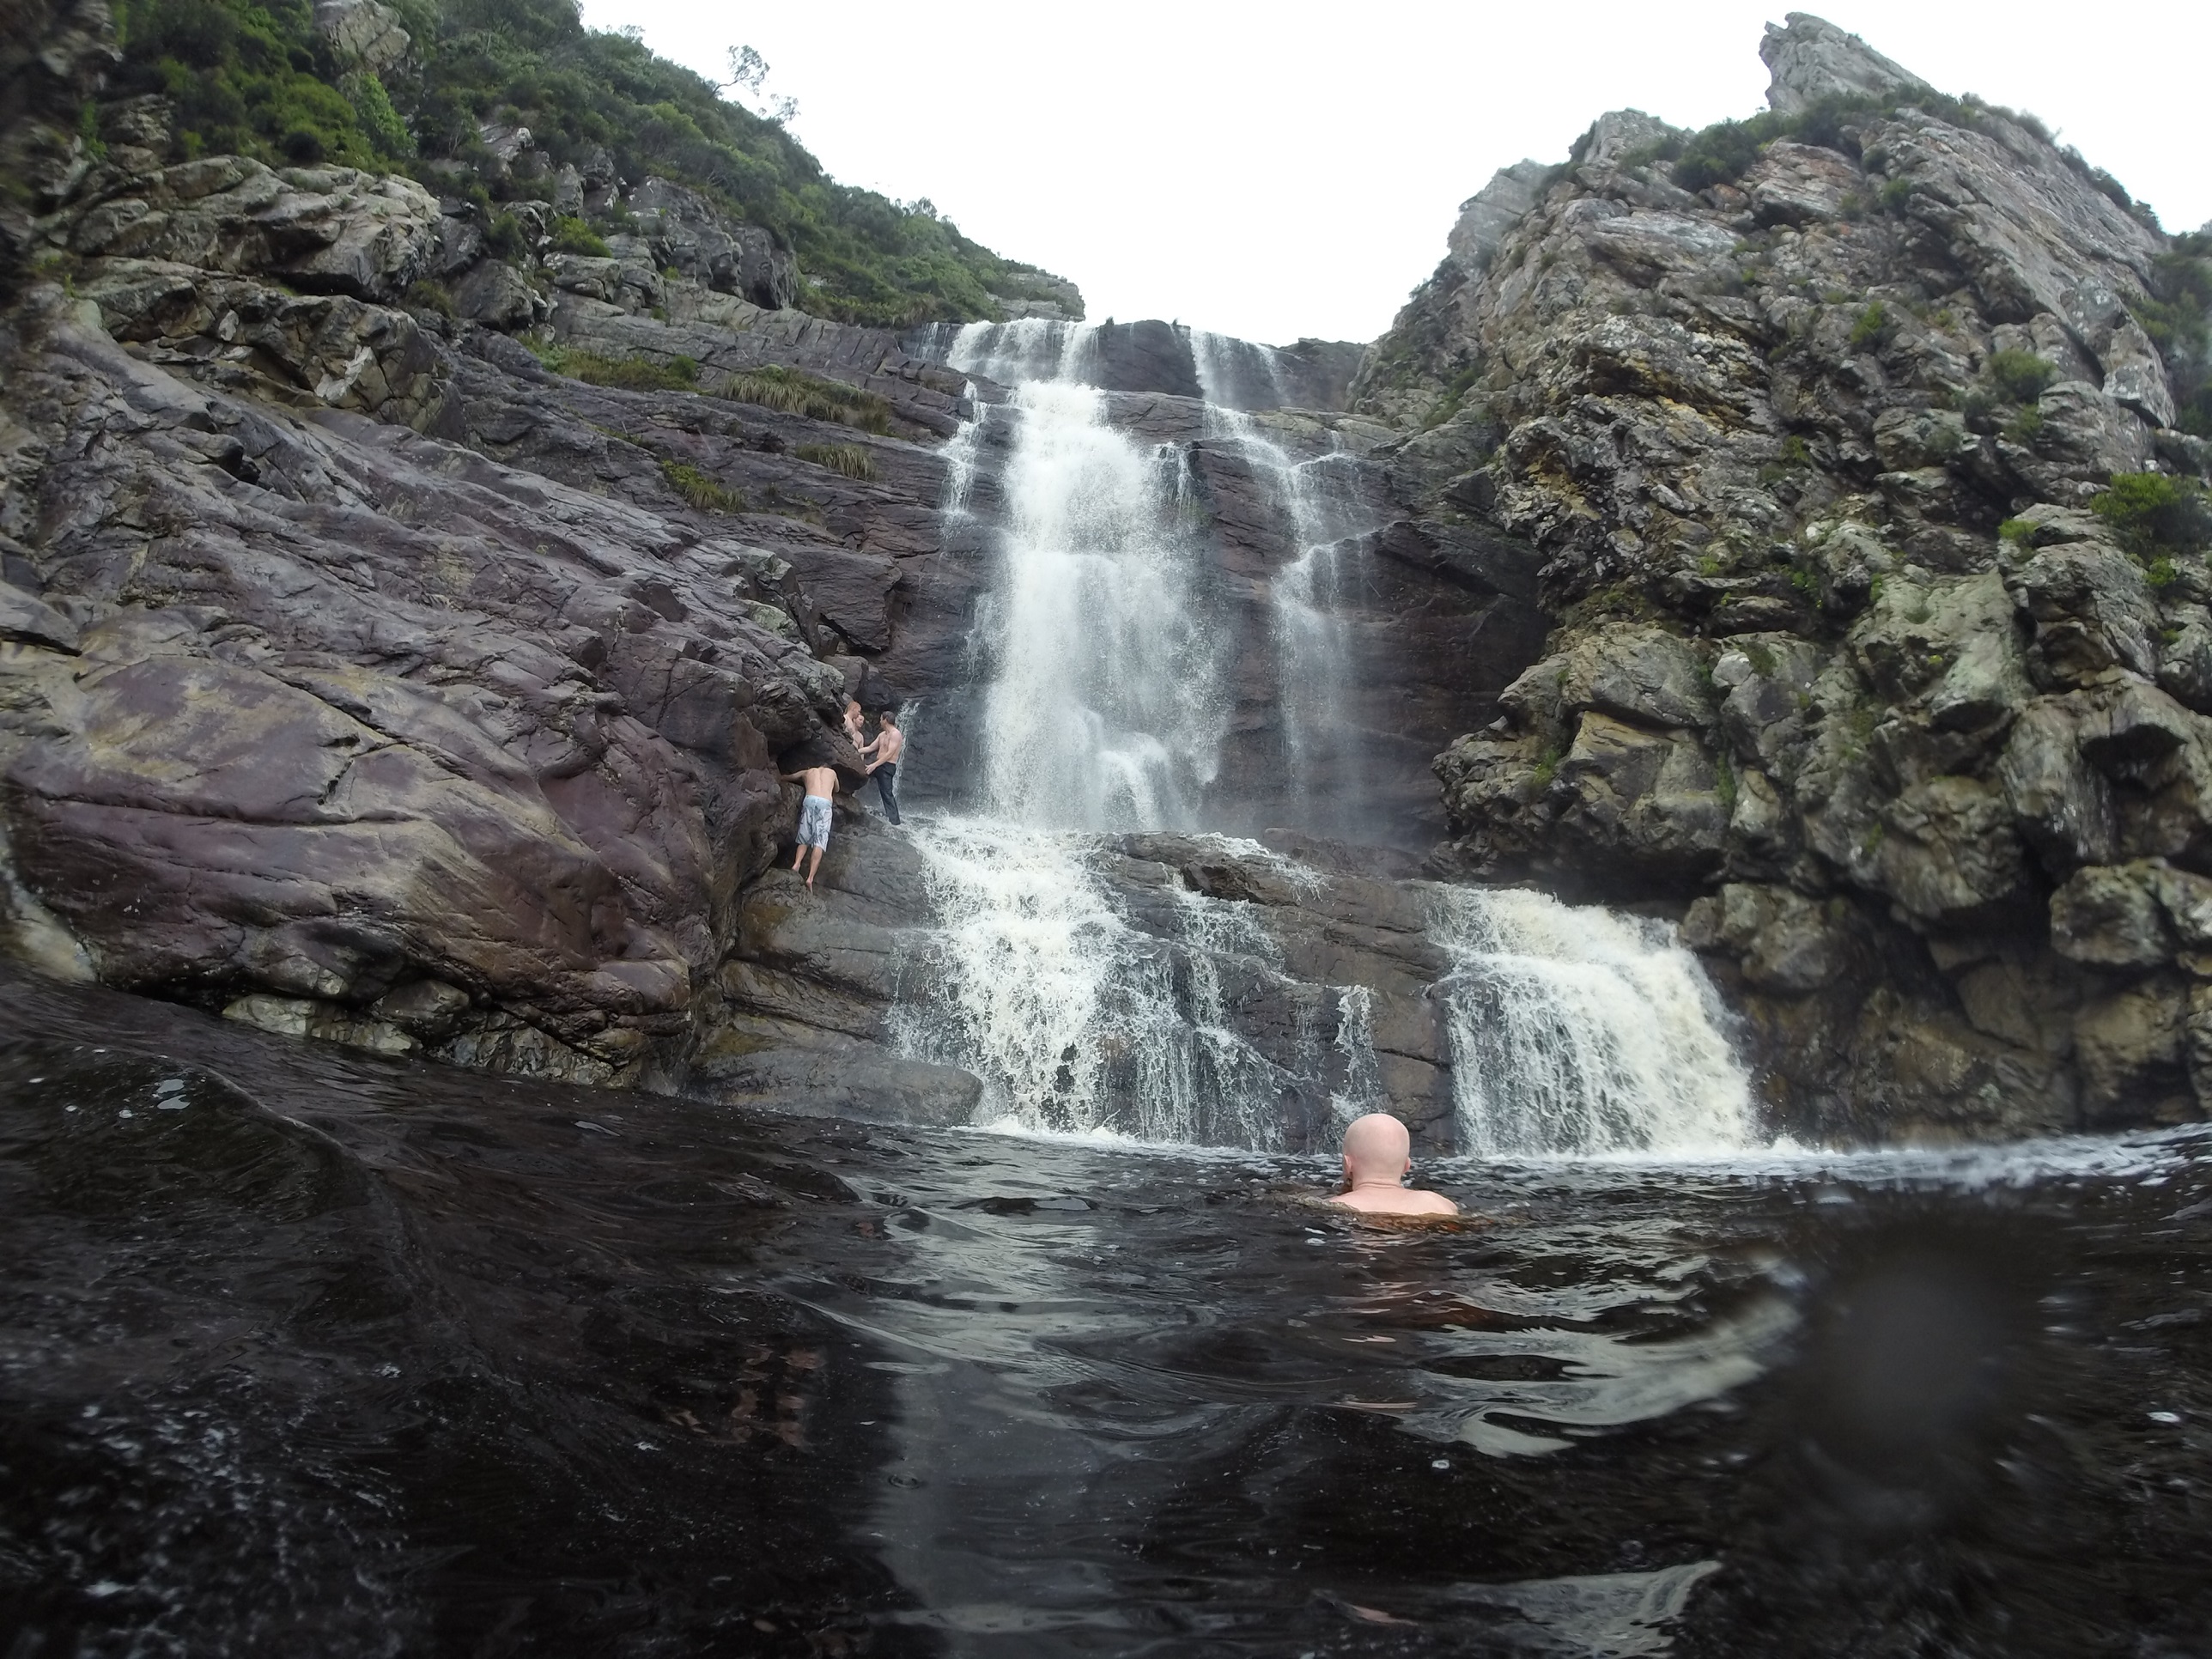
Waterfall on Day 1
We started on a miserable day and hiked with a constant light drizzle. This was not enough to put off day visitors though and we crossed many in the first hour. Along the route is a cave which holds some interest, but a bit further on is a waterfall into a pool right on the rocks next to the sea. We opted for a short stop and swim here regardless of the weather. Although the hike can be tough, distances are short and there is plenty of time to stop and enjoy the features the hike has to offer. Day 1’s 4.8km (~2h) puts you at the Ngubu hut.
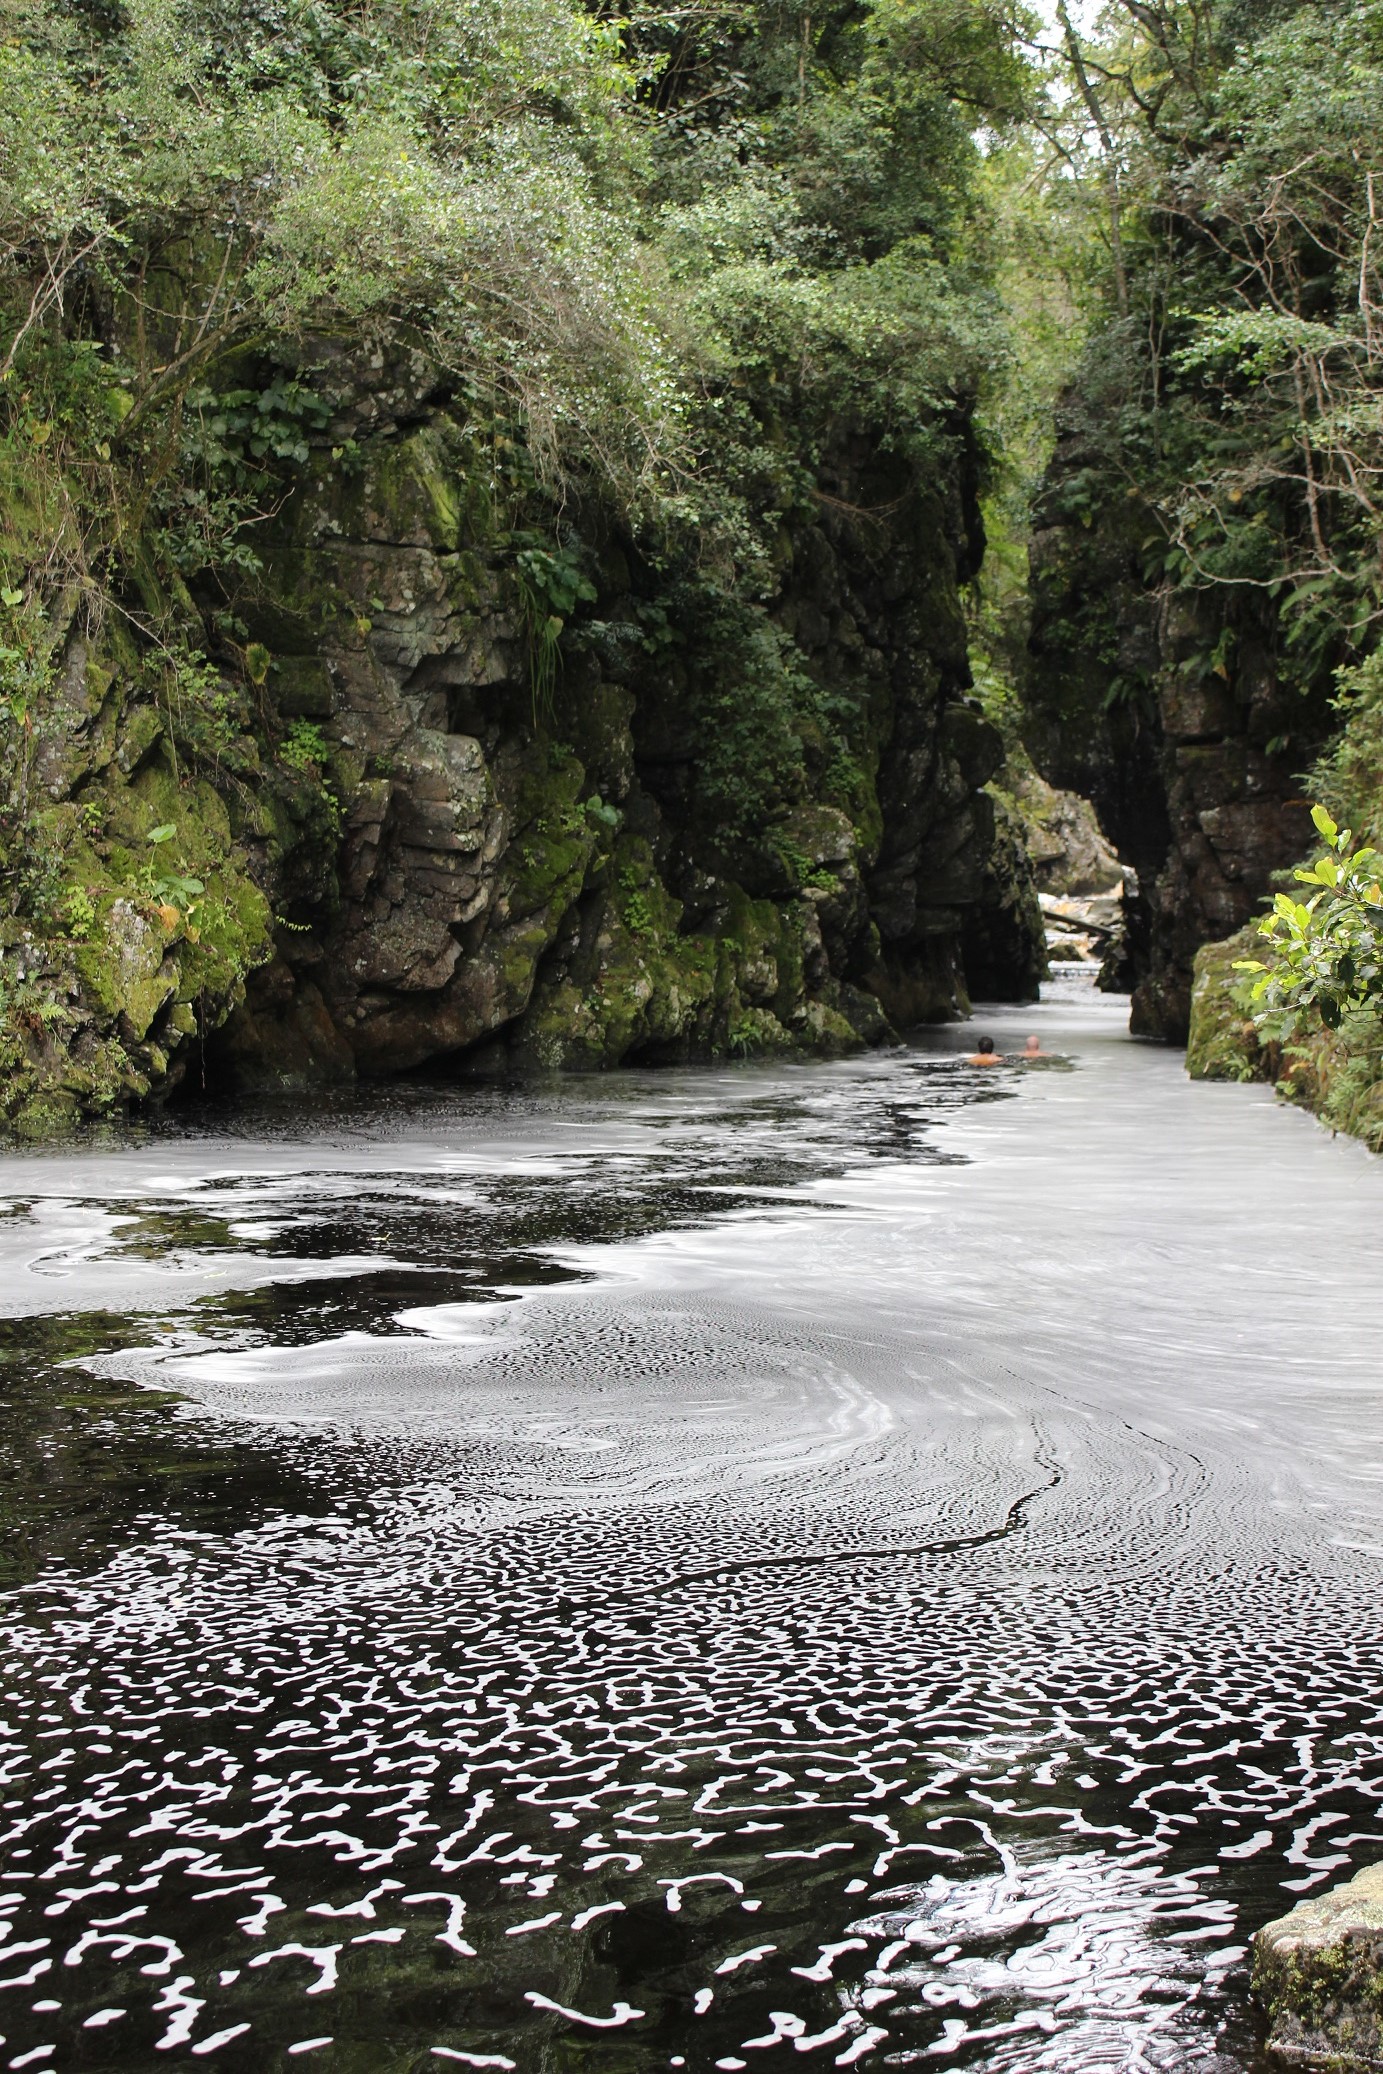
Exploring the Kleinbos River
Day 2 was free of rain, but still overcast, a slightly longer 7.9km (~4h) takes you to hut Scott. Along the way you cross the Kleinbos River, for us this meant taking off shoes and socks to ensure our backpacks made it across the river dry. If you have the time (which you should) do a bit of exploring up the river, there are some great pools and rapids that you can work your way up for a few 100m.
Camp Scott
For us, day 2 was also new years eve. The camp is situated at the mouth of a small river, and we celebrated the new year with a bottle of champagne (note: champagne bottles are heavy) as the sun went down and the clouds withdrew. We also managed to glimpse of the hike’s namesake as a family of three Cape Clawless Otters made their way into the bay from the other side of the river. Unfortunately already too dark to get any pictures.
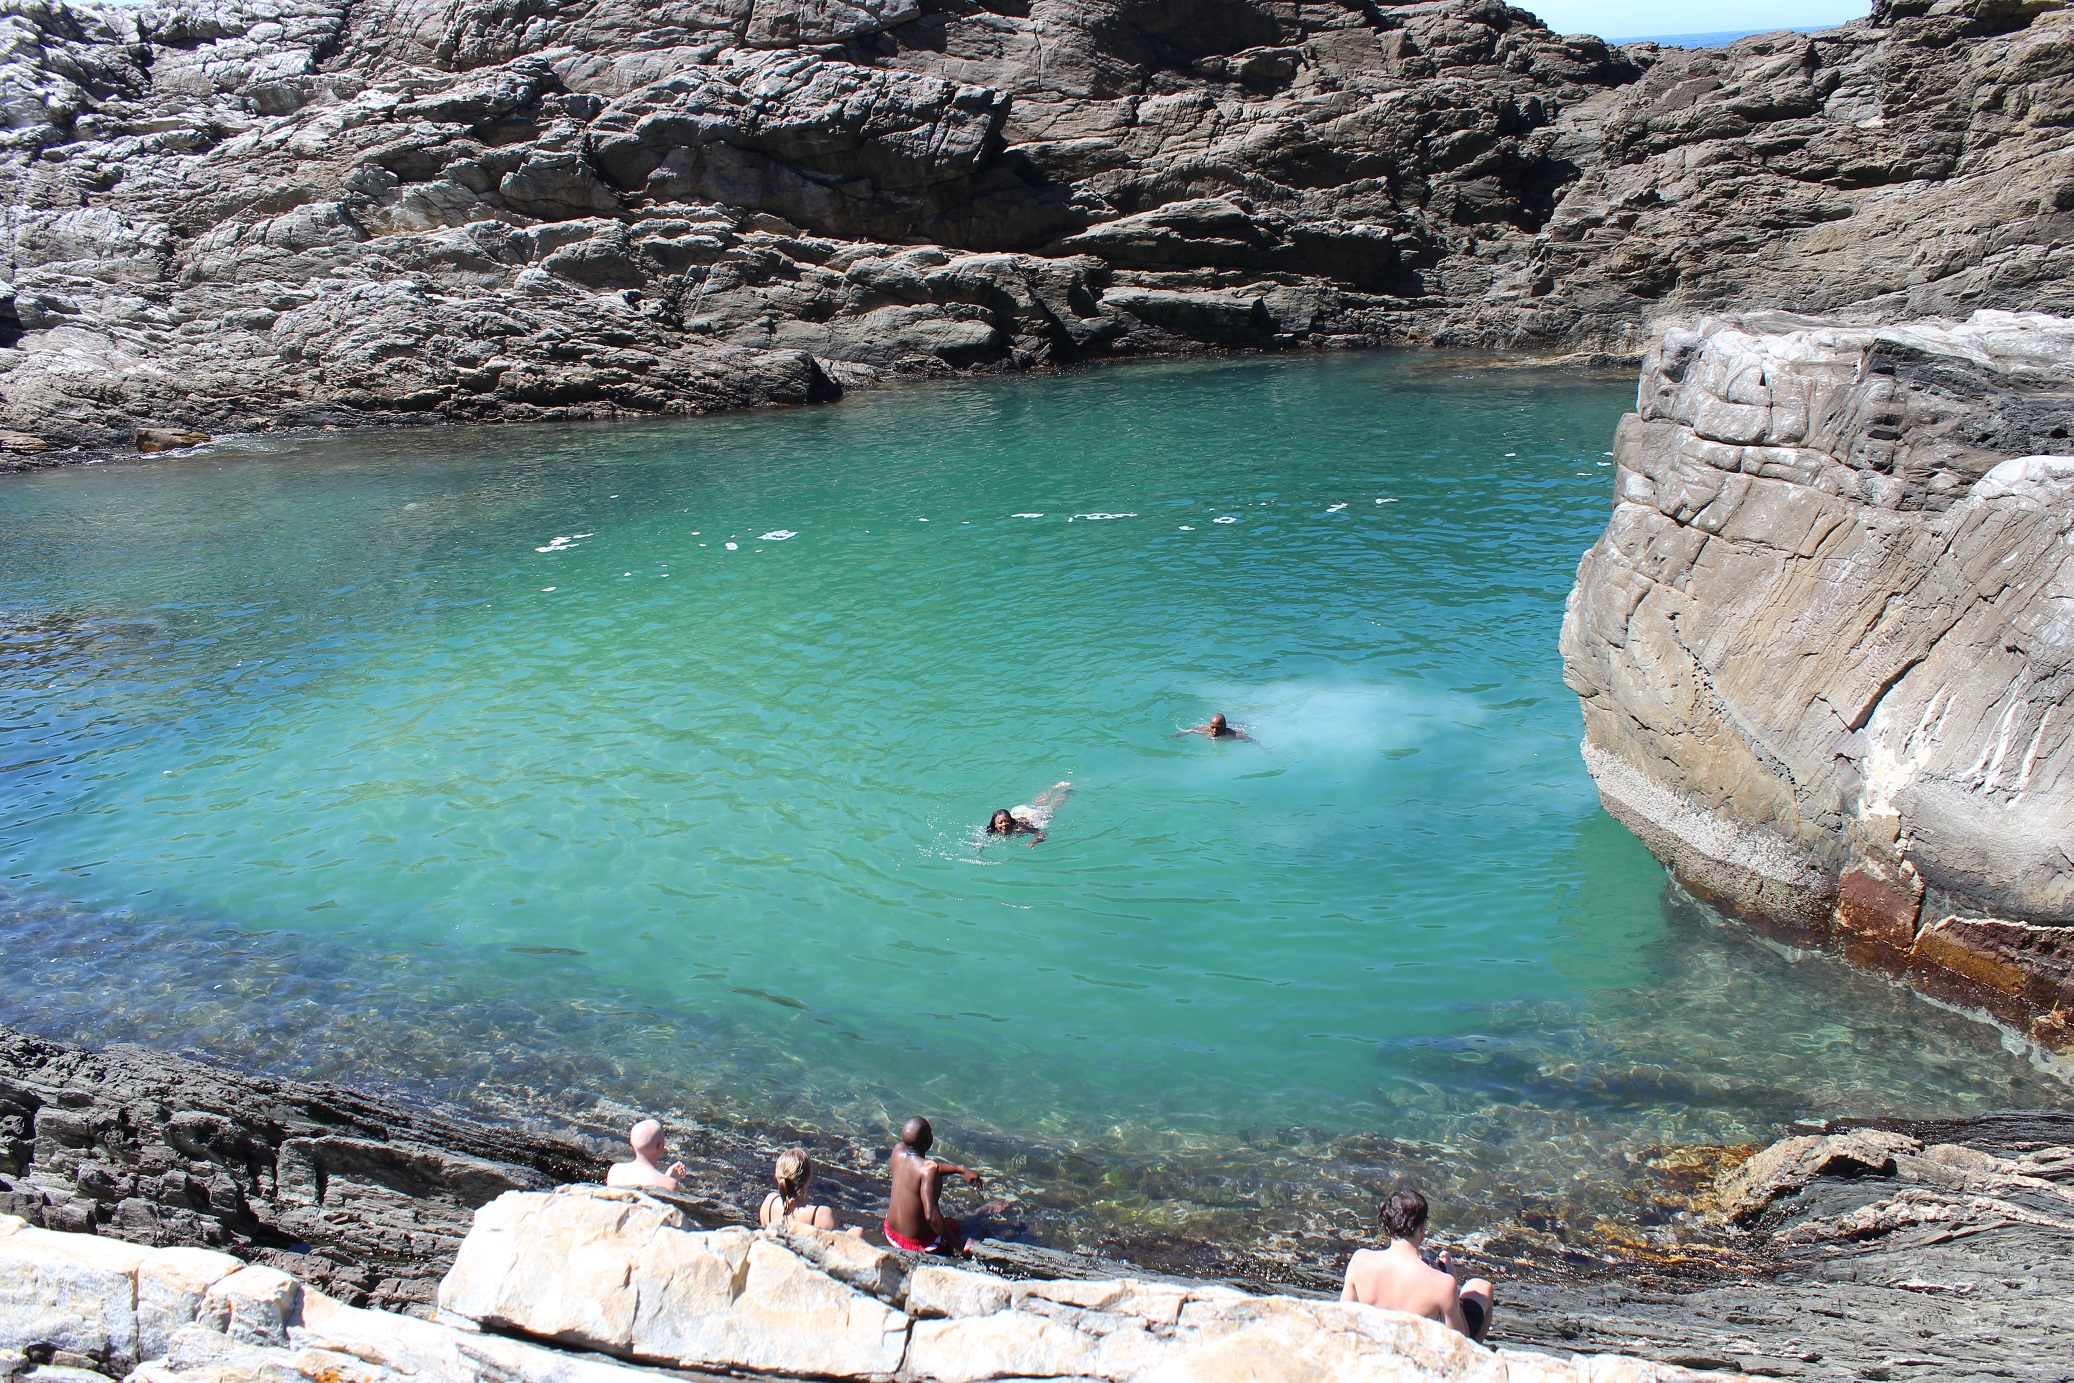
Swimming Day 3
Day 3 is another 7.7km (~4h) along. Jump some rocks to cross the river and you start a long ascent. About half an hour into the hike you’ll pass some rock pools to your left. The sun had finally come out, and we spent a good half hour there. The water was beautifully clear and some choice rocks offer a good platform to jump from. The first obstacle is the Elandsbos river. Although very low when we got there, a lack of rocks necessitates the removing of shoes once again.

Crossing the Lottering
The day ends with the crossing of the Lottering River. As you come over the hill you’ll see the Oakhurst huts, before dropping down inland a bit to cross the river. Low tide will help with this crossing, we got there spot on high-tide, but placed our bags on our shoulders still made for an easy crossing. There are some nice trees and good swimming places if you feel like taking a lunch break, otherwise the huts are another 20min along.
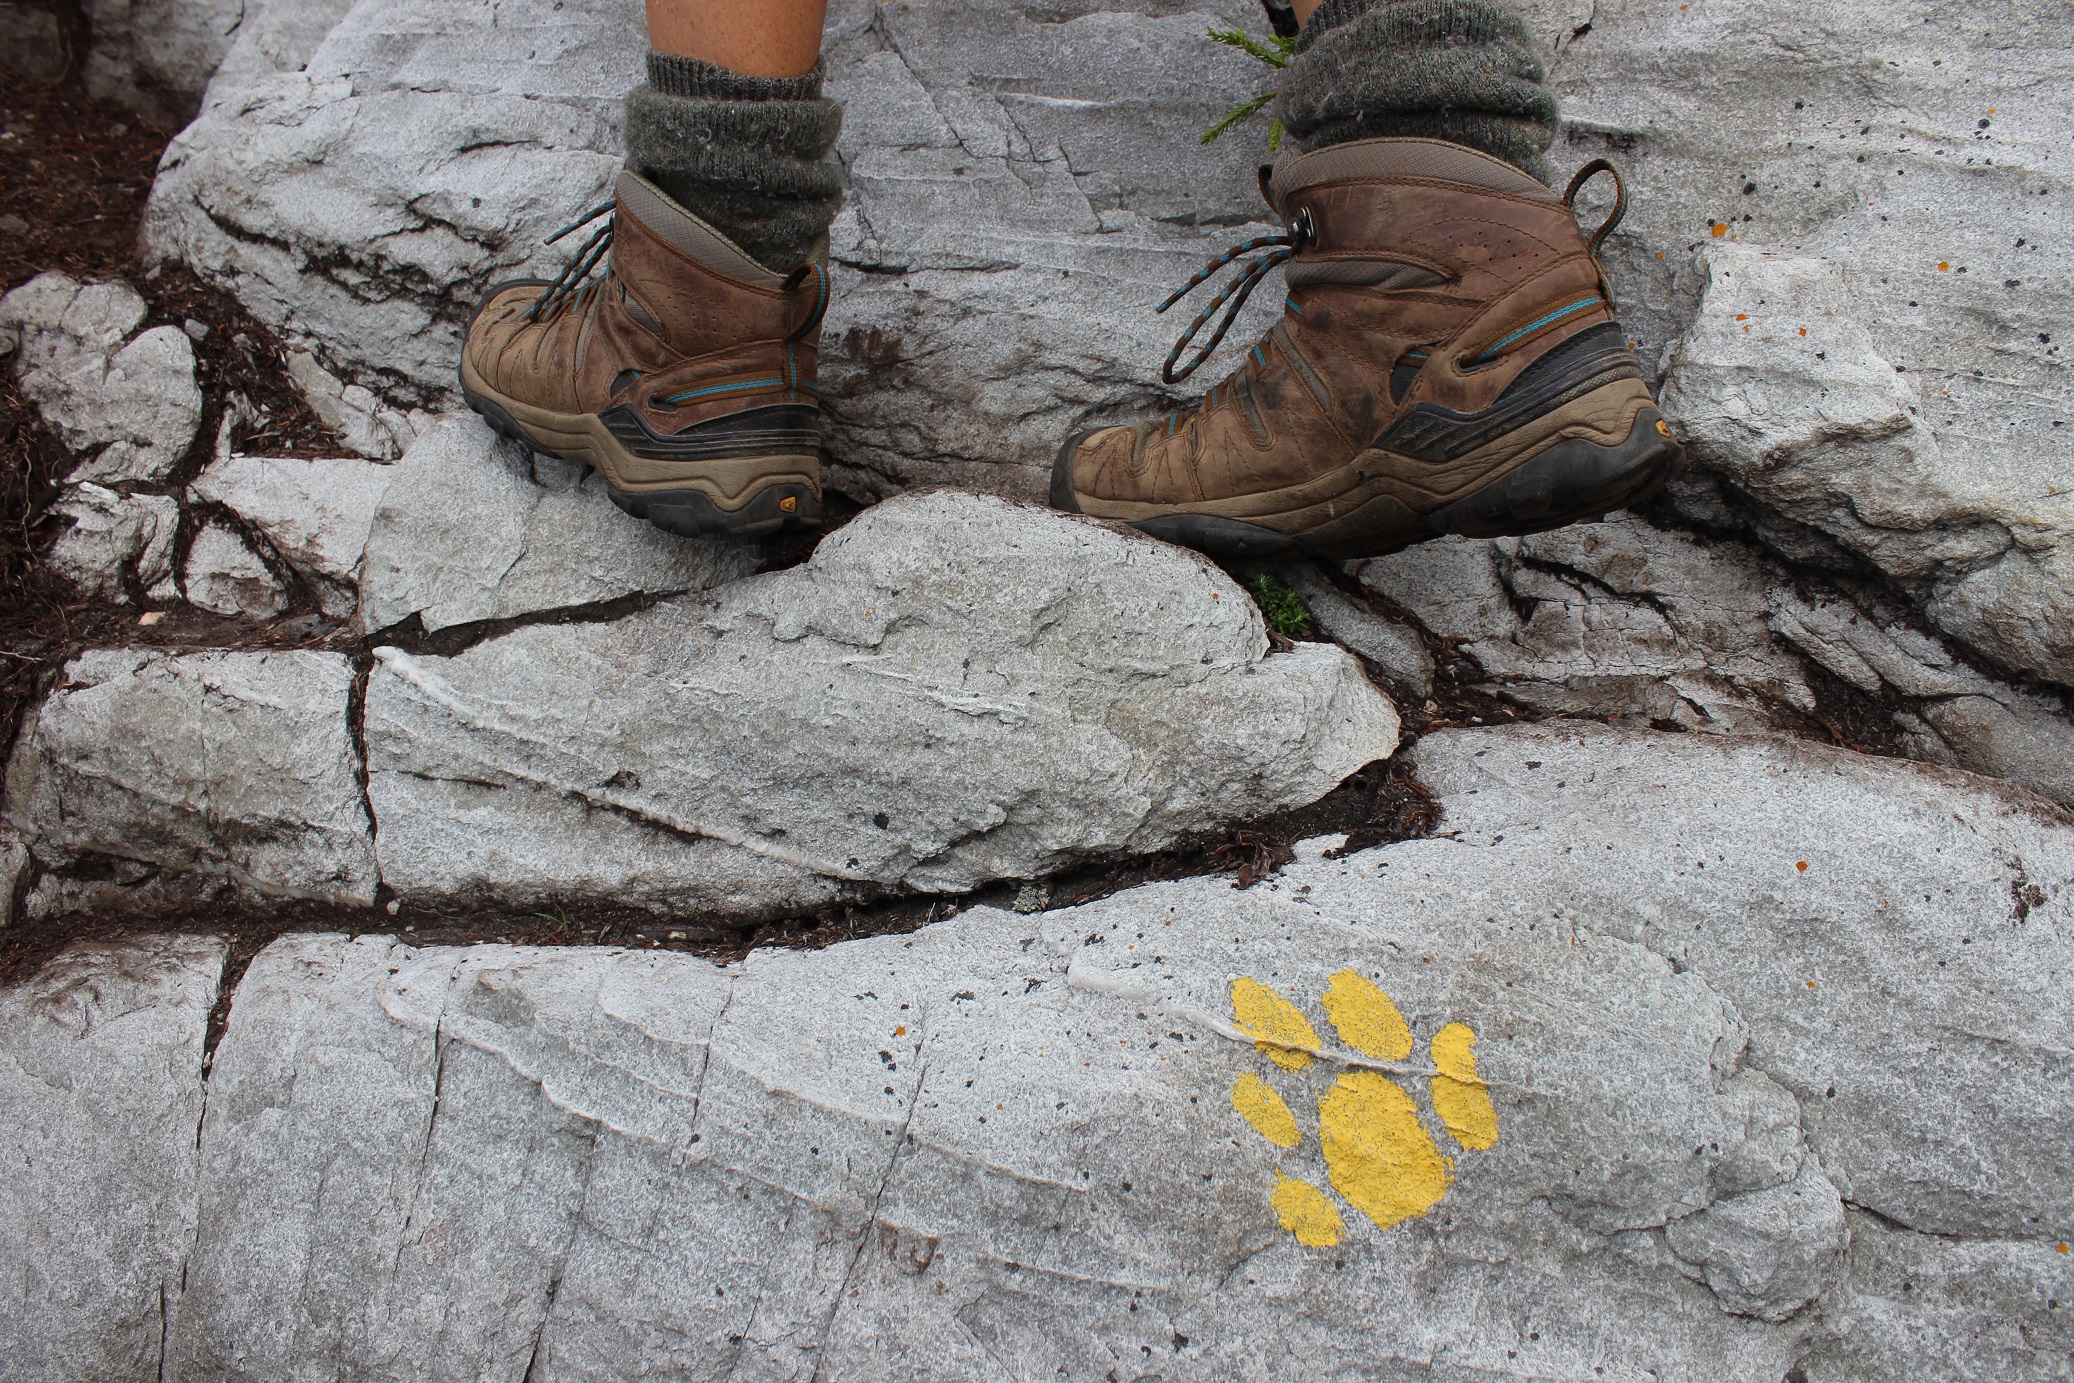
Voetjies
Day 4 is the big day, at 13.8km (~6h) it is the longest day and also has the infamous Bloukrans river crossing. The crossing is 4 hours from the start of the hike and it is always recommended to be there at low-tide. However previous day’s rain, general sea conditions and other factors can influence the crossing too. Low-tide for us was at 08h10 in the morning. That is early. We decided to go for it in any case, waking up at 04h30 and leaving camp at 05h10.

bo Bloukrans
We were a group of 4, and kept a steady pace to get to Bloukrans after 03h30. A separate group who were hiking the same time as us left Oakhurst at 03h30, getting to the river shortly before us. So we arrived shortly after low-tide, evaluating the situation we were able to take our shoes off and walk across the river, I lifted my bag to my shoulder, but others left theirs on their backs without problem. One of our group had hike the Otter before and was amazed at the state of the river compared to when they had done it previously, and it seams everyone you speak to has a different experience. We were just very fortunate. If you run into problems there is an escape route just before the crossing.
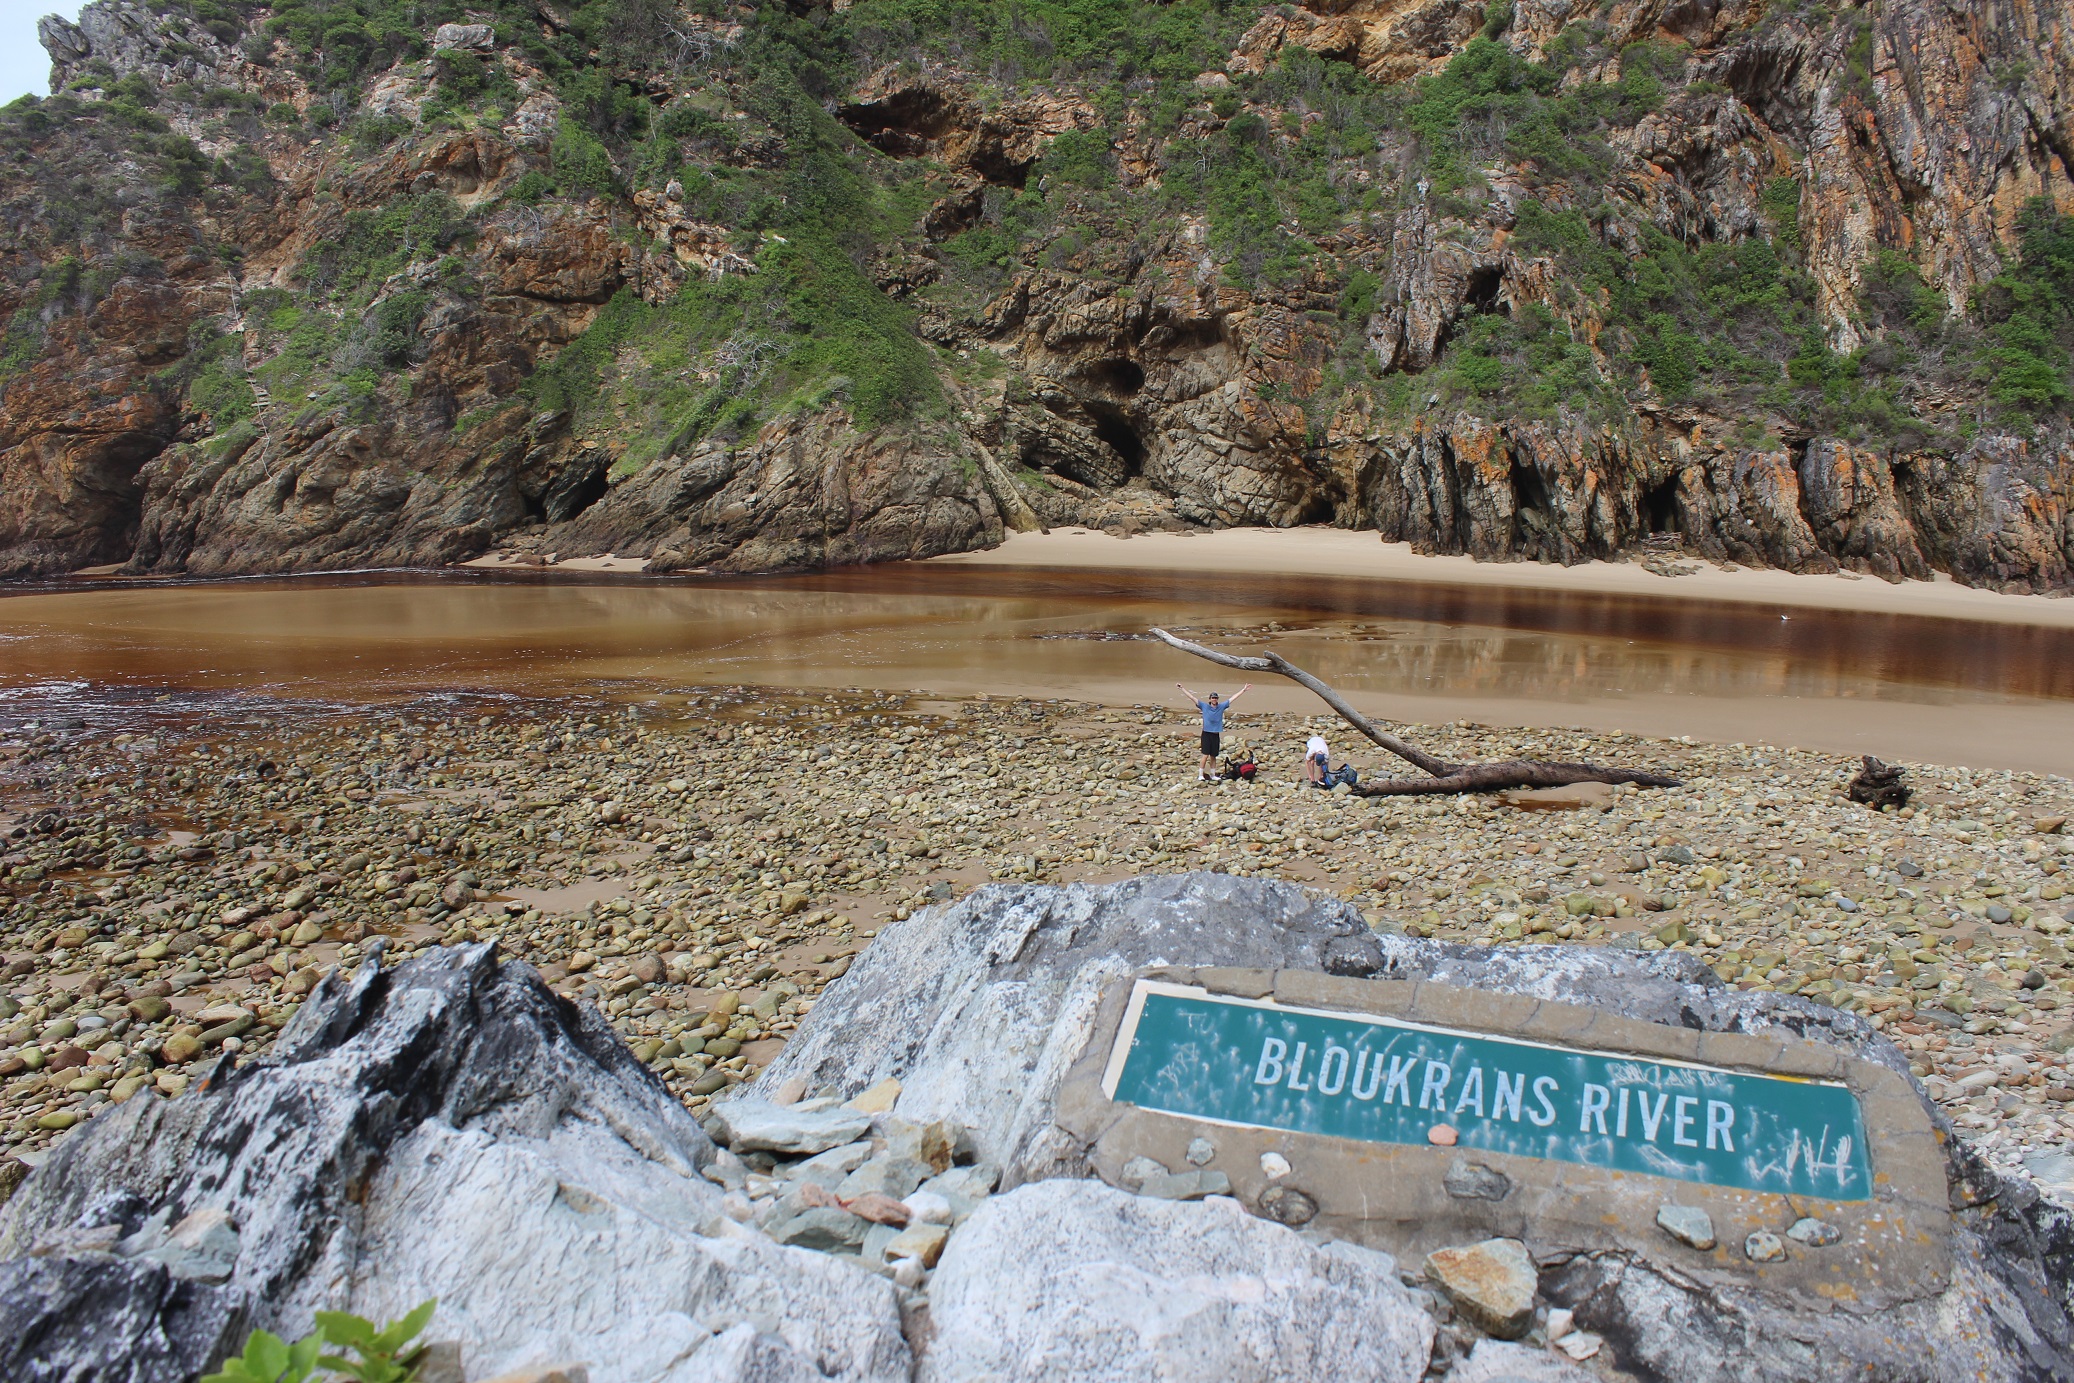
Bloukrans River Mouth
A second breakfast other side of the river and a further two hoursish of hiking put us at the last camp of the hike, camp Andre, at 11h00 with a full day of rest ahead. Amongst other things Andre has the shower with the best view, but is also rather open to the surroundings. Many card games and some reading later put us to bed.
Camp Andre
The last day is 6.8km (~3h) but besides the initial mean climb, is a rather fast and easy hike. Not much to see along the way, except some stunning views and an ending onto the pristine beach at Nature’s Valley. When you drop down on to the beach there is a route marked out to de Vasselot (I’m not sure how long this takes), but we opted to spend some time on the beach and took the main road back to the camp.
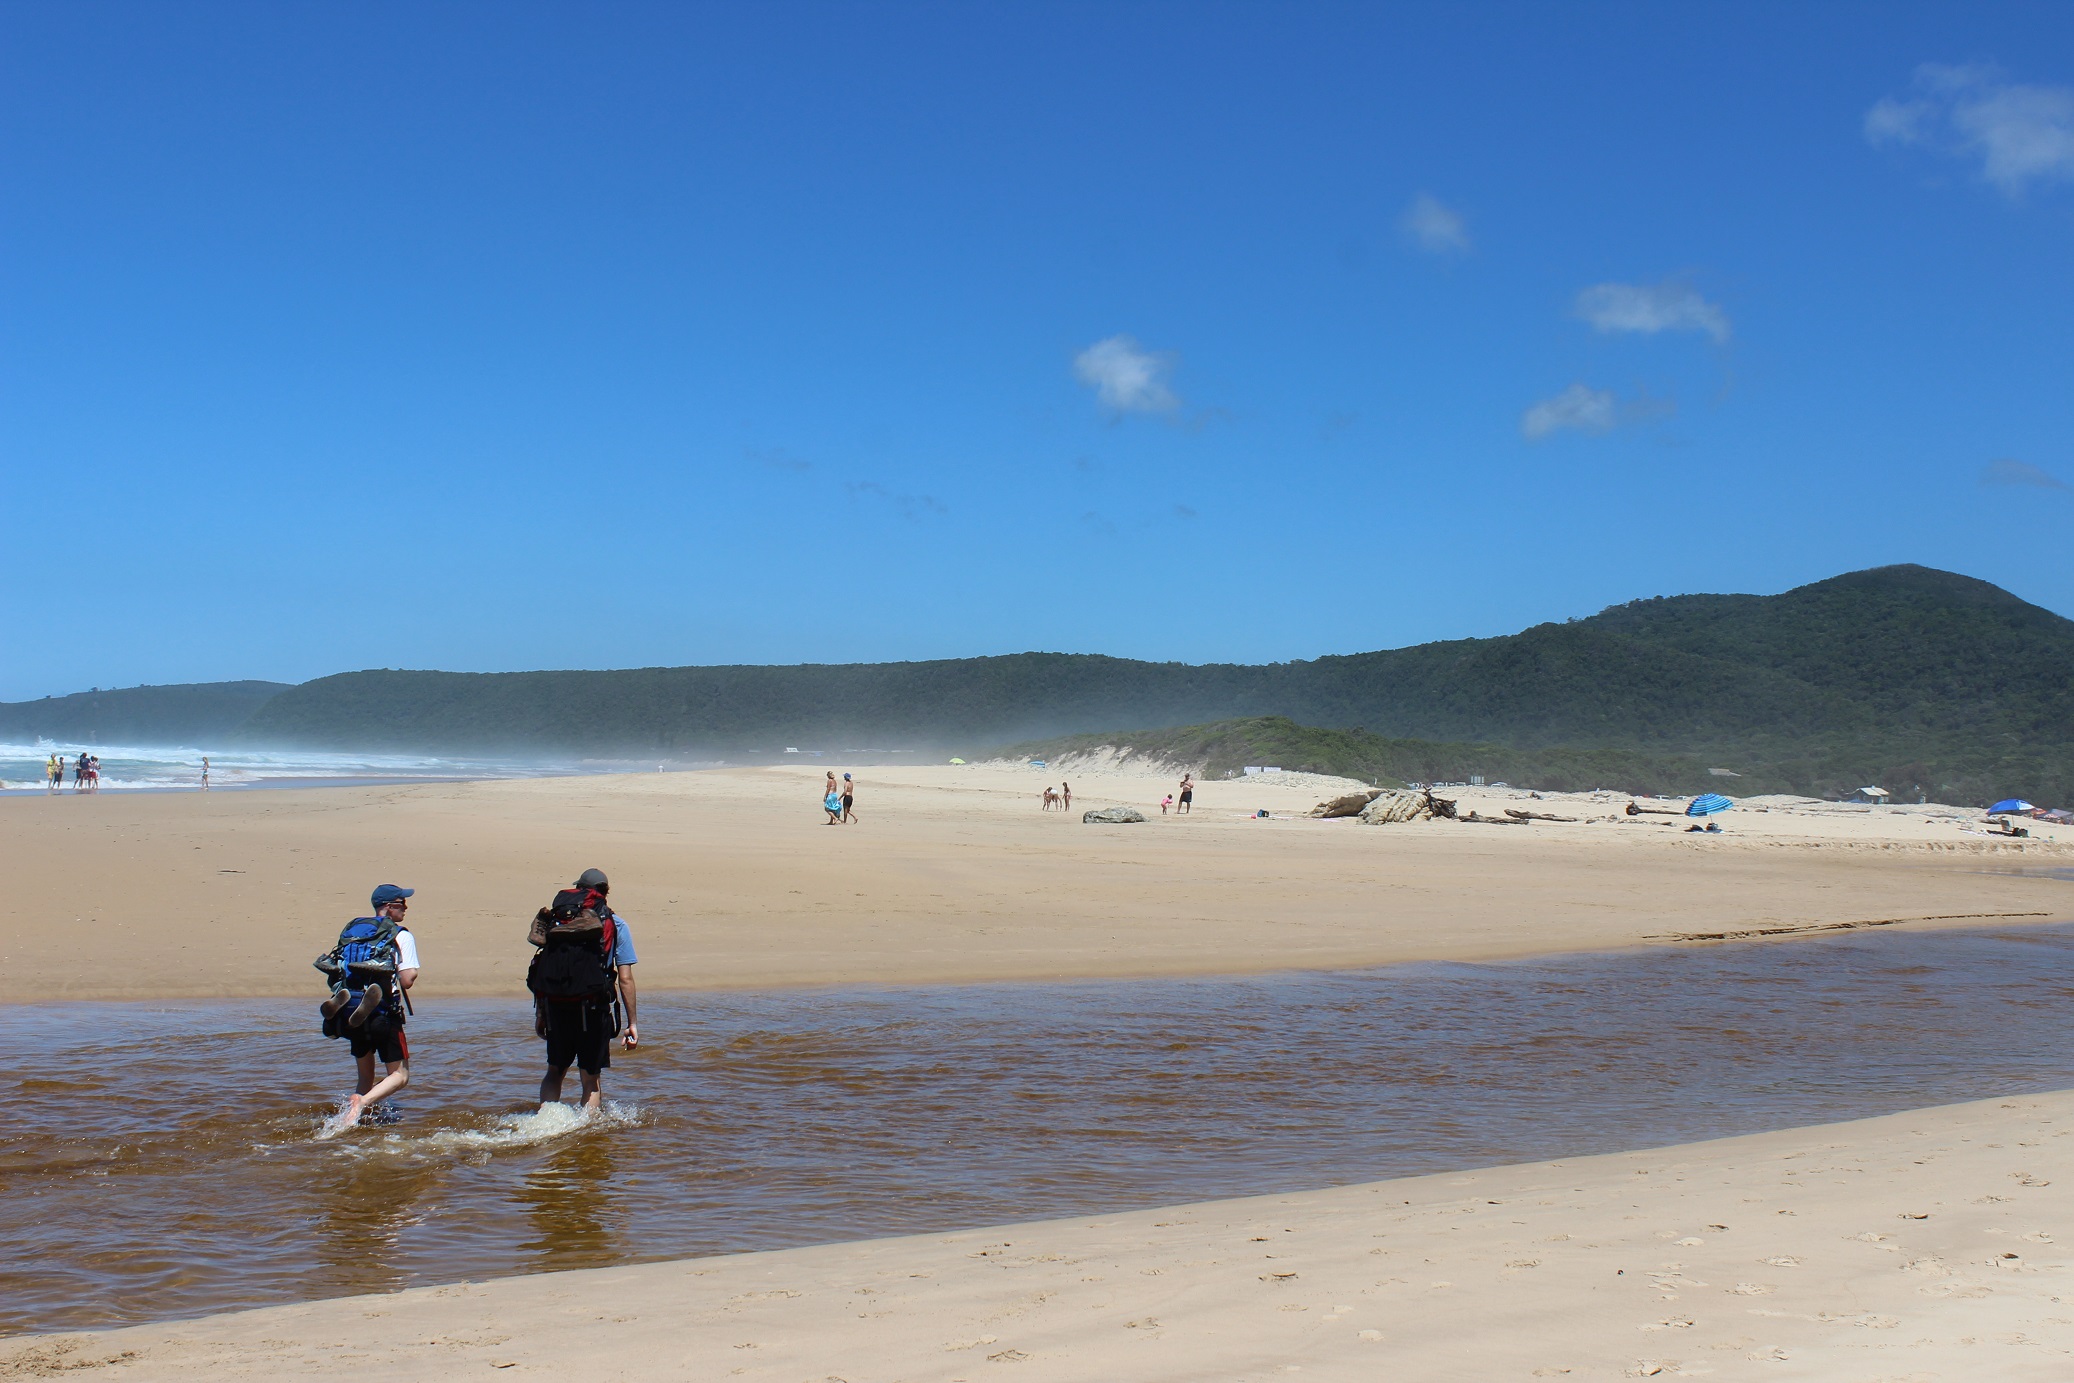
Nature’s Valley
We went to bed most nights before 22h00, waking up sometime after 07h00 the next day, usually leaving camp around 09h00. There is no rush in this hike. Relax, enjoy yourselves, stop and enjoy the area. Up-hills can be tough and tiring, but take your time, there’s plenty of it. We were a group of only four fairly fit people, so generally hiked in in a shorter time than the advised times, excluding stops. The other group that hiked had one or two slower people, meaning they took quite a bit longer. use the first day to gauge your speed.
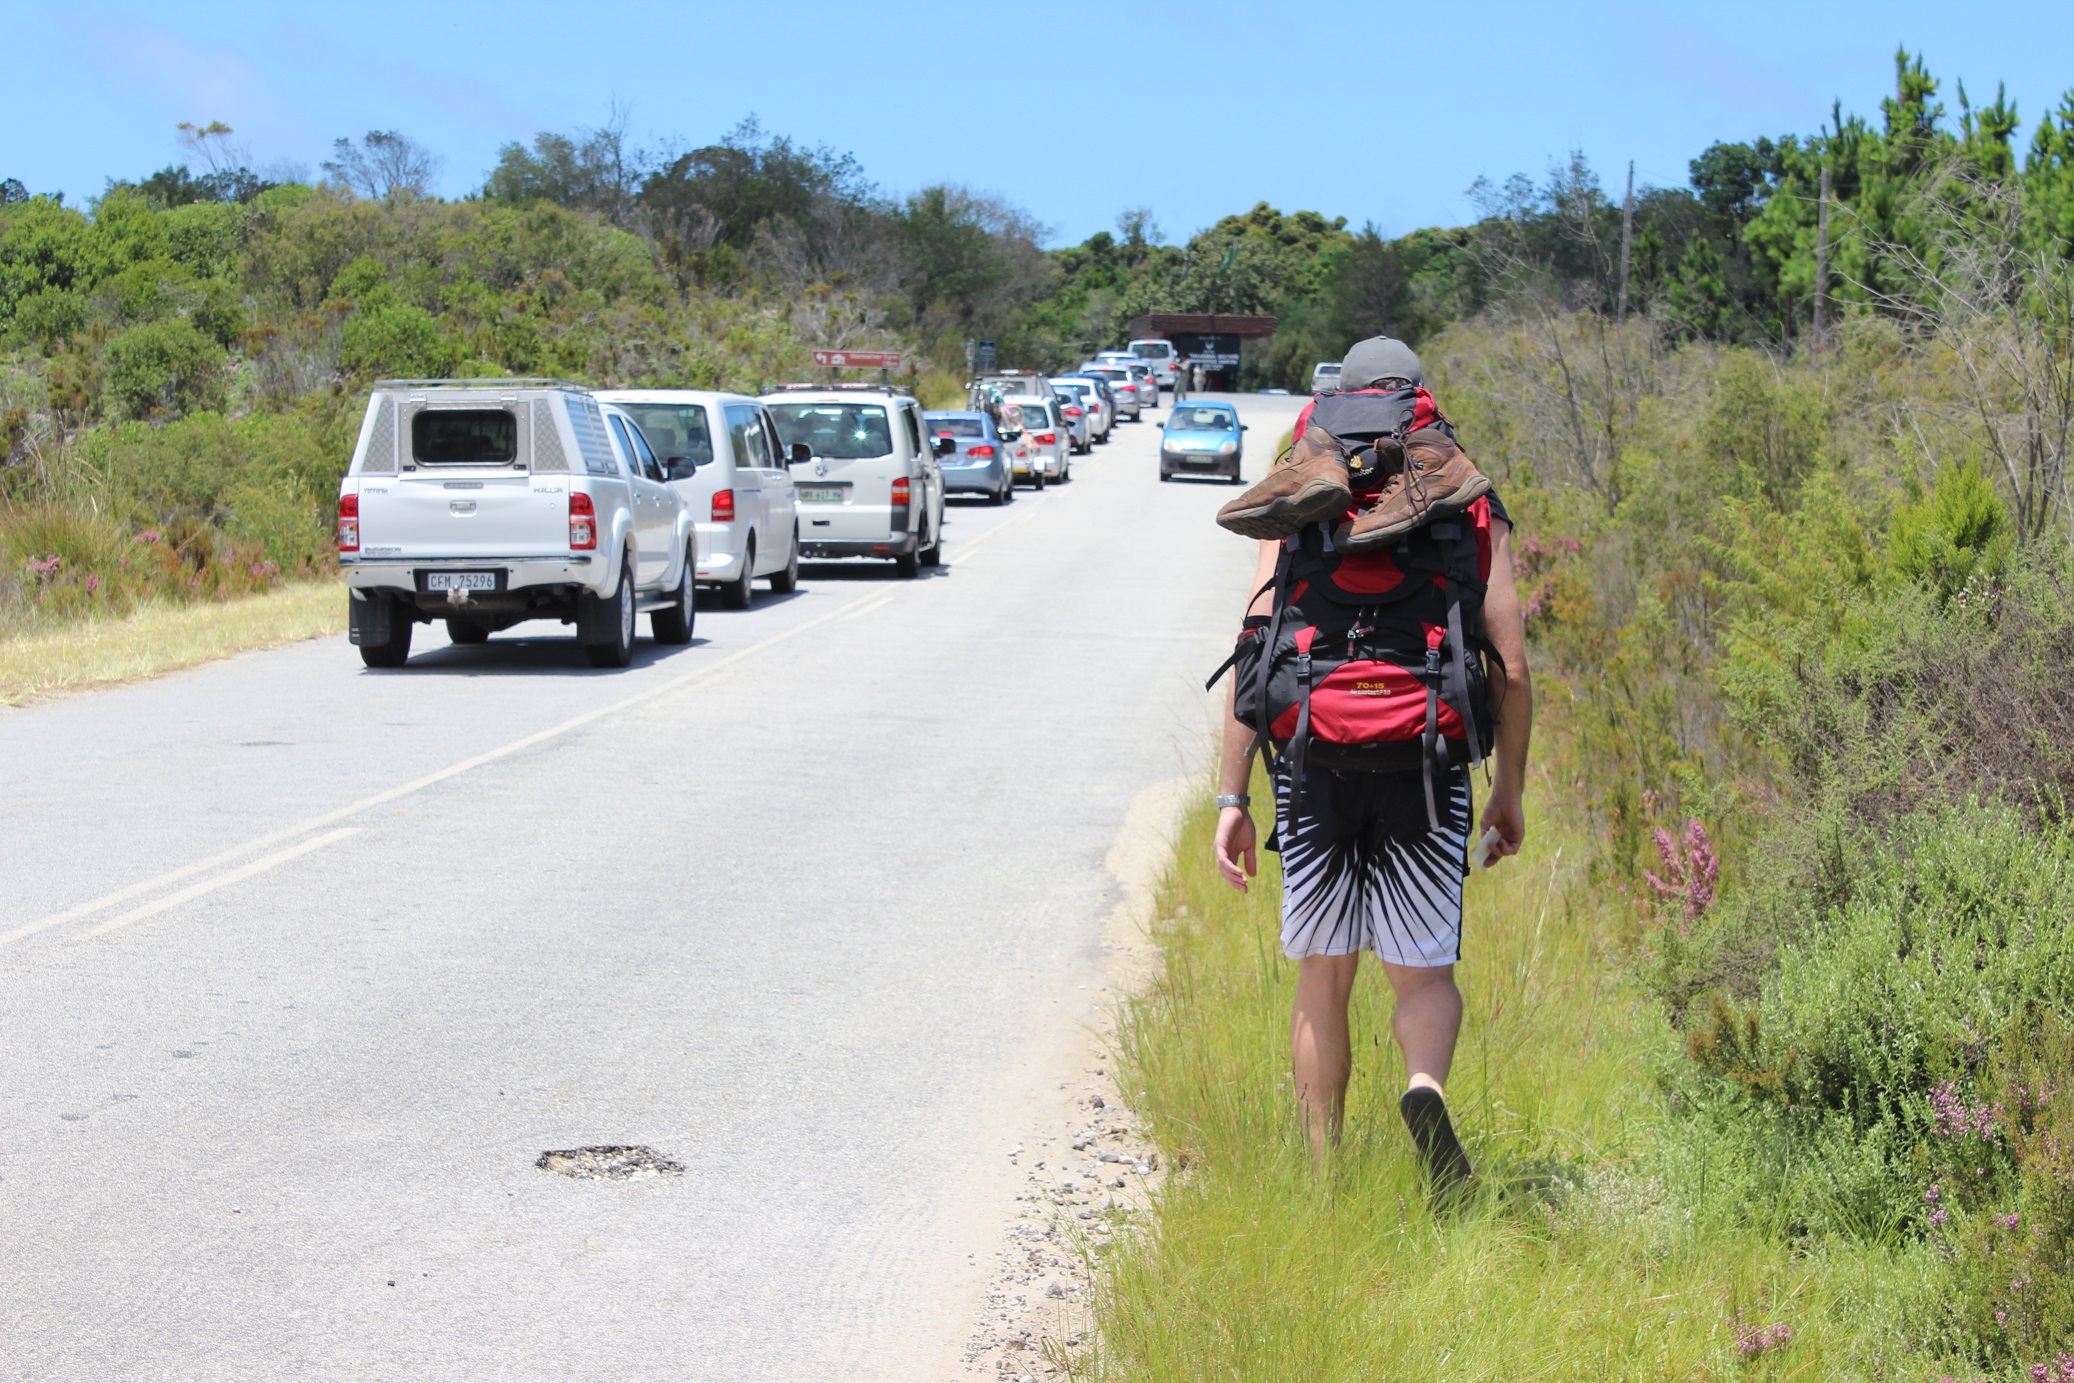
Stormsriver Entrance
If it’s a nice day you can spend a bit more time at Stormsriver, go down to the restaurant or the suspension bridge at the mouth. When we got to the camp it was packed with day visitors, but it was still nice to go have a look around.