Tracking Time

Early in the pandemic my employer had us working from home. For the most part this was not an issue. But not having a dedicated office, I found it too easy to lose track of time, and spend too much (in my opinion) time working. With my computer set up in our lounge, it was too easy to check an email, or quickly test something else. It was right there.

There was also no separation that came from cycling/taking the train to or from work. Wake up in the morning, sit down at the desk with breakfast/coffee, start working. Without planned events in the evening, continuing to work was easy.
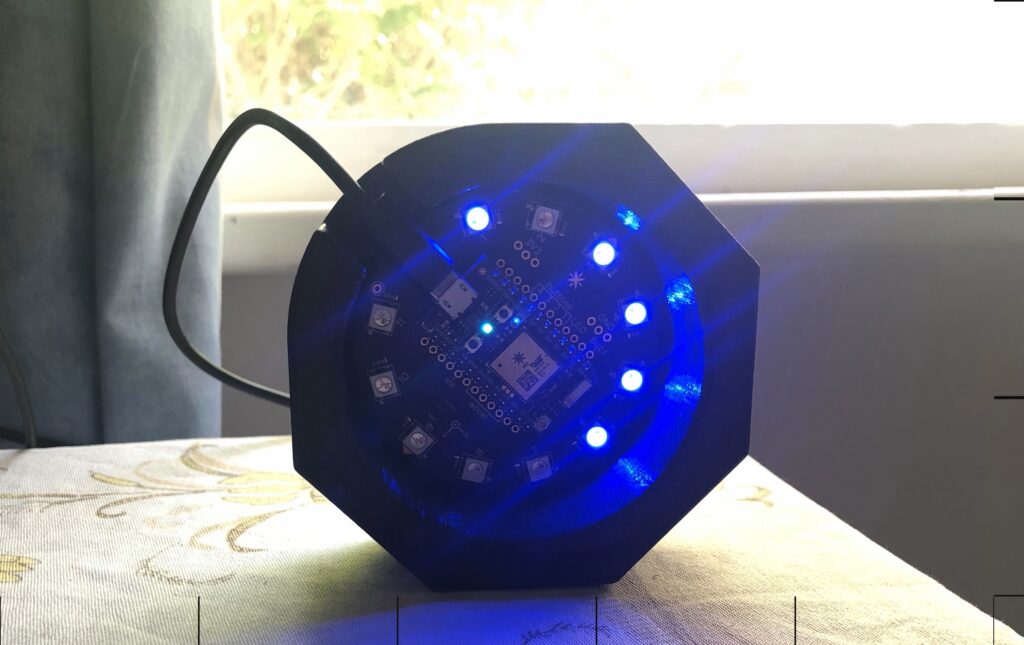
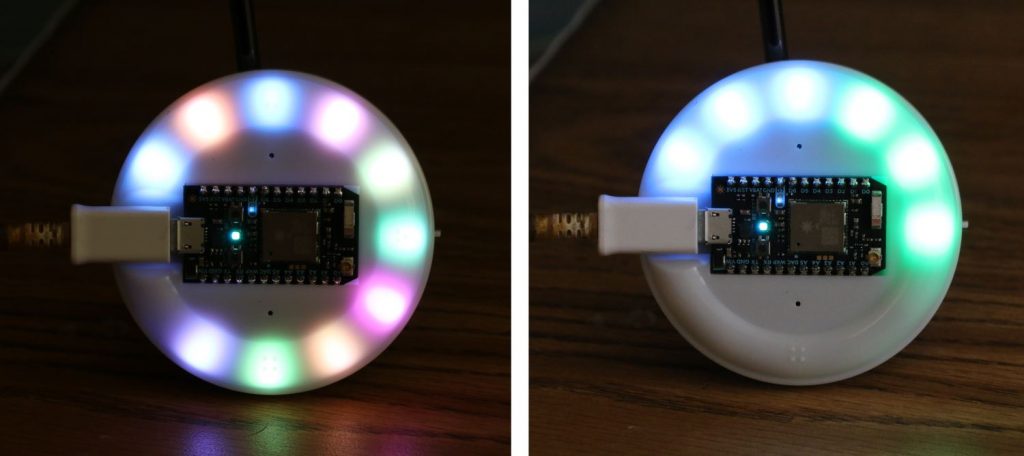
I have not worked enough (4+ hours). First LED is a status.

In an effort to limit this I once again repurposed my Particle Internet Button to do some time tracking. I’d used Toggl in the past to do some time tracking, but liked the idea of having a visual display available to me, without having to pull out my phone, or install additional applications on my work laptop.

My basic idea was to use the Particle Internet Button as a switch and display mechanism for interfacing with the Toggl API. The main issue I encountered with this approach was that Toggl was enforcing https for their API calls (and rightly so), but there were complications around the available Particle https libraries at the time.
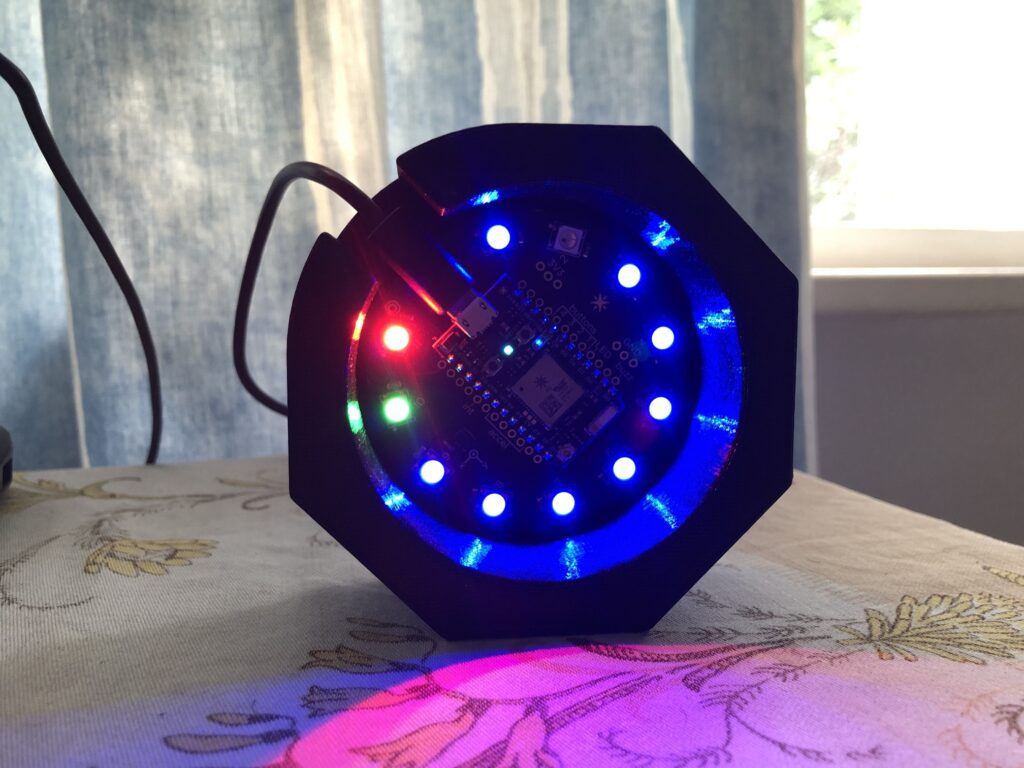
I have worked too much (9+ hours)

Not wanting to spend the time on figuring that out, I somehow convinced myself that I should just spin up my own “Toggl-like” service. Obviously just for me, and not requiring https :) Hopefully my employer doesn’t hack my Wi-Fi to intercept my network comms and make me think I’m working less than I actually am.

And so that’s what I did. I setup a database, and threw together some php scripts to interpret different requests as start and stop commands, also taking a date-time string as a parameter. I expanded it a bit, allowing for different work-id’s, if I want to track different topics, and protected it all behind a nice long ‘key’ to limit the risk of someone messing with my data.
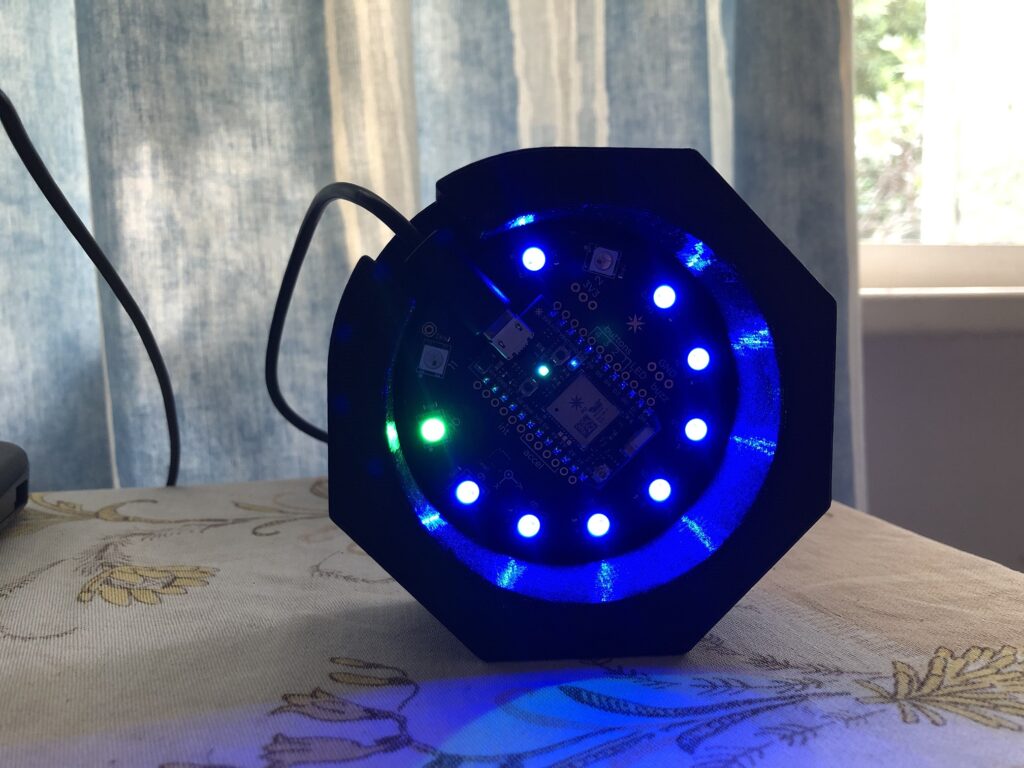
I have worked an appropriate length of times (8+ hours)

The Internet Button itself is round, and has a bunch of RGB LEDs on it. Eleven LEDs lets me use one for a notification, one as a spacer, and the other nine as hours worked increments. The Internet Button does have buttons that can be used as inputs, but instead I chose to use the accelerometer to give me a more intuitive input, without the need for labels.
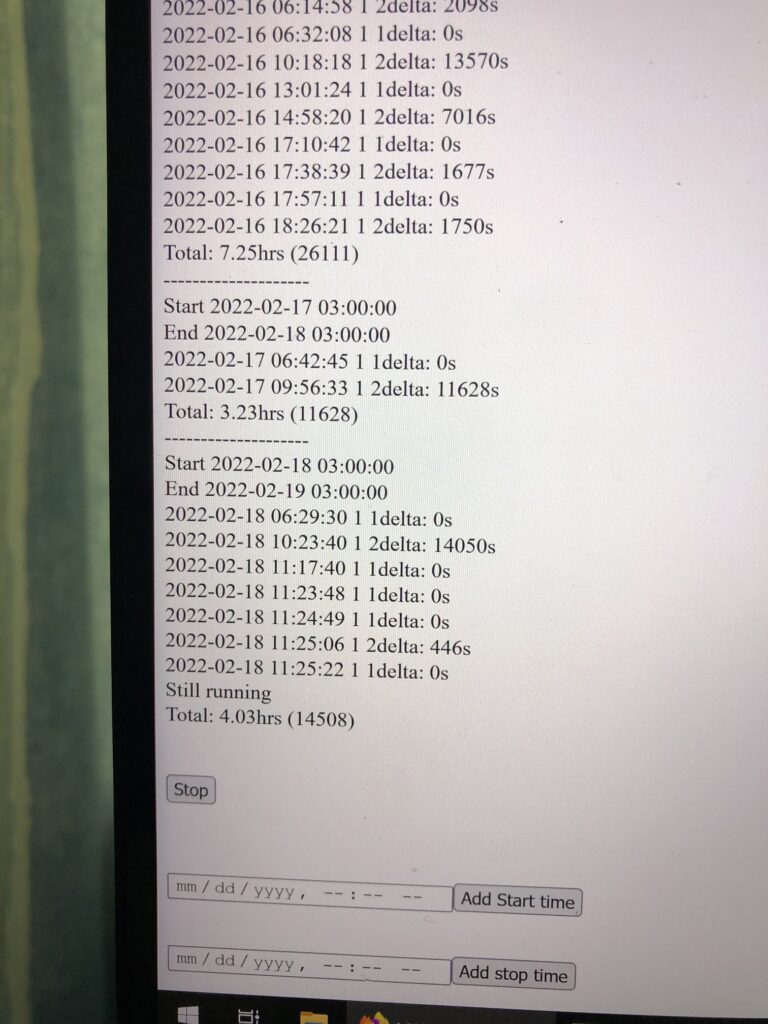
My beautiful web interface

I 3D printed an octagon-shaped holder for it, which allows me to rotate the internet button to five fixed locations, which are easily distinguished from each other by the accelerometer. If you’re in the central position, the timer stops. If you shift to one of the other four positions, you start the timer associated with that position. In practice I’m only using one, so the other’s are mostly untested for now.

If I don’t have the hardware with me at any time, there’s also a basic web-interface, that allows me to view the entire week’s hours worked, and each stop and start event. I can also add events if I forgot to start or stop at some time.
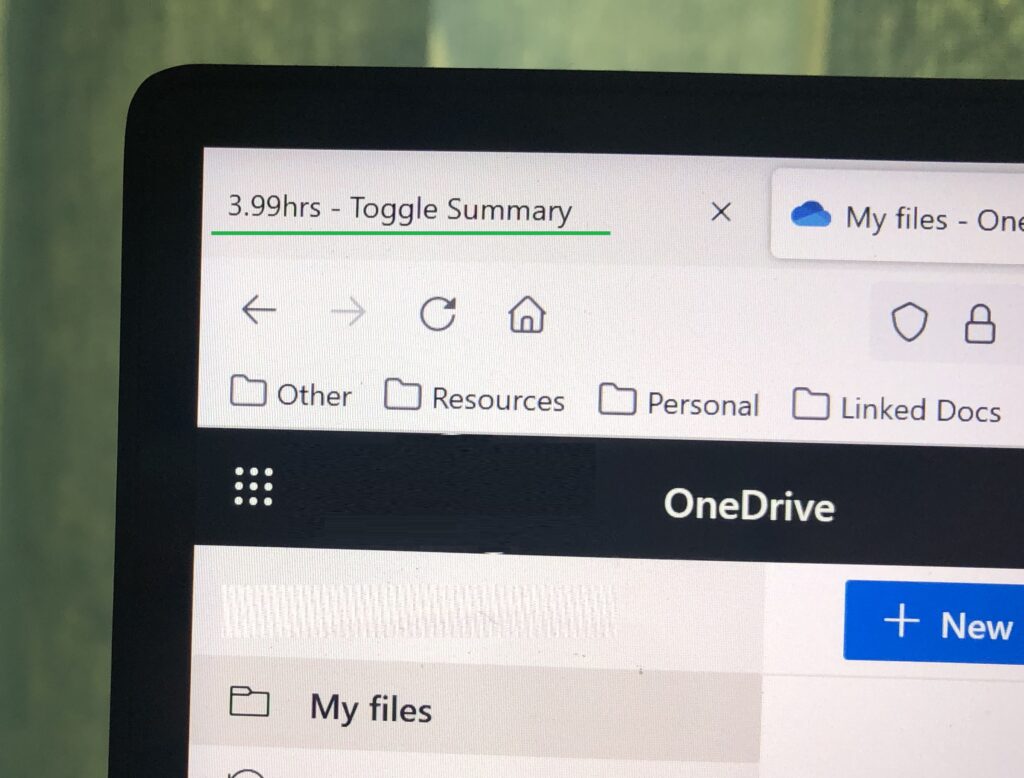
Page title includes hours worked, and auto-refreshes every 5 minutes

Here you can find a link to a GitHub repo with some associated code: link

Below you can see a video of it working, and interspersed in this article are a couple photos of different stages.

More Particle Internet Button Projects

I posted a few months ago about the Particle Internet Button I’m playing with (link). I’ve created another 2 projects in the mean time.

Adjustable Timer

The first is an adjustable timer. The lights on the Internet Button are used to indicate 30s steps, ranging from 30s to 5min. When it turns on you specify the length of time you want to run it for by either increasing or decreasing the steps. When running the 30s that are currently active flashes. At the end of the time, the Internet Button beeps and flashes red. It can be easily adjusted and reset.

particle timer

Left: select length of time
Right: Timer running

I made this back in November, but actually had a problem with it that I couldn’t figure out. I had intended to post to the Particle forums for help but never got round to it. I had in the mean time uploaded the offending code to Github. I recently reinvestigated the code with the intention of this post, and found that someone else had found my code, and solved my problem, so thanks to Github user mseneshen. Working code can be found here: source

Dice

The second project was a set of dice. Playing Catan and having people complain about how there were no 3s rolled in a game gets old, so why not create a set of dice that keep track of this and tell you facts. Apps are available for this, but then the screen turns off and it becomes a hassle. So I wrote some code to mimic a set of dice.

particle dice

Left: Dice being rolled
Right: Dice have been rolled

To roll the dice you gently shake the Internet Button sideways. The code randomly generates two numbers between 1 and 6, adds them, and outputs them by lighting up the appropriate number of LEDs. To make it easier to read, LEDs are colour coded in groups of 3. The Internet Button only has 11 LEDs, so I if a 12 is rolled, the 11th LED changes colour. Because a 1 is never rolled, I could have used that LED, but it seemed less intuitive. Also, because we play Catan, if a 7 is rolled, all the lights go red.

The whole time the dice are running, a tally is kept of how many times each number is rolled. At any time you can click a button and a distribution is published to the console. I might update this later to automatically graph the data and tweet it, but haven’t tried that yet.

When I first tested the code, I was getting reproducible random numbers, so I introduced a seed from one of the analogue pins which appears to have solved that problem. Because it uses an accelerometer to trigger a throw, when it is on it’s side, gravity is enough to trigger a throw and allows me to get thousands of throws without destroying my wrists.

Some plotted results can be seen here, with actual roll percentage (bars) vs statistical roll percentage (dots).

Code is available here: source

Temperature and Altitude

I recently bought an Adafruit BMP180 that I’m trying to get running with the Internet Button. Will post details once it’s active.

Particle Internet Button with Photon – Web status notifier

After a fun weekend at the Hackaday Super Conference I came out with a few toys. On Sunday I took part in the Particle IoT workshop, where they were kind enough to provide us all with a Particle Internet Button and ran us through setting these up and getting them to do things.

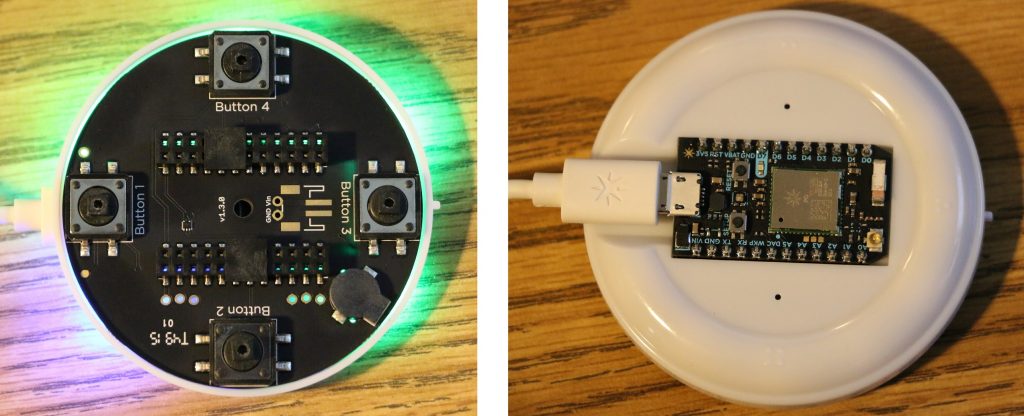
The board is essentially an add-on for the Photon board that can be purchased stand alone. The Photon is what you’re actually programming and includes a Wi-Fi module and runs an ARM Cortex M3 microcontroller. The Internet Button adds an accelerometer, four buttons, a buzzer and 11 RGB LEDs to the mix.Particle Internet Button

It’s powered by USB, and can be setup with just their cellphone app, although I had problems due to the terrible way my internet is setup at home (I have no control over it, yay rental). I ended up using the CLI via USB. This was necessary to give the Photon the Wi-Fi details to connect to the internet.

Once it’s connected to the internet, all the programming takes place wirelessly via Particle’s online IDE. There’re a host of examples and libraries to pull from, so it’s amazingly quick to get a simple program running, pulling data from the accelerometer and making everything flash multiple colours. Particle also has some built-in integration for internet notifications and interactions, being able to control aspects from Particle’s console and elsewhere.

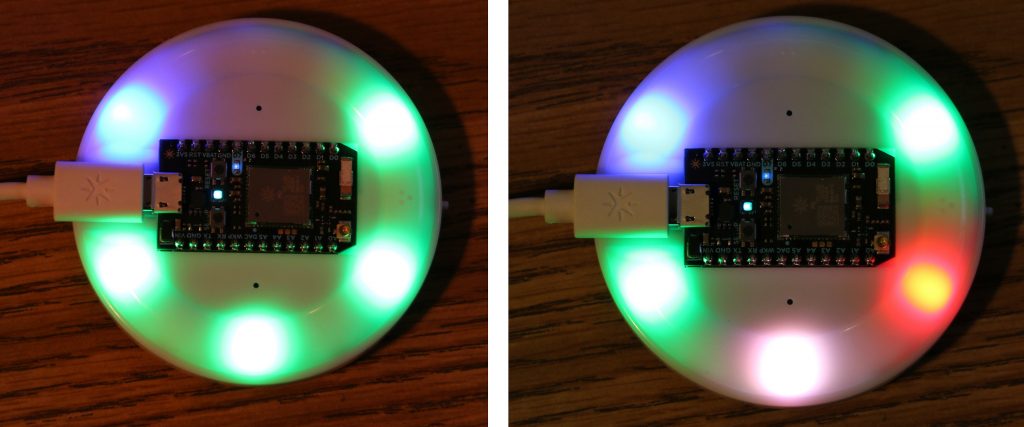
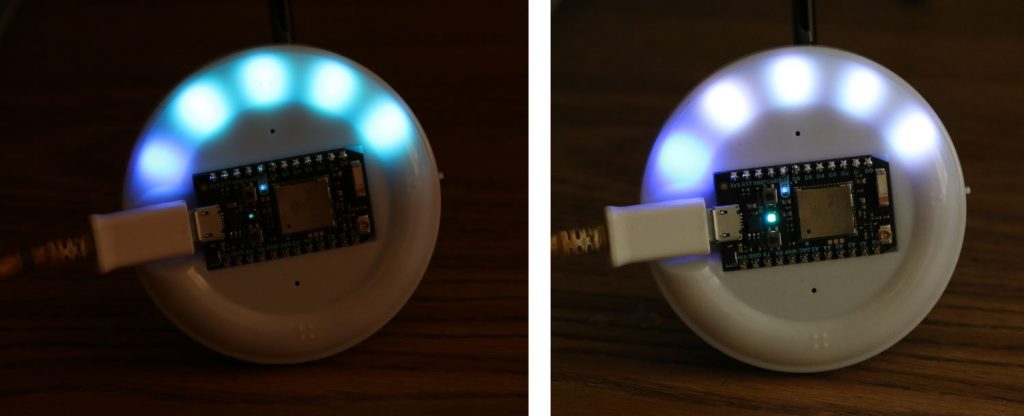
Left: All Green - good Right: white is checking site, red means a site failed - bad

Left: All Green – good
Right: white is checking site, red means a site failed – bad

I didn’t really know what to do with mine, so after playing around with all the examples, I set out to make a notification device to tell me whether my websites are all running or not. I have four websites I’m interested in, they’re all on the same shared hosting package, but separate domains.

This project is nothing amazing, but was fun to do, and I was able to get it working in one afternoon. Most of the time wasted was just due to being out of practice with programming.

Functionality:

  • Polls four separate websites to see if they are running.
  • Shows a green or red light to indicate if the website responded correctly or not. Shows a white/orange light while it is checking it.
  • If a website fails a check, the buzzer tones.
  • Checks all websites every 10min.
  • Can trigger earlier check by pushing button 3
  • If one or more websites have failed a check, you can shake the controller to get it to recheck just the failed websites.

At the moment I don’t get very good information from the website. I basically hosted a plain html page on a subfolder of my websites which contains a string. I then compare the string the Photon loads to what it should be. I want to look into the package a bit more to see what info I can get and differentiate between server not found and other errors.

Online log: left it running overnight. a couple failures. I blurred website address as they're projects I'm still working on. Failure is due to cheap hosting I believe, not the Particle.

Online log: left it running overnight and saw a couple failures. I blurred website address as they’re projects I’m still working on. Failure is due to cheap hosting I believe, not the Particle.

The code isn’t very pretty, I’ve got silly little delays all over the place ’cause it’s working and I’m lazy and a lot of the stuff was imported and copied in. I may update it someday, but you can view it here. I made use of the Internet Button library as well as the HttpClient library (self confessed requiring work, but I can’t complain).