Flying with a bike & Fork regrease on MTB (Merida Ninety Nine 9.600)

I recently had to fly with my bike, and the airline wasn’t going to take it for me, so I ended up having to freight it. I used Emirates SkyCargo, and they first look at the weight of your item, and then calculate a volumetric weight, based on the dimensions of your package (LXBXH div. 6000).

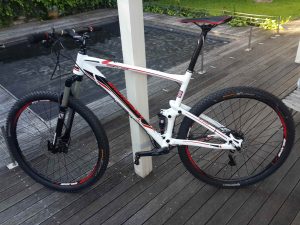
My bike as it should look

My bike as it should look

Their minimum billing amount is 30kg. My bike and accessories definitely weighed less than this, but the standard bike boxes are significantly larger than what is considered a volumetric 30kg. As such I went to town cutting my box down to size. But to get the box small enough, I also had to almost completely disassembly my bike. I removed the wheels, and took my tubeless tires off the wheels. I removed the saddle, the rear dérailleur, the pedals. Then I took the fork out and separated the brakes from the fork. And then squashed it into my box. And it all fitted. I even got my tent, helmet, pump and one or two other items in.

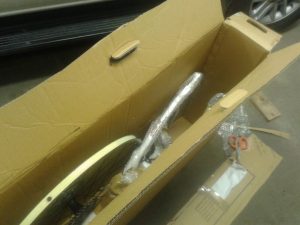
Cramming my bike into a box

Cramming my bike into a box

So my dad helped when I did all this, and I didn’t pay too much attention when we removed the fork and put all the bearings loose into a small bag. I wish I had, as it would have saved me a couple disassemble and re-assembles of my headset. Regardless now I know a lot more about the topic. After all that, I decided quite a bit of dirt probably got in during the hassles and decided to re-grease the bearings.

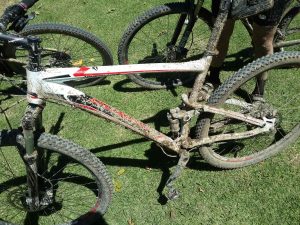
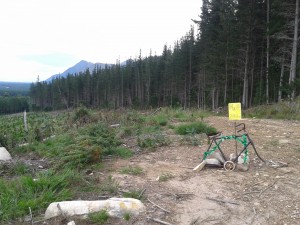
How my bike sometimes looks

How my bike sometimes looks

It seems like the number of variations for headset bearings is a lot. I couldn’t find an example the same as mine, so I figured I’d put some pictures up here. I tried recording the whole thing, but that was humorously terrible :) So instead I just took some screen shots.

The bike is a Merida Ninety Nine 9. 600. The headset is described as “big conoid semi”. It makes use of non-sealed roller ball bearings. The lower bearing is just a bearing, and the upper bearing consists a bearing, a seal, an upper race and a centring ring. If you do do this, I really recommend getting a nice bike stand, my bike was falling all over the place while I was trying to hold it together.

  • Loosen clamps on fork stem
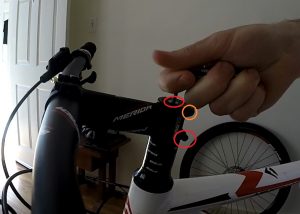
There are two bolts on the stem (one on either side) and one on top for tensioning

There are two bolts on the stem (one on either side) and one on top for tensioning

  • Remove fork and bearings
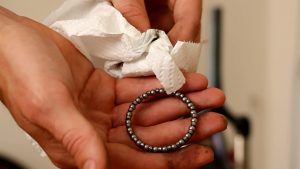
  • Clean bearings and races (I just used paper towel, but some degreaser will help)
Bearing after having grease removed

Bearing after having grease removed

  • Place some grease on the races and bearings (I just bought a small tube of automotive grease from local hardware store).
  • Replace all bearings in order you removed them
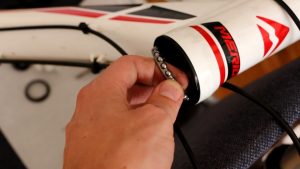
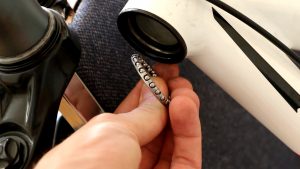
Bottom bearing goes in with balls upwards (towards bike frame)

Bottom bearing goes in with balls upwards (towards bike frame)

Top bearing goes in balls facing down (towards bike frame)

Top bearing goes in balls facing down (towards bike frame)

Top bearing gets additional seal, upper race and tension cone

Top bearing gets additional seal, upper race and tension cone

  • Tighten bolt on-top of fork (to tension the package), then tighten clamps on stem.
    • If you’re unsure how tight they must be, find specified torques in your bike’s technical manual.

Sani Pass – June 2015

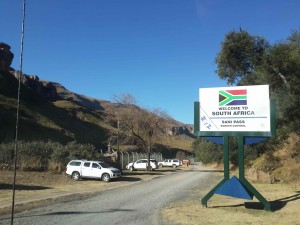
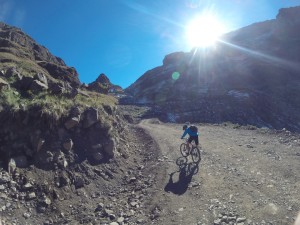
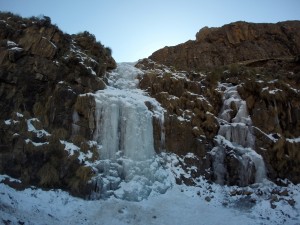
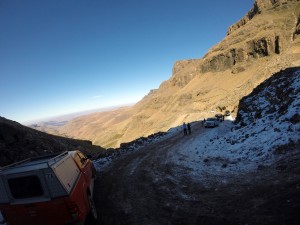
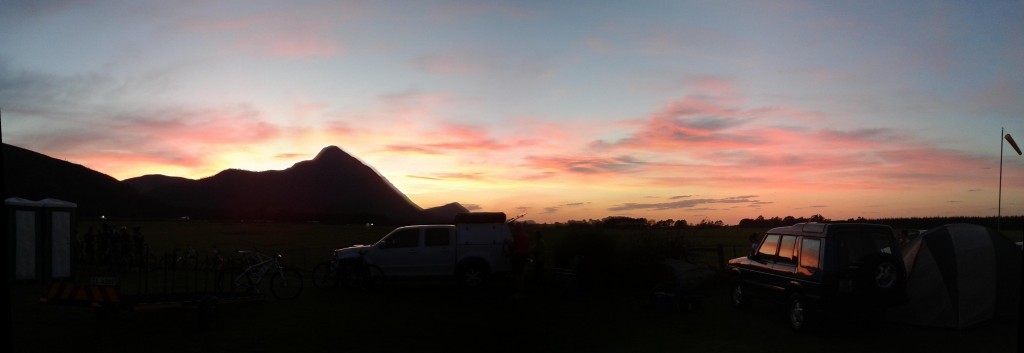
panoramaLast weekend a friend and I spent some time with my family in Kokstad. While there we decided to take a trip up the Sani Pass, on mountain bikes. Sunday we headed out through Underberg and Himeville and on to the pass. The road to the South African border post was mostly good with a couple rough patches, and a bit of ground clearance would come in handy. That being said we saw a ford fiesta with 4 people that somehow managed to scrape its way to the border post.border postPassports are required, but it’s a quick stamp at the SA offices before you climb on your bike. The pass officially starts several kilometres earlier, but we decided to ride post to post. It was a long climb up. The route is only 8km, but you climb vertically from 1965m up to 2873m. A tough job for my sea-level accustomed lungs. It took us about 2hr15min to do the trip up, of which we were stationary for half an hour.up and upOnce up top we had a quick meal at the self-proclaimed ‘highest pub in Africa’, a glass of gluehwein to warm us up and a cup of coffee to sober us up for the trip down. It had snowed there several days prior, but most of the snow had already melted. Coming up the pass some sections which don’t get the sun were still iced over though. Only 4×4 vehicles are permitted to go up the pass, that doesn’t stop everyone though, and we saw some sliding fun by a RWD Ford Ranger on one particularly icy section.Frozen WaterfallThe trip down was a lot of fun. Definitely worth the tough climb, and I’d love to do it again. The first sections are particularly slow due to the ice. We also had a fair amount of traffic both ways, but it’s usually relatively easy to get past the vehicles. Especially on the way down they are driving much slower than a bike.High PubWhile there are a lot of rumours of tarring the route, till  now no work has taken place, nor any visible preparation. It’s gravel the whole way till you cross the Lesotho border, at which point you ride onto nice smooth asphalt.looking backMy full trip down can be seen below:


Merrell Tsitsikamma MTB Challenge 2012

EDIT: apparently lots of people are looking for results, you can find them here.

With the prospect of doing the Dr Evil Classic in September this year, I decided the best way to be ready for it would be to try maintain and improve on the fitness level I had for this year’s Argus. So a while ago I heard about the Tsitsikamma MTB Challenge. The race takes place just down the road and I managed to get a friend on board too.

We opted to give the 72km ‘marathon’ route a go and camp there the night before. So 6 o’clock on Friday evening, three of us headed off to the camping ground. The base for the event was at the Tsitsikamma Adventure Falls. When we got there we went to registration and were told we can just camp wherever we could find a spot.

at least there was a pretty view to start the day

This turned out trickier than expected, and none of us were quite sure where they were going to fit in the 300 campsites advertised. It seems like only 20 or so groups were camping so we found a spot and got the tent up. Then we were woken up at 4:30 the next morning with people packing for the water points. Not ideal, but besides that, the rest of the event was great.

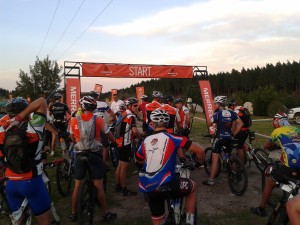
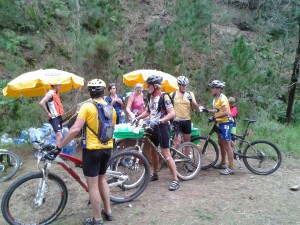
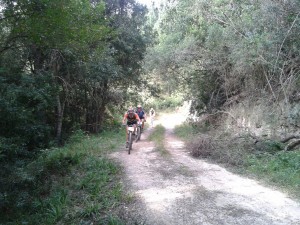
The race started at 7:30 with the 72km riders and was followed shortly by the shorter 42 and 23km rides. First 10km were all jeep track that lead up to several short single track sections through dips and some water. This is where a few of the top 42km riders caught up to us. Some more jeep track and we were at the first water point where the 23km route turned off. The next water point was only at the 40km mark, after some decent ups and downs. The water point here even offered a welcome beer to those so inclined.

10km on was the next water point shortly after which we crossed under the N2 and headed off up the hills. This was one point where there were cyclists riding in both directions. The marshalls did well to separate everyone though. A bit of a stretch next to the N2 and the final ‘major’ hill lead us up to the last water point. Down the other side, a little bit of single track back under the N2 and we were on the home stretch.

‘low gear’? More like no gear :(

From here we did a bit of a loop back around to the start point where we finished shortly after 11:30. A shower and some food later lead to the prize giving. Quick packup and it was on the road back home.

Results aren’t out yet, but we reckon we did somewhere around 4hr15min (edit: 4hr12m22s was the official time). I was quite chuffed with this, but when compared to the winning time of 2hr31min, it may not seem like as much of an achievement.

Overall it was a really fun ride. There wasn’t as much technical or single track as I would have liked, although it can lead to frustration when getting stuck behind someone or holding other people up. The route was well marked, and there were only one or two points where we were slightly unsure whether we were on the right road. Not the toughest 72km I’ve done, but a really nice ride through a stunning area.

Thanks to Merrell and the other sponsors for a great event, look forward to doing it again next year with any other events they have planned.

Also, my bike was amazing. 15 year old Giant Iguana is still going strong. I need to do some work on it, but it got me through the day, even with the tyre delaminating slightly. The three of us were also very fortunate with a complete lack of punctures over the entire route.

Die Burger Mountain Bike Challenge

Just a quick congratulations to the organisers of this year’s Die Burger Mountain Bike Challenge Stellenbsoch. It was such a nice ride, well marked out and only one or two short sections of congestion.

There were quite a few distances on offer, and I went with the moderate 42km ride. Starting at Eikestad Primary School, we made our way up through Coetzenberg and road around the base of Stellenboschberg before cutting down by the hangbrug and across the Jonkershoek road and up Botmaskop. Quite a bit of a climb here as we road across towards the Helshoogte Pass. This was the first congestion point, as everyone had to walk along a small single track section before getting off their bikes to cross the Helshoogte Road.

Our route then followed the old Helshoogte Pass and we road around a bit on the farms below Simonsberg. Riding out towards Welgevonden we crossed the R44 and made our way up towards Pappegaiberg with our second long climb. At the top we road along and down the other side into Stellenbosch. This is where I was unlucky enough to suffer a “snakebite” puncture, going straight through both the tubes in my back wheel, forcing me to stop, take the spare tube from the front wheel and put it in the back. Once I got going again on the down hill, I quickly noticed my lack of brakes, which I had failed to reconnect. No worries though, some careful shoe-tyre action resulted in me coming to a stop before I picked up too much speed.

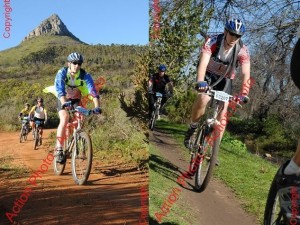
photos from actionphoto.net

Anyway, through the town a bit on some odd “offroad”/pavement sections and we were once again back at Eikestad Primary.

It was one of the nicest rides I’ve ever done, beautiful scenery and kudos also to all the cops/marshals sitting at the road crossings, they meant we never had to stop, or worry about crossing the roads. Will definitely be doing this one again next year.