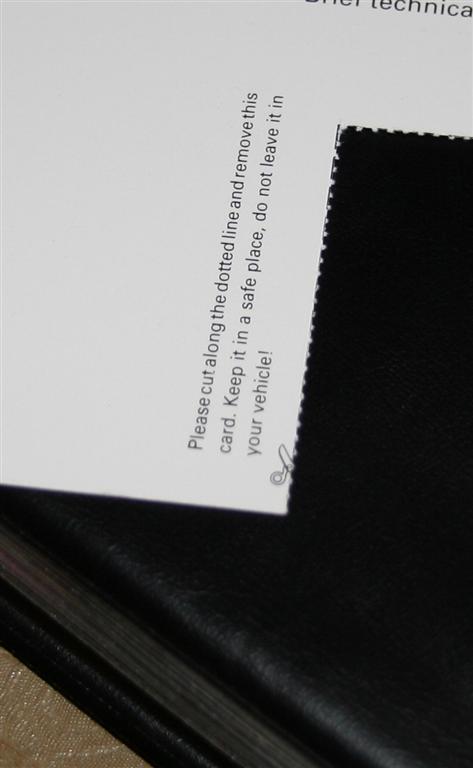
So, I have a 1996 Audi A4 B5 1.8. It comes stock with a Blaupunkt radio. The radio itself says it’s a Gamma CC, whereas everything on the internet points it towards being a Delta CC.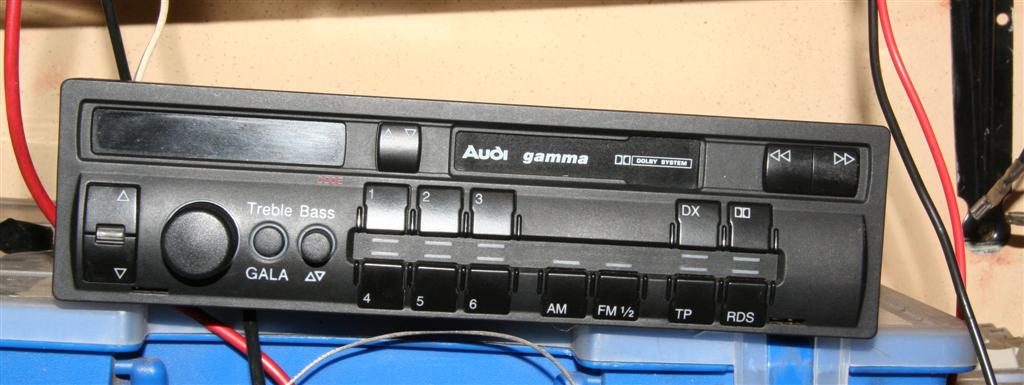 Anyway, effectively my car’s battery was replaced, which sends the radio into lock down mode. Enter a 4 digit pin, and you can continue using the radio. The code for said radio comes with the radio’s manual, with neat instructions about what to do with the code. It recommends cutting it out and storing it in a safe place, something the previous owner of my car did with much enthusiasm.
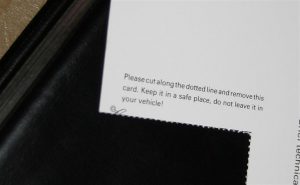 Anyway, I have effectively been left with a radio that I can’t use. This was two days before I was supposed to take a 3000km tour in said car. I spent hours on the internet searching for ways to get the code. And was blocked at every way.
In the end I discovered that the only way to get the code, is to take your car to Audi, they charge you for their minimum work time (roughly R275) and give you your code, after 5min.
I don’t like to think of myself as stingy, but to pay R275 (the cost of a low end frontloader) for them to do this goes against who I am. It didn’t help that my previous dealings with the local Audi dealership left us on unsavoury terms.
Apparently it is possible to get your code from Blaupunkt themselves. I haven’t tested this myself, but Maple Audio can allegedly get your code for you if you supply them with the radio’s serial code. For the pricely sum of GBP25 that is.
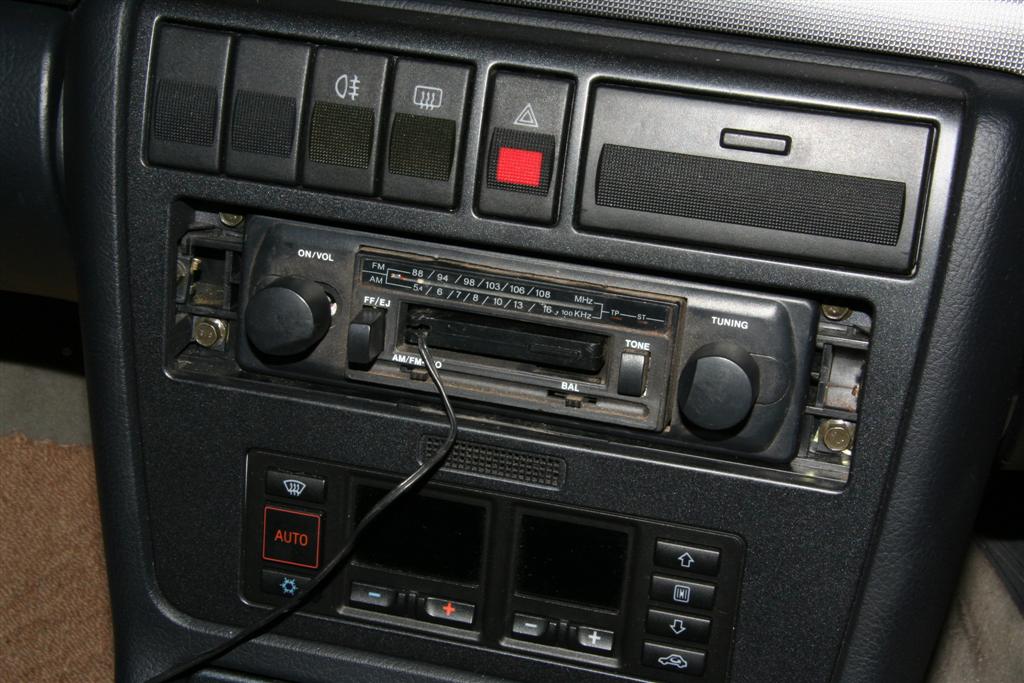
But yet again here I was, stuck on a Friday night without a radio. I decided the best plan would be to replace the radio with an old radio we had lying around at home. This I proceeded to do on Saturday morning.
Fortunately I had had the foresight to get a local car audio place to remove the radio for me, as I found myself without a means to remove the radio. After looking at the mechanism, you can take the radio out with some steel wire if need be. I have a nail file in a knife which also works quite nicely.
Simply push whatever “key” you are using with the point on the outer side of the hole and push the key in and shift it inwards. You can understand the way it works by looking at the picture.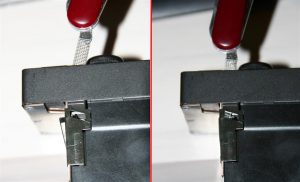 So, unlike on previous cars I’ve dealt with, the Audi’s radio has three wiring harnesses that plug a veritable array of non-colour coded wires into the radio. Most of the other radios I’ve dealt with adhere to a standard wiring system, with different colours symbolising which speaker the wire leads to, what is positive. negative etc. Not on this one.
Anyway, after a while of fiddling round I figured out a system that would work.
The radio I was installing is a cheap radio with four wires. Left, Right, Positive (power) and common (for the speakers). Simple enough.
Because I didn’t want to just chop off all the wiring harnesses on the car’s side, I had to figure out a method of making plugs that would fit, that I could solder onto the radio’s wires. I ended up using little wiring plugs that I cut to size with a pair of side cutters.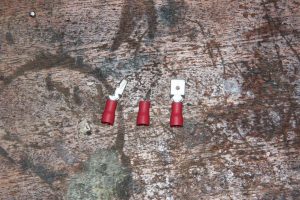 I hooked up two plugs for each of the left and right wires, so I could have sound front and back. I also found a washer and screw to attach an earth to the back of the radio.
The car had a dedicated earth plug, but I found that making use of it only supplied my radio with 9V, so instead I used one of the earth’s on the wiring harness.
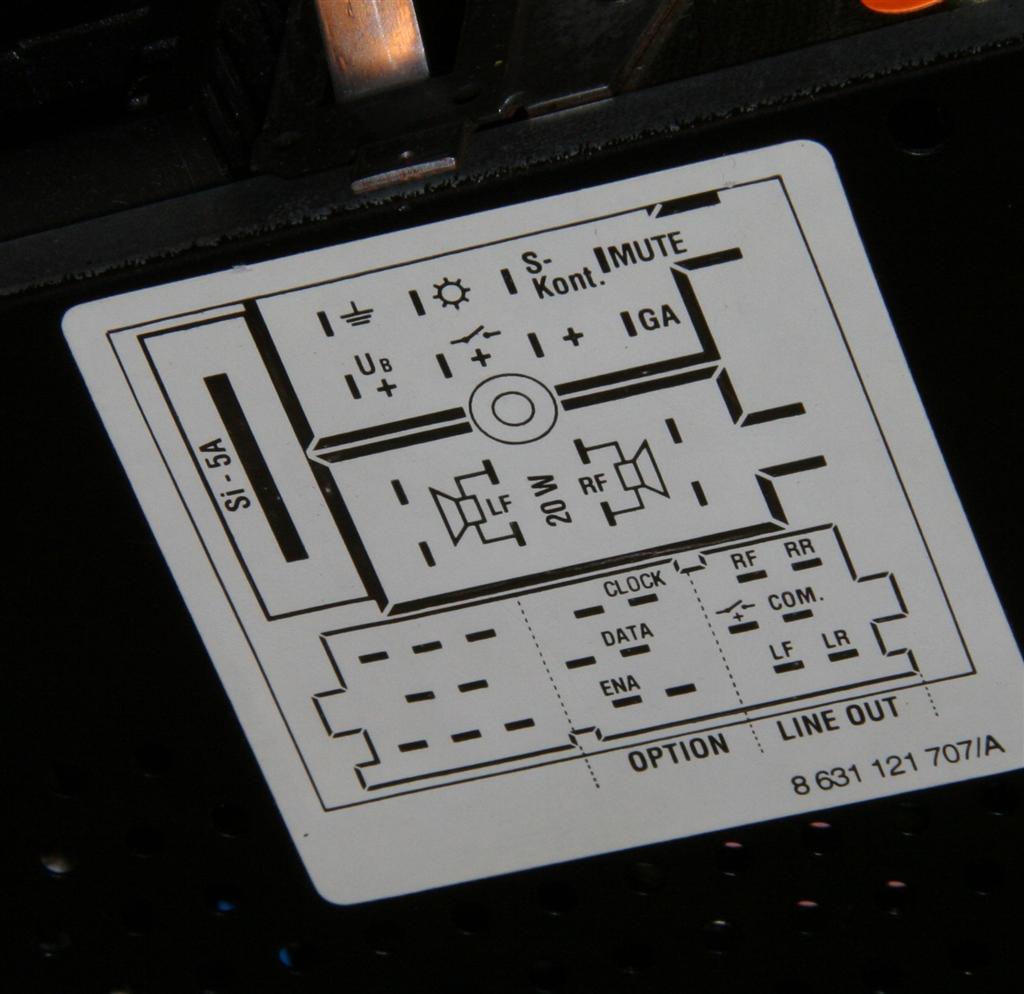
Now on the Delta CC radio there is wiring diagram of what all the pins are supposed to link up to, unfortunately some of them are missing, which I only noticed after having soldered and wired all my plugs. I eventually ended up only connecting the front speakers, because for some reason only they would work, even though I feel that the back speakers should have worked with the way I had wired it. But in any case.
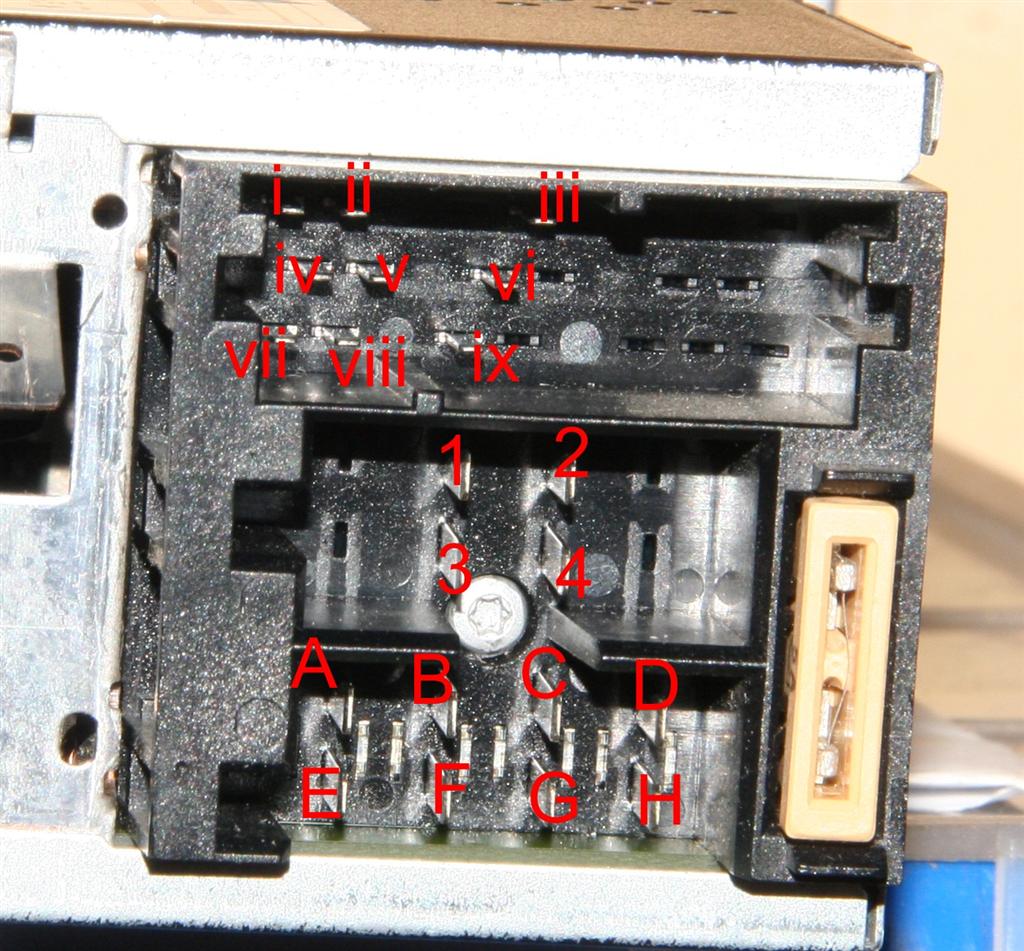
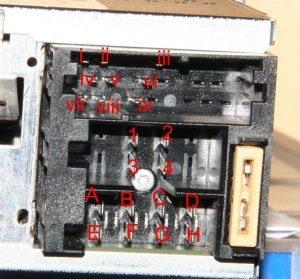 I used the point corresponding to pin H for the negative (earth) on my radio and pin B fo the positive. I checked the voltage before hand to ensure there was 12V and also chose this connection as it supplies the 12V even with the ignition off.
I initially attempted to use i -> ix points to hook up the sound but couldn’t get it work. Partly because my wiring harnesses were missing the contact points ii & viii. I ended up using points A -> D and just hooking up the front speakers. Because I wasn’t going to play the music too loudly, I didn’t bother to test which was the positive and negative of the speakers and just hooked up 1 & 2 as common, and 3 & 4 as the positives for the left and right speakers.
If you are installing a permanent radio, it is advised to check the polarity of the speakers. This can be done by removing the speaker’s covers and attaching a 1.5V battery to it. If the speaker bulges outwards as you attach the battery, you have the polarity correct. If the speaker membrane retracts, switch the polarity.
Now, the aerial. This posed a particular problem, why? because the radio aerial connector on the Audi is not the standard one that I know. So, to overcome this, I just didn’t bother hooking it up. I was originally going to use an FM transmitter with an MP3 player to listen to music, but due to this problem, I instead opted for one of these cassette adaptations (that I had lying around the house), which allow a 3.5mm audio input.
Some time in the future I’ll figure out how to correctly connect the rear speakers as well, and post it here. Any questions feel free to post below.
Sorry for the long windedness of this post. Once I get going I tend not to stop too soon.
This system worked for me for my entire journey, only decision I have to make now is what radio to buy :) Also, my next plan will be to build a cruise control system into my car.

.JPG "Blanks")
.JPG "Plugin")
.JPG "InPlace")
.JPG "PluggedIn")